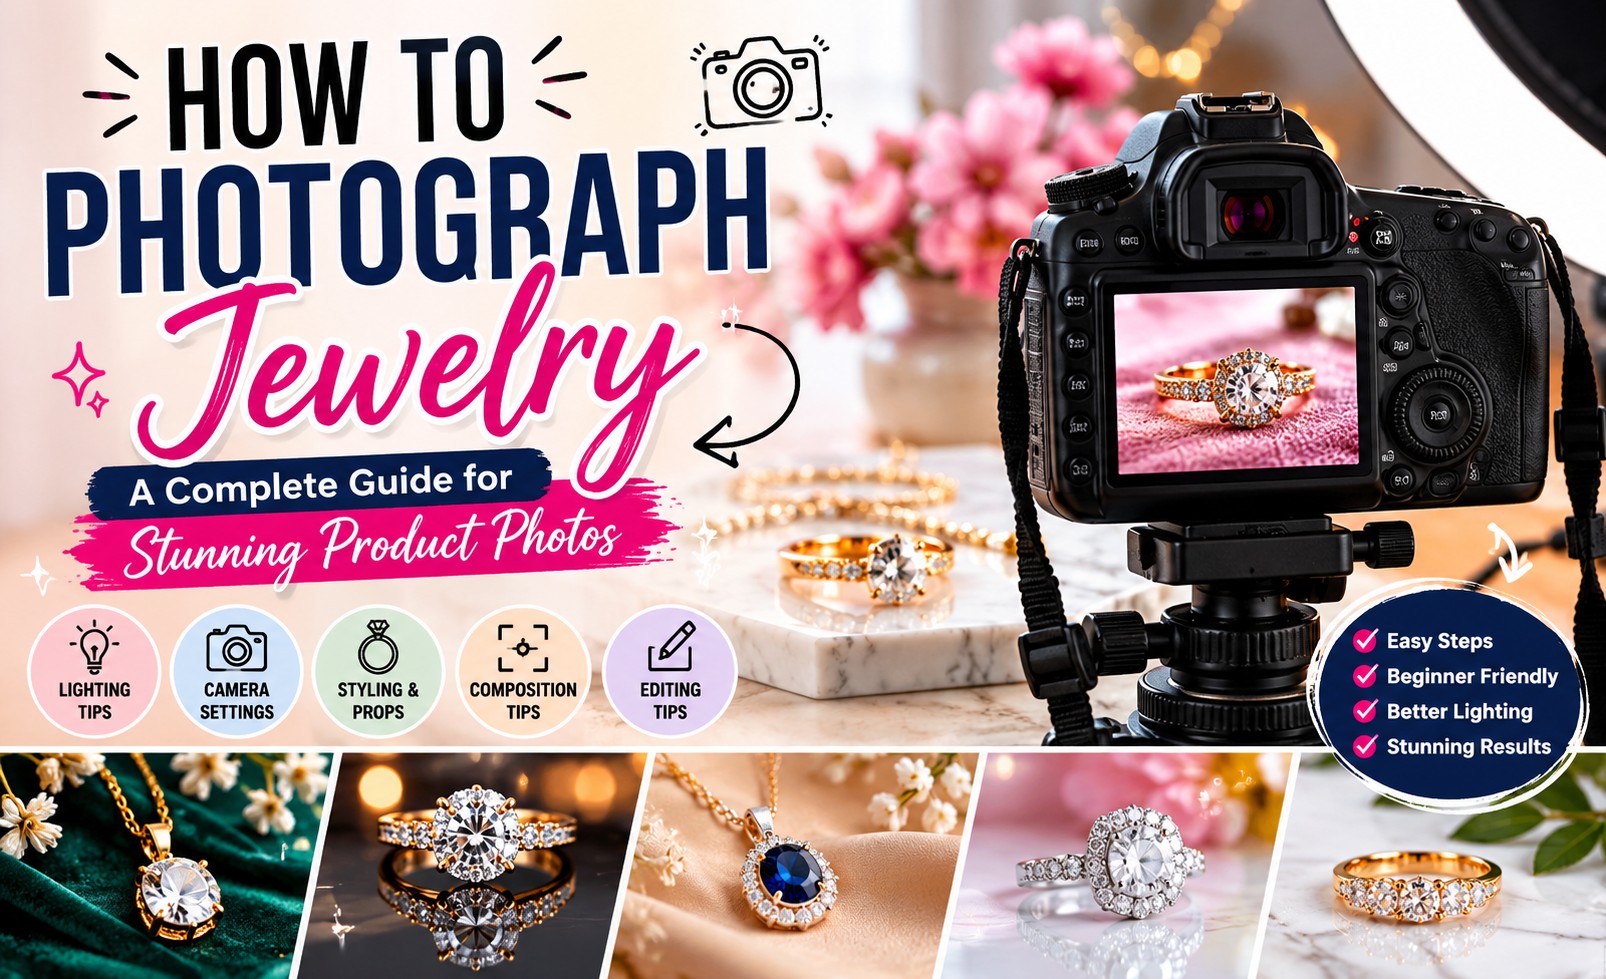
In this articles we will learn how to photograph jewelry images for sales ready photos. If you’ve ever taken a photo of a beautiful piece of jewelry and felt disappointed by the result, you’re not alone.
Jewelry is one of the most challenging products to photograph. A ring that sparkles in person can appear dull in a photo. A gold necklace may reflect unwanted objects, while gemstones often lose their brilliance when photographed incorrectly.
The good news is that you don’t need an expensive photography studio to create professional-looking jewelry images. Once you understand the fundamentals of lighting, composition, styling, and camera settings, you can produce photos that showcase your jewelry beautifully and help attract potential buyers.
Whether you’re selling jewelry online, managing an Etsy shop, running a Shopify store, or building a jewelry brand, this guide will teach you how to photograph jewelry effectively and avoid the mistakes that make products look less appealing.
Why Jewelry Photography Is So Important
When customers shop online, they can’t physically examine your jewelry.
They can’t:
- Feel the weight
- Inspect the craftsmanship
- See the sparkle in person
- Check gemstone quality
Your photos become the customer’s primary source of information.
High-quality jewelry photography helps:
- Build trust
- Highlight craftsmanship
- Showcase gemstone details
- Increase engagement
- Improve conversion rates
- Strengthen your brand image
Poor images can make even premium jewelry appear cheap, while professional photography can make simple designs look far more valuable.
The Biggest Challenges in Jewelry Photography
Before learning how to photograph jewelry, it’s important to understand why it’s different from photographing other products.
Reflections
Gold, silver, and platinum are highly reflective.
They can easily capture reflections of:
- Windows
- Lights
- Cameras
- Surrounding objects
These reflections often distract from the product.
Small Details
Jewelry contains intricate details that customers want to see.
Tiny engravings, gemstone settings, and craftsmanship require sharp, detailed photography.
Dust and Fingerprints
Even the smallest dust particles can become highly visible in close-up images.
Gemstone Sparkle
Capturing a diamond’s brilliance or a gemstone’s color requires careful lighting and positioning.
What Equipment Do You Need?
Many beginners assume they need expensive gear.
In reality, you can start with a simple setup.
Essential Equipment
- Camera or smartphone
- Tripod
- White background
- Natural light source
- Microfiber cloth
- Reflector board
Optional Equipment
- Lightbox
- Macro lens
- Acrylic surfaces
- LED lighting panels
Remember, lighting matters far more than expensive equipment.
Step 1: Clean the Jewelry Thoroughly
Professional jewelry photographers often spend more time cleaning products than photographing them.
Before every shoot:
- Remove fingerprints
- Eliminate dust
- Polish metal surfaces
- Check gemstones for smudges
Inspect the jewelry under bright light before placing it in front of the camera.
A piece that looks clean to your eyes may still appear dirty in a high-resolution image.
Step 2: Choose the Right Lighting
Lighting is the most important factor in jewelry photography.
Poor lighting can make expensive jewelry appear dull and lifeless.
Natural Light
Natural window light is ideal for beginners.
Position your jewelry near a large window where soft indirect light enters the room.
Benefits include:
- Accurate colors
- Soft shadows
- Reduced reflections
Artificial Light
If natural light isn’t available, use soft LED lights or a lightbox.
Avoid harsh direct lighting because it creates strong reflections and unwanted glare.
Step 3: Select the Best Background
The background should support the jewelry, not compete with it.
Popular options include:
White Background
Perfect for:
- Online stores
- Amazon listings
- Shopify products
- Etsy listings
Marble Background
Adds a luxury appearance.
Black Background
Creates dramatic contrast, especially for diamonds and silver jewelry.
Fabric Backgrounds
Materials like velvet and silk add elegance and texture.
Step 4: Use a Tripod for Sharp Photos
Jewelry photography requires precision.
A tripod helps:
- Eliminate camera shake
- Improve sharpness
- Maintain consistent framing
Customers often zoom into product photos, making image sharpness extremely important.
Step 5: Focus on the Details
Customers want to inspect jewelry closely before purchasing.
Capture:
- Front view
- Side view
- Back view
- Close-up details
Show:
- Stone settings
- Metal texture
- Engravings
- Clasps and fasteners
The more information your photos provide, the more confident buyers will feel.
Step 6: Learn to Control Reflections
Reflections are one of the biggest challenges in jewelry photography.
To minimize unwanted reflections:
- Use diffused lighting
- Position lights carefully
- Avoid clutter around the setup
- Use white reflector boards
Small adjustments in angle can dramatically improve the final image.
Step 7: Make Gemstones Sparkle
Many jewelry sellers struggle with gemstones that appear dull.
The solution isn’t excessive editing.
It’s lighting.
Rotate the jewelry slightly while observing how the light interacts with the stone.
A small change in angle can completely transform the image.
Step 8: Take Lifestyle Photos
Product photos are essential, but lifestyle images help customers imagine wearing the jewelry.
Examples include:
- Rings on hands
- Necklaces worn by models
- Bracelets in everyday settings
- Earrings paired with fashion outfits
Lifestyle photography adds emotion and context.
Step 9: Edit Your Jewelry Photos
Even great photos can benefit from professional editing.
Common adjustments include:
- Brightness correction
- Contrast enhancement
- Color correction
- Background cleanup
- Dust removal
The goal is to create realistic, attractive images that accurately represent the product.
Common Jewelry Photography Mistakes
Avoid these common mistakes:
Using Flash
Flash creates harsh reflections and unnatural highlights.
Photographing Dirty Jewelry
Dust and fingerprints are highly visible in close-up images.
Using Busy Backgrounds
Distracting backgrounds reduce product focus.
Overediting
Customers expect the product to look similar to the image they see online.
Ignoring Multiple Angles
One image rarely provides enough information.
How to Photograph Different Types of Jewelry
Rings
Focus on:
- Gemstone details
- Side profiles
- Ring settings
Necklaces
Ensure chains are neatly arranged and free from tangles.
Earrings
Maintain symmetry and showcase both front and side views.
Bracelets
Highlight textures, charms, and clasp details.
Why Professional Jewelry Photo Editing Matters
Even experienced photographers often rely on professional retouching.
Editing can help:
- Remove dust and scratches
- Improve gemstone brilliance
- Correct color issues
- Eliminate distracting reflections
- Create a clean, consistent look
For jewelry brands selling online, editing is often the final step that transforms a good image into a great one.
Final Thoughts
Learning how to photograph jewelry takes practice, but the fundamentals are straightforward.
Focus on:
- Clean products
- Soft lighting
- Sharp focus
- Simple backgrounds
- Multiple angles
By mastering these essentials, you can create jewelry photos that showcase craftsmanship, attract attention, and help customers feel confident about purchasing your products.
Frequently Asked Questions
What is the best lighting for jewelry photography?
Soft natural window light or diffused LED lighting generally produces the best results because it reduces harsh reflections and highlights details.
Can I photograph jewelry with a smartphone?
Yes. Modern smartphones can capture excellent jewelry photos when paired with proper lighting, a stable setup, and thoughtful composition.
Why does my jewelry look dull in photos?
Jewelry often appears dull when lighting is insufficient or positioned incorrectly. Dust, fingerprints, and poor exposure settings can also reduce sparkle.
What background is best for jewelry photography?
White backgrounds are ideal for eCommerce, while marble, velvet, and black backgrounds can create more creative or luxury-focused images.
How do I make diamonds sparkle in photos?
Adjust the angle of the jewelry and light source until the stone catches light naturally. Proper lighting is more important than editing.
Should I edit jewelry photos?
Yes. Most jewelry photos benefit from basic retouching, including dust removal, color correction, and minor brightness adjustments.
How many photos should I take of each jewelry piece?
Capture multiple angles, including front, side, back, close-up, and lifestyle images, to give customers a complete view of the product.
Do professional jewelry brands edit their photos?
Yes. Nearly all professional jewelry brands use photo editing to remove imperfections, improve consistency, and create polished product images.


