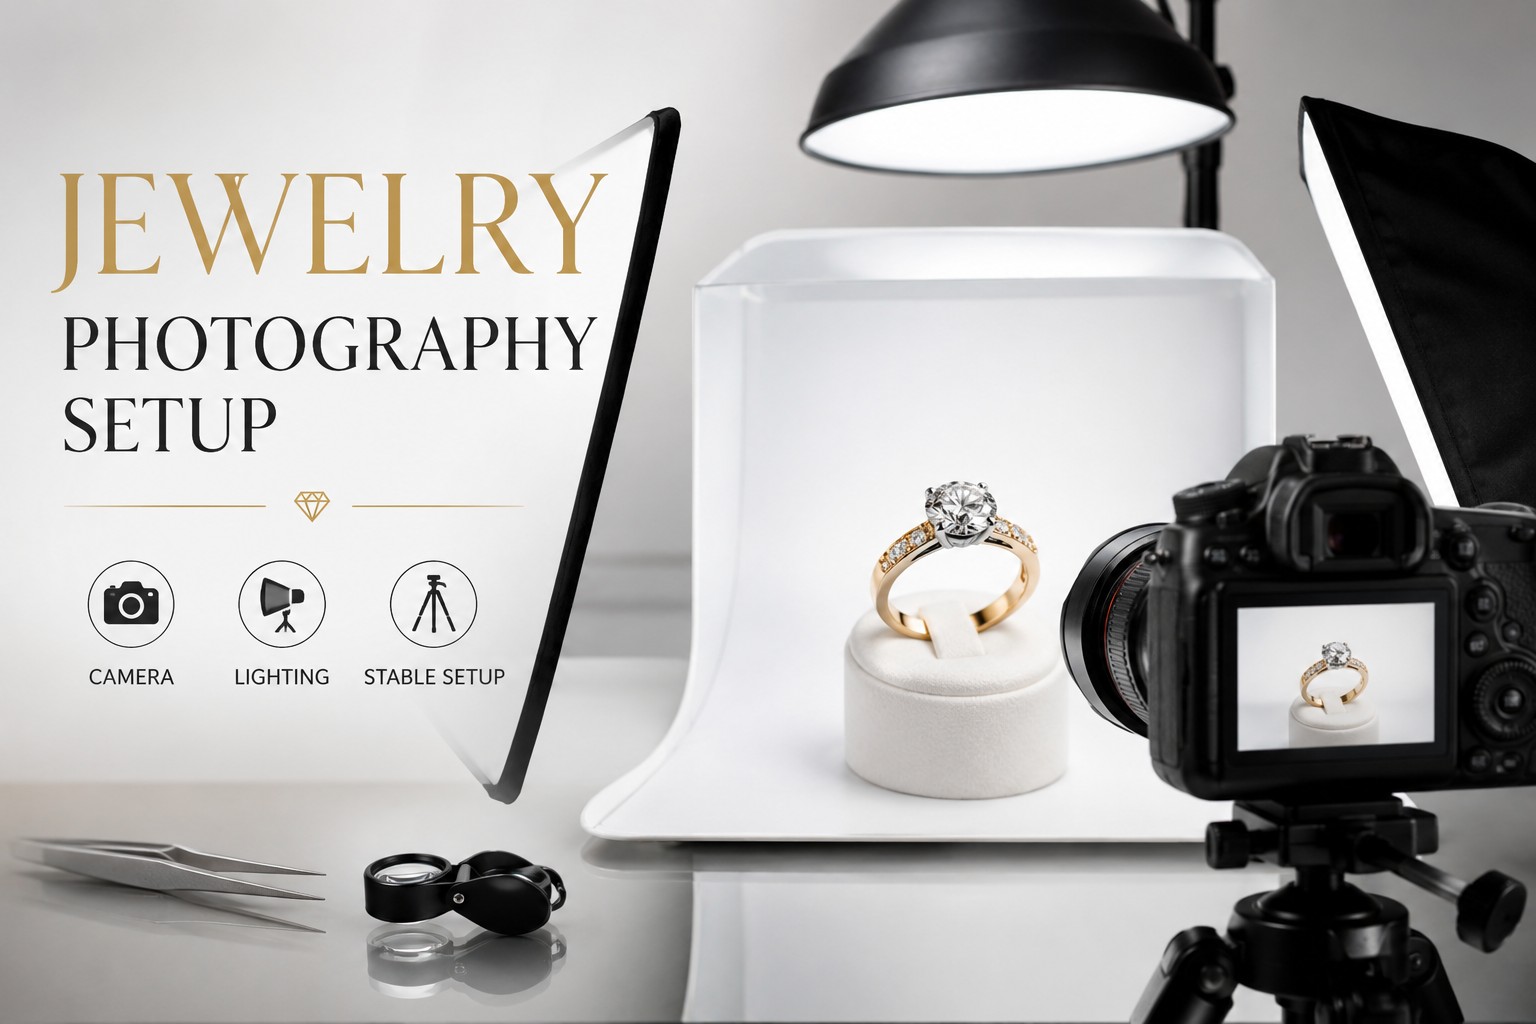
Jewelry photography setup can be challenging, even for experienced photographers. Small products, reflective surfaces, gemstones, and intricate details require a setup that provides control over lighting, focus, and composition.
The good news is that you don’t need a large studio or expensive equipment to create professional-looking jewelry photos. With the right jewelry photography setup, you can capture clean, detailed images that showcase your products accurately.
In this guide, we’ll explain everything you need to know about creating an effective jewelry photography setup, including equipment, lighting, backgrounds, camera settings, and common mistakes to avoid.
Why Your Jewelry Photography Setup Matters
A well-planned jewelry photography setup helps you:
- Capture sharper images
- Control reflections
- Improve color accuracy
- Highlight product details
- Create consistent product photos
- Reduce editing time
Without a proper setup, even high-quality jewelry can look dull, blurry, or unprofessional in photos.
Essential Equipment for a Jewelry Photography Setup
Before you begin, gather the equipment you’ll need.
Camera
You don’t need the most expensive camera available. Any modern DSLR or mirrorless camera with manual controls can produce excellent results.
Popular options include:
- Canon R50
- Sony A6400
- Nikon Z50
- Canon EOS R10
Macro Lens
A macro lens is one of the most important parts of a jewelry photography setup.
It allows you to capture:
- Gemstone details
- Metal textures
- Engravings
- Small design elements
Many photographers use:
- 60mm Macro Lens
- 90mm Macro Lens
- 100mm Macro Lens
Tripod
Because jewelry photography often uses slower shutter speeds, a sturdy tripod helps eliminate camera shake and improve image sharpness.
Light Tent
A light tent helps diffuse light and reduce reflections on metal surfaces.
It’s especially useful when photographing:
- Gold jewelry
- Silver jewelry
- Diamond rings
- Polished gemstones
Lighting Equipment
Consistent lighting is critical for jewelry photography.
Common options include:
- LED panel lights
- Softboxes
- Continuous lights
Best Lighting Setup for Jewelry Photography
Lighting is often the most important part of a jewelry photography setup.
Two-Light Setup
A simple two-light arrangement works well for many products.
Position:
- One light on the left side
- One light on the right side
- Diffusion material between the lights and the jewelry
This helps create even illumination while minimizing harsh reflections.
Light Tent Setup
Place the jewelry inside a light tent and position lights outside the tent.
Benefits include:
- Softer shadows
- Reduced reflections
- Better control over highlights
This is one of the easiest setups for beginners.
Natural Light Setup
If you’re working with a limited budget, window light can produce excellent results.
Place the jewelry near a large window and use a white reflector on the opposite side to bounce light back onto the product.
Avoid direct sunlight, which can create harsh shadows and bright hotspots.
Choosing the Right Background
The background should support the product without becoming distracting.
Popular background options include:
White Background
The most common choice for ecommerce product photography.
Benefits:
- Clean appearance
- Easy editing
- Suitable for marketplaces
Black Background
Works well for luxury jewelry and dramatic product shots.
Acrylic Surface
Creates attractive reflections that can add depth to product images.
Marble or Stone Background
Often used for lifestyle and social media photography.
Recommended Camera Settings for Jewelry Photography
A good jewelry photography setup also includes proper camera settings.
ISO
Keep ISO low:
- ISO 100
- ISO 200
This helps reduce image noise.
Aperture
Many photographers use:
- f/8
- f/11
- f/16
These settings help keep more of the jewelry in focus.
Shutter Speed
The exact setting depends on your lighting setup.
Since the camera is mounted on a tripod, slower shutter speeds are usually not a problem.
White Balance
Set a custom white balance whenever possible to ensure accurate colors.
How to Arrange Jewelry for Better Photos
Product placement can have a significant impact on image quality.
Rings
Position rings upright to showcase:
- Center stones
- Band details
- Side stones
Necklaces
Use invisible supports or necklace displays to maintain shape.
Earrings
Keep earrings aligned and symmetrical.
Bracelets
Arrange bracelets in a way that highlights texture and craftsmanship.
How to Control Reflections
Reflections are one of the biggest challenges in jewelry photography.
To reduce unwanted reflections:
- Use diffusion material
- Surround the product with white foam boards
- Avoid placing colorful objects near the setup
- Adjust light angles carefully
Small changes in light placement can make a major difference.
Jewelry Photography Setup for Ecommerce Stores
If you’re photographing products for ecommerce, consistency is essential.
Use:
- The same lighting setup
- The same camera settings
- The same background
- The same editing workflow
This helps create a professional appearance across your product catalog.
Common Jewelry Photography Setup Mistakes
Using Direct Light
Direct light often creates harsh reflections and bright hotspots.
Photographing Dirty Jewelry
Dust and fingerprints become highly visible in close-up images.
Handholding the Camera
Even slight movement can reduce image sharpness.
Cluttered Backgrounds
Busy backgrounds distract attention from the jewelry.
Overediting Images
Products should look natural and accurately represent what customers will receive.
Jewelry Photography Setup on a Budget
You can create a simple jewelry photography setup with:
- Smartphone or camera
- Window light
- White foam boards
- Tripod
- White background
Many successful ecommerce sellers start with a basic setup and upgrade over time.
Final Thoughts
Creating a professional jewelry photography setup doesn’t require a large budget or a commercial studio. The key is controlling light, reducing reflections, maintaining consistency, and focusing on product details.
Whether you’re photographing jewelry for an online store, social media, Etsy, Amazon, or a personal portfolio, a well-planned jewelry photography setup can significantly improve the quality of your images and help customers see the true value of your products.
Frequently Asked Questions
What is the best jewelry photography setup?
The best jewelry photography setup includes a camera, macro lens, tripod, soft lighting, and a clean background. Proper lighting and camera stability are essential for capturing clear product details.
Can I create a jewelry photography setup at home?
Yes. A simple home jewelry photography setup can include a smartphone or camera, a tripod, window light, white foam boards, and a clean background. Many sellers start with a basic setup and upgrade over time.
What lighting works best for jewelry photography?
Soft and diffused lighting is generally preferred because it helps reduce harsh reflections and highlights product details more evenly.
Do I need a light tent for jewelry photography?
A light tent can help control reflections and create softer lighting, especially when photographing reflective jewelry such as rings, necklaces, and bracelets.
What camera settings should I use for jewelry photography?
Many photographers use a low ISO setting, a narrow aperture such as f/8 to f/16, and a tripod to maintain image sharpness and detail.
What lens is best for jewelry photography?
A macro lens is often the preferred choice because it allows photographers to capture small details, gemstone textures, and intricate jewelry designs.
How do I reduce reflections in jewelry photography?
You can reduce reflections by using diffused lighting, white foam boards, light tents, and careful light positioning around the jewelry.
What background should I use for jewelry photography?
White backgrounds are commonly used for ecommerce product photography, while black, acrylic, and marble backgrounds are often used for creative or lifestyle jewelry photos.
Why are my jewelry photos blurry?
Blurry jewelry photos are often caused by camera movement, incorrect focus, or insufficient lighting. Using a tripod can help improve image sharpness.
Is a smartphone good enough for jewelry photography?
Modern smartphones can produce good jewelry photos when paired with proper lighting and a stable setup. However, dedicated cameras and macro lenses typically provide greater control and detail.
How important is photo editing after jewelry photography?
Photo editing helps remove dust, adjust colors, improve brightness, and prepare images for online stores, catalogs, and marketing materials.
What is the biggest mistake in jewelry photography?
One of the most common mistakes is poor lighting. Harsh light can create unwanted reflections and make it difficult to capture the true appearance of jewelry.


