Real estate photo editing for beginners focuses on subtle improvements. Adjust lighting, correct colors, straighten lines, and remove small distractions to create polished, professional property photos that attract buyers.
Understanding Real Estate Photo Editing
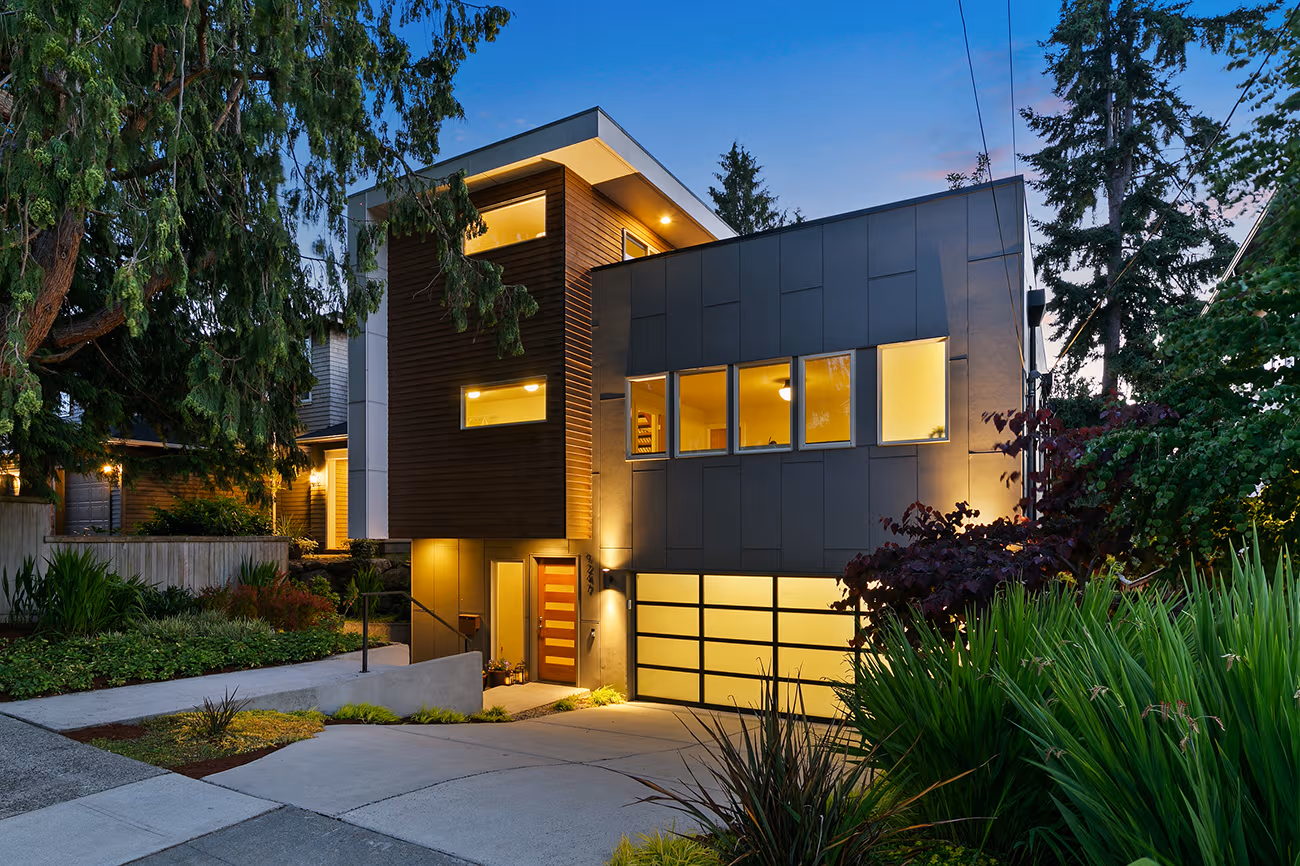
Starting out with property photos can be intimidating. Rooms often look too dark, too warm, or slightly off in perspective. But beginner-friendly editing isn’t about perfection — it’s about enhancing what’s already there. Focusing on lighting, colors, lines, and minor distractions can make any listing stand out.
I still remember my first set of property photos — the living room looked flat, shadows were harsh, and windows were blown out. At first, I thought the photos were hopeless. But I learned that real estate photo editing doesn’t have to be perfect — it just needs clarity, consistency, and a few thoughtful adjustments.
Even beginners can make a listing stand out with small improvements. Think of it as telling the story of the space visually: showing the brightness, warmth, and scale of the rooms. When editing, focus on enhancing reality rather than creating perfection.
Why Good Real Estate Photo Editing Changes How Buyers See a Property
Imagine scrolling through listings online. A well-lit, vibrant, and clean photo immediately catches your eye. Buyers subconsciously trust listings that feel polished and consistent.
Editing isn’t just about aesthetics — it’s about communication. A photo should convey what the room feels like in real life. That’s why even minor improvements, like adjusting brightness or straightening lines, can drastically increase interest in a property.
Preparing Photos Before You Edit
Before opening any software, make sure your images are ready to work with. Shooting in RAW is ideal because it preserves more detail, giving you flexibility when adjusting lighting or colors. Check for blown-out windows, harsh shadows, and inconsistent exposure.
A well-prepared photo saves time and makes every edit more effective. Even beginners can get professional results if the starting image is clean and high-quality.
Lighting: The Heart of Every Room
Lighting sets the mood for a property photo. Dark corners feel cramped, overly bright spaces feel fake, and inconsistent lighting can distract buyers.
When I first edited my photos, I would crank up brightness until everything looked “good.” But it looked unnatural. Now I adjust brightness and contrast gradually, paying attention to shadows and highlights. Soft, balanced light makes the space feel welcoming.
Pro tip: Keep windows visible but not blown out. Natural light should enhance the room, not dominate it.
Color Correction: Keep It Real
Indoor lighting often adds strange color tones — yellow walls, bluish shadows, or greenish reflections. Overcorrecting can make rooms feel artificial.
I adjust white balance subtly until the colors feel natural. A warm living room, a cool kitchen, or a neutral bedroom — keep the tones realistic and consistent across the listing. Consistency tells buyers the property is professionally presented and trustworthy.
Straightening Lines and Fixing Perspective
Wide-angle lenses show more of the room but often distort walls and floors. Crooked lines make the space feel unstable and unprofessional.
Using perspective correction tools in Lightroom or Snapseed, I straighten verticals and horizontals. Even small adjustments make rooms feel real and stable. Buyers may not notice consciously, but they notice when a space feels “off.”
Removing Distractions: Less is More
It’s tempting to remove everything in the room — cords, clutter, stains, even furniture. I’ve made that mistake. Over-editing creates unrealistic photos.
Instead, focus on small distractions that take attention away from the room’s natural appeal. Hide cords, remove minor clutter, and clean minor wall marks. The space should feel tidy but still real.
Handling Windows Properly
Windows are tricky. Too bright, and they blow out the photo; too dark, and rooms feel closed. Reduce highlights slightly and recover subtle details outside the window.
The goal isn’t to create a perfect view — it’s to make interiors feel bright, airy, and believable. Well-handled windows balance natural and artificial light and make the room inviting.
Consistency Across Your Listing
Nothing makes a listing look amateur like inconsistent colors and lighting. A warm living room followed by a blue-toned kitchen is jarring.
Consistency in brightness, colors, and editing style ensures that the listing tells a coherent story. When buyers see photos that feel like part of the same narrative, they trust the property more.
Common Beginner Mistakes to Avoid
Beginners often make the same mistakes:
- Over-saturating colors
- Over-sharpening edges
- Ignoring leaning lines
- Using heavy filters
- Over-editing windows or furniture
Subtlety always wins. Respect the space and the natural feel of the property — buyers respond better to realism than perfection.
Tools That Beginners Can Use
You don’t need expensive software to start.
Lightroom – Adjust brightness, colors, and perspective.
Snapseed – Mobile-friendly edits for lighting, cropping, and minor corrections.
Photoshop – Optional for advanced retouching like object removal.
Even basic tools allow beginners to create polished, professional-looking images with practice.
Final Thoughts
Editing real estate photos is a skill you develop gradually. Focus on the essentials: lighting, color, lines, and minor distractions. Small, consistent adjustments transform listings from average to professional. Over time, even beginners can create images that showcase the property’s potential, invite buyers, and increase engagement.
FAQ
How can beginners improve real estate photos quickly?
Start with lighting, color balance, and straightening lines. Even subtle improvements can dramatically enhance a photo.
Do I need professional software for real estate photo editing?
No. Lightroom and Snapseed handle most edits effectively. Photoshop is optional for advanced retouching.
How bright should property photos be?
Aim for natural brightness — clear, inviting, and balanced, without blown-out highlights or overly dark shadows.
Should social media photos be edited differently?
Slight clarity adjustments and cropping are fine, but maintain a consistent, realistic style. Avoid heavy filters.
How do I straighten lines and fix perspective?
Use perspective correction tools to straighten walls and floors. Proper alignment makes rooms feel natural and trustworthy.
What common mistakes should beginners avoid?
Avoid over-saturation, excessive sharpening, unrealistic color corrections, and over-editing objects or windows. Subtle edits are more professional.
How do I keep colors consistent across multiple photos?
Match white balance, exposure, and editing style across all images. Cohesive listings look professional and inviting.
How should I handle windows in photos?
Reduce highlights slightly and recover subtle outdoor details. The interior should feel bright and airy without distracting from the room.
Can I edit real estate photos on my phone as a beginner?
Yes. Snapseed and Lightroom Mobile are effective for brightness, colors, perspective, and minor retouching.
How long does it take to edit photos for beginners?
Editing one property may take 30–60 minutes per photo until you get familiar with the workflow.
Are there shortcuts for faster editing?
Yes. Lightroom presets or templates speed up consistent edits. Always check each photo individually for best results.
Should I remove furniture or décor?
Only remove minor distractions. Avoid altering permanent furniture or changing the layout — authenticity matters.
How often should I update my editing skills?
Every 6–12 months, review new techniques, software updates, and trends in real estate photography to stay competitive.


