As a photo editor, I always want to make my photos better. Lightroom editing is a key tool for me.
Editing photos like a pro might seem hard. But with the right help, it’s easy. This guide will walk you through using Lightroom to enhance and refine your photos.
It covers Lightroom basics and advanced editing. You’ll learn to edit your photos with confidence.
Understanding Lightroom's Power for Photo Editing
Lightroom is great for photographers. It has cool tools and is easy to use. It helps you make your photos look amazing, whether you’re a pro or just for fun.
Why Lightroom is the Photographer's Best Friend
Lightroom is made just for photographers. It lets you try different edits without messing up your photo. This is super helpful because you can play around without losing your original picture.
Lightroom’s Develop module offers powerful tools to fine-tune your photos. You can easily adjust brightness, contrast, and colors, giving you complete control over the final look of your image.
Lightroom is also great for photographers with lots of photos. You can sort, tag, and filter your pictures easily.
Lightroom Classic vs. Lightroom CC
There are two main choices for Lightroom: Classic and CC. Lightroom Classic is for those who love editing and organizing. Lightroom CC is part of Adobe’s Creative Cloud, with cloud storage and syncing.
Which one you choose depends on what you need. If you want cloud features, go for Lightroom CC. But if you like a local app with lots of features, choose Lightroom Classic.
Getting Started with Lightroom
Starting your Lightroom journey is easy. First, you need to install and set up Lightroom on your computer. Then, you can start editing your photos.
Installing and Setting Up Lightroom
First, download Lightroom from the Adobe website. Follow the instructions to install it. After installing, launch Lightroom and sign in with your Adobe account.
This step is important. It links your subscription to the software. This lets you use all the features and updates.
Configuring Your Preferences for Optimal Performance
After installing, set up your preferences for the best performance. Go to the Preferences menu. Adjust settings to fit your editing style.
For example, choose where to save your catalog and how to manage files. This makes editing easier.
Understanding Catalogs and Backup Options
Lightroom uses a catalog to store photo info. It’s important to know how to manage this catalog and back up your files. Lightroom can automatically back up your catalog when you shut down.
Also, pick a safe place to store your catalog. Back it up regularly, either by hand or with automated services.
By following these steps, you’ll be ready to edit your photos with Lightroom. Setting up the software right and knowing its basics will make editing fun.
Navigating the Lightroom Interface
Lightroom’s interface is where your photo editing journey starts. It’s easy to use, even if it looks complex at first. Each part is made to help you work better.
Module Overview and Navigation
Lightroom has several modules for different tasks. The main modules include Library, Develop, Map, Book, Slideshow, Print, and Web. Moving between these is simple, thanks to clear labels and a logical order.
As you switch modules, the interface changes to show the right tools. This design is a big Lightroom tip for keeping your workflow smooth.
Develop Module Explained
You’ll spend the majority of your editing time in the Develop module. It has tools for adjusting exposure, contrast, and color. Learning to use these tools well is key to getting the best from Lightroom as your photo editing software.
Customizing Your Workspace
Customizing your workspace is important in Lightroom. You can customize the layout, hide or reveal panels, and choose a theme to suit your workflow. This lets you work better, without distractions, using valuable Lightroom tips.
By learning the interface and customizing, you’ll use Lightroom easily. You’ll make the most of its features as your top photo editing software.
Importing and Organizing Your Photo Library
Once your workspace is set up, you can start importing and organizing your photos in Lightroom. A neat library helps you manage your photos better. It makes it easier to find and edit the images you need.
Import Dialog and Settings
Import dialog is where you start organizing your photos. This option lets you add photos to your catalog without physically relocating the files. You can also copy them as Digital Negative (DNG) files or move them to a new spot. Knowing these settings helps keep your library tidy.
When you import, you can apply initial edits and add metadata. You can even apply develop settings to your photos. This saves time by giving your photos a consistent look from the start.
Creating an Effective Folder Structure
A good folder structure is the heart of an organized photo library. In Lightroom, you can make folders by date, event, or any other way that makes sense. Being consistent is important for a system that works for you.
Consider your shooting habits and how you typically search for your photos. For example, you might organize by year and then by event or project. This makes finding photos easier later.
Using Collections and Smart Collections
Collections and Smart Collections help you organize photos without making duplicates. A collection groups related photos together. Smart Collections automatically group your photos based on criteria you set, such as ratings or keywords.
Using both collections and Smart Collections creates a strong organizational system. It makes finding and working with your photos more efficient.
How to Use Lightroom to Edit Photos Step by Step
Editing photos in Lightroom can seem hard. But, by following steps, you can get great results. It’s all about knowing Lightroom’s tools and techniques.
Basic Panel Adjustments
First, get to know the Basic panel in Lightroom. It lets you change your photo’s look, like brightness and color.
Exposure, Contrast, and Highlights/Shadows
Start by adjusting the exposure. This makes your photo brighter or darker. Then, use the contrast slider to balance light and dark. The highlights and shadows sliders help fix over or underexposed parts.
White Balance and Color Temperature
White balance is key for natural colors. Lightroom has presets or let you adjust the color temperature to change your photo’s mood.
Tone Curve Mastery
Tone Curve panel lets you tweak contrast and exposure more. It helps you adjust brightness and darkness, giving you control over your photo’s look.
Color Adjustments with HSL Panel
HSL panel is for fine-tuning colors. You can change hue, saturation, and luminance of colors. This helps make your photo look better and more balanced.
Learning these Lightroom techniques will make your photos look amazing. You’ll get professional results.
Advanced Editing Techniques for Stunning Results
Lightroom is amazing for advanced editing. It lets you make your photos look even better. Now that you know the basics, you can use these cool features.
Local Adjustments with Brushes and Filters
Local adjustments are key for perfecting your photos. Lightroom has great tools like brushes and filters. They help you make changes just where you want them.
Graduated and Radial Filters
Graduated and radial filters are great for detailed changes. The graduated filter is perfect for landscapes. It lets you adjust exposure, contrast, and color in a special way.
The radial filter is great for focusing on subjects. It also helps create cool vignettes.
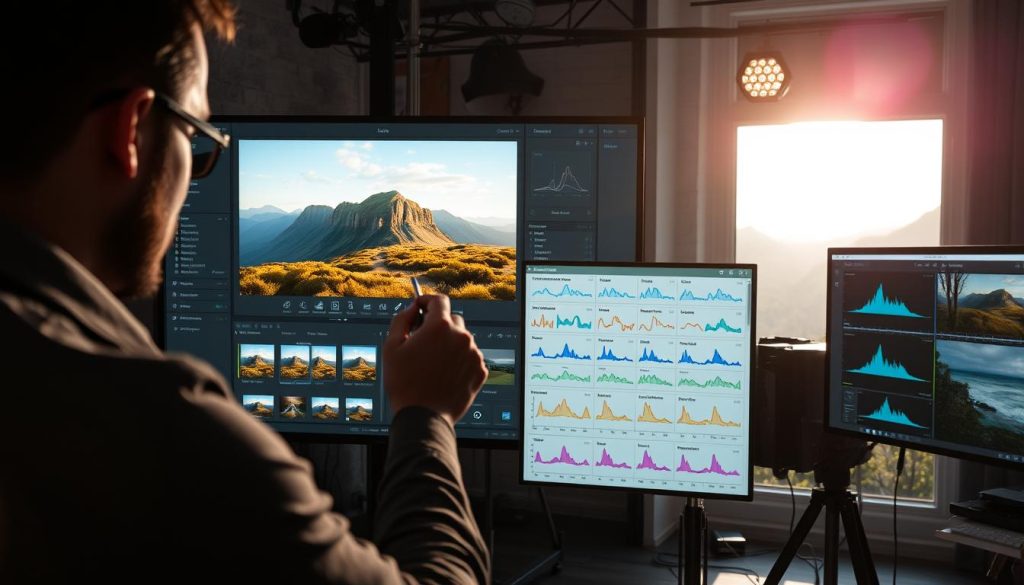
The adjustment brush gives you control over small areas. You can tweak exposure, contrast, and saturation. Tip: Use a low flow rate for subtle adjustments.
Detail Enhancement with Sharpening and Noise Reduction
Sharpening and noise reduction are key for clear images. Lightroom has tools for both.
Sharpening makes your image clearer by making edges stand out. But be careful not to overdo it. Noise reduction is important for low-light photos. It keeps details sharp while reducing noise.
Lens Corrections and Perspective Control
Lens corrections and perspective control are important. Lightroom has great tools for these.
Correcting lens distortions keeps your image true. Lightroom can fix distortions based on your lens. Adjusting perspective is easy too. It helps fix lines and makes your image look natural.
Streamlining Your Workflow with Presets and Profiles
Lightroom’s presets and profiles make editing photos easier. They help you get the same look in all your photos. This saves you time too.
Creating your own presets is a great way to speed up editing. It lets you use your favorite editing style on many photos quickly.
Creating and Saving Your Own Presets
To make a preset, edit a photo how you like it. Then, go to the Develop module. Click the ‘+’ icon next to Presets, then select ‘Create Preset.’ Pick the settings you want.
Tips for creating effective presets:
- Start with a well-edited photo
- Choose relevant settings to include
- Name your preset descriptively
Installing and Using Third-Party Presets
You can also use presets made by others. These are found online or made by photographers.
To use a third-party preset, download it. Then, import it into Lightroom in the Develop module.
Batch Editing with Sync and Copy/Paste Settings
Batch editing lets you edit many photos at once. Use “Sync” and “Copy/Paste” settings for this.
| Feature | Description | Benefit |
|---|---|---|
| Sync | Applies selected settings to multiple photos | Saves time, maintains consistency |
| Copy/Paste | Copies settings from one photo and applies to others | Streamlines workflow, reduces editing time |
Learning about presets, profiles, and batch editing makes editing photos faster. It lets you focus more on being creative.
Exporting and Sharing Your Masterpieces
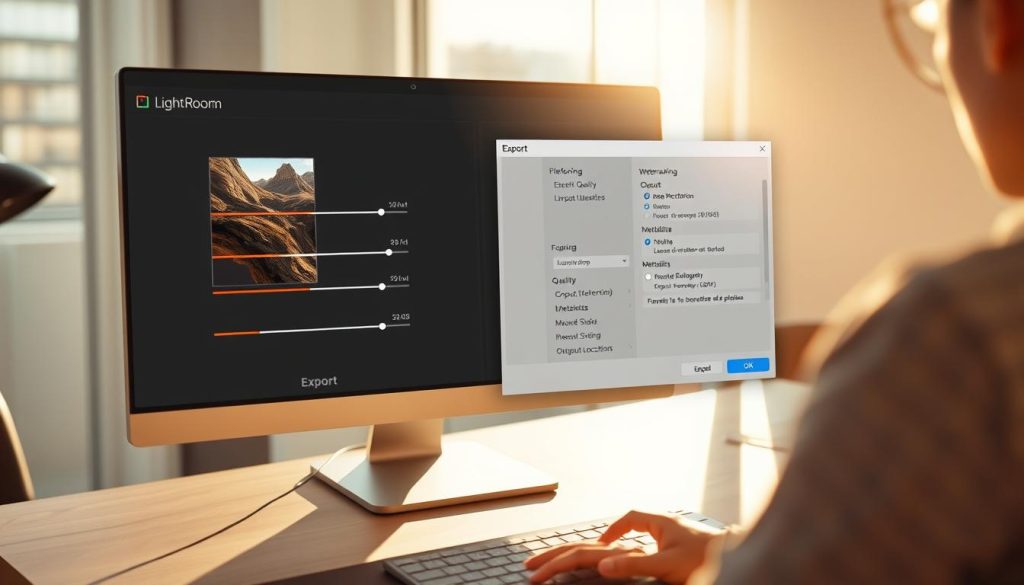
Last step in your photo editing journey is to export and share your work. Lightroom makes it easy to export photos in many formats. You can also share them on different platforms.
Export Settings for Different Purposes
Lightroom has flexible export settings for different needs. You can make your exports ready for the web and social media. Or, you can get them ready for print.
Web and Social Media Optimization
For web and social media, use these settings:
- File format: JPEG
- Color space: sRGB
- Resolution: 72 PPI
- File size: optimized for web
This makes your photos look good on the web.
Print-Ready Exports
For prints, use these settings:
- File format: TIFF
- Color space: Adobe RGB (1998)
- Resolution: 300 PPI
- File size: maximum quality
Publishing Services and Direct Sharing
Lightroom lets you share photos directly to many places. You can connect your accounts and share your work easily.
Some places you can share to include:
- Flickr
- SmugMug
Using these services makes sharing your work easier. It helps you reach more people.
Conclusion
You now know how to edit photos like a pro in Lightroom. This guide covered everything from the basics to advanced techniques. You’re ready to improve your photo editing skills.
Keep practicing to get better. Try new things and explore Lightroom’s features. You can make amazing photos that wow people.
Go back to the tips in this guide to improve. Look for more resources to learn new things. Soon, you’ll be a great photo editor, making amazing pictures.
FAQ
What is Lightroom, and why is it used for photo editing?
Lightroom is a powerful editing software by Adobe for photographers. It’s great for editing photos because it’s easy to use and has lots of features. Many pros use it.
What sets Lightroom Classic apart from Lightroom CC?
Lightroom Classic is for desktops and has a traditional look. Lightroom CC is cloud-based and simpler. It syncs photos across devices easily.
How do I import photos into Lightroom?
To import photos, open the Library module and click “Import.” Pick the folder or device with your photos. Then, choose how you want to import them.
Can I use Lightroom to edit videos?
Lightroom is mainly for photos, but it can trim and apply presets to videos. For more video editing, use Adobe Premiere Pro.
How do I create a preset in Lightroom?
To make a preset, adjust a photo as you like. Then, in the Develop module, click the “+” next to “Presets” and choose “Create Preset.” Name and save it for later use.
Can I use third-party presets in Lightroom?
Yes, you can use third-party presets. Download them, then in the Develop module, click the “+” next to “Presets” and choose “Import Presets.”
How do I export photos from Lightroom?
To export photos, open the Library module, select your images, then choose File > Export or press Ctrl+Shift+E (Windows) / Command+Shift+E (Mac). Choose your export settings.
Can I edit photos on my mobile device using Lightroom?
Yes, Adobe has a Lightroom app for iOS and Android. It lets you edit and sync photos across devices. It’s great for working on photos anywhere.

