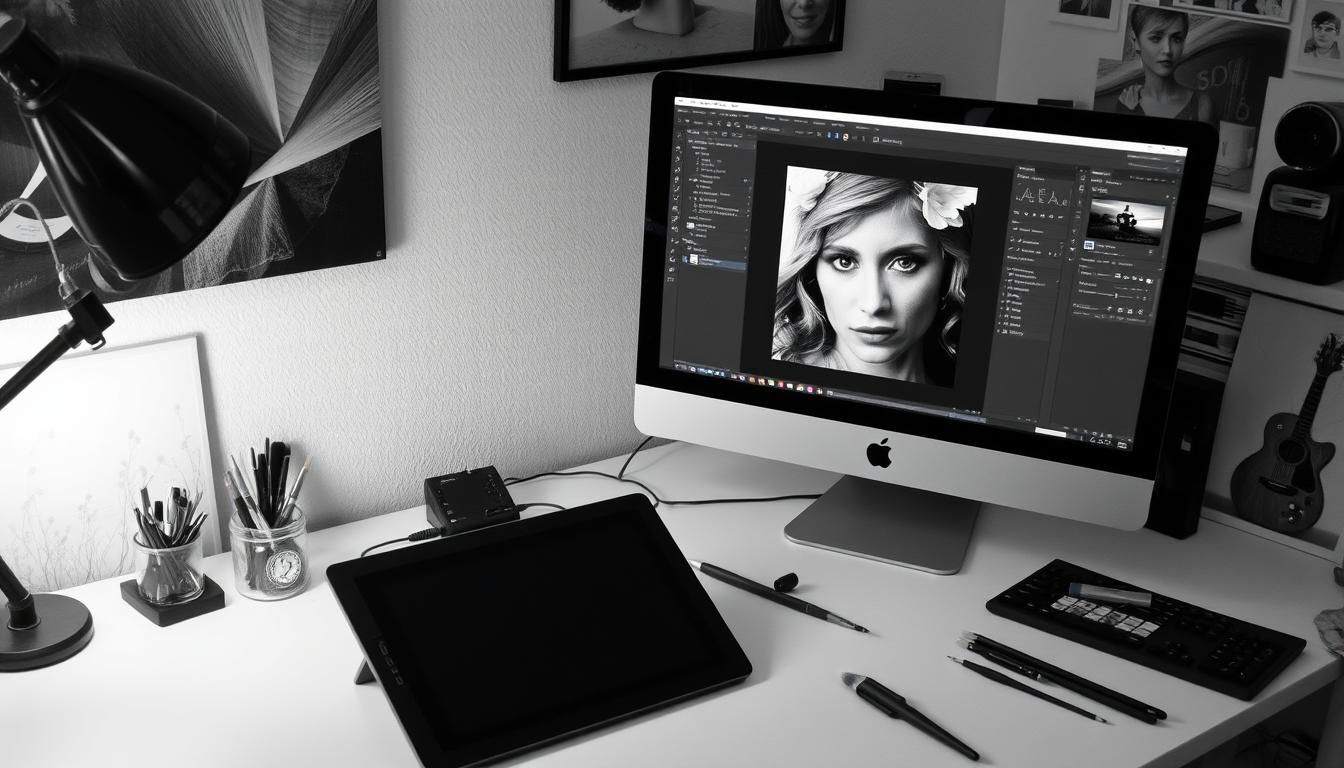
Black and white photography has a timeless charm that can turn a simple image into a masterpiece. It highlights texture, contrast, and composition by removing color. Adobe Photoshop offers many ways to turn color photos into stunning black and white images. This guide will show you how to achieve a classic or modern look step by step.
Photoshop has several methods to make an image black and white. You can use simple one-click options or more advanced techniques like channel mixing. You’ll learn how to get the perfect monochrome look for your photos. We’ll cover important tools like the Black and White Adjustment Layer and the Brush Tool, and share tips for better contrast and tonal range.
This article is for both beginners and experienced Photoshop users. It will teach you how to create stunning black and white images. Get ready to explore the world of monochrome photography in the digital age.
Introduction to Black and White Photography
Black and white photography has been loved for many years. It gives us a special view of the world. Without color, we see the true essence of things.
Light and shadow play a big role in these photos. They tell powerful stories and evoke strong feelings. This makes black and white photos timeless and loved by many.
The Timeless Appeal of Monochrome Images
In a colorful world, black and white are striking. It shows the beauty of simplicity. By removing color, photographers focus on what really matters.
Things like form, texture, and contrast become more important. This makes the photos more meaningful. It invites us to think deeply about what we see.
Black and white photos also bring a sense of nostalgia. They have a classic beauty that never fades. Whether it’s a street scene or a fine art piece, they tell stories and move us.
Famous Black and White Photographers
Many photographers have made a big impact on black and white photography. Their work has shaped the art and inspired others. Some famous ones include:
- Ansel Adams: Known for his stunning landscapes and attention to detail, Adams showed the beauty of America.
- Henri Cartier-Bresson: He is the father of modern photojournalism. His photos capture the essence of human moments.
- Dorothea Lange: Her photos of migrant workers during the Great Depression are powerful symbols of social documentary.
These photographers have greatly influenced black and white photography. Their work continues to inspire today’s photographers who want to capture the world in monochrome.
Understanding the Basics of Photoshop
Before you start making stunning black and white images in Photoshop, you need to know the basics. Photoshop has many tools to help you turn color photos into amazing monochrome pictures.
Fundamental to Photoshop’s functionality are layers. They provide you the freedom to edit individual areas of your image. In this manner, you can modify the final image while keeping the original shot intact.
The Photoshop workspace can be set up however you like. Knowing the Move Tool, Brush Tool, and Eraser Tool will make editing easier. Also, learning about Layers, Channels, and Adjustments panels is key for black and white photos.
Adjustments are important for perfecting your monochrome images. Photoshop has tools like Levels, Curves, and Hue/Saturation. These help you control the look of your photos. With these tools, you can get the mood just right in your black and white photos.
As you explore more of Photoshop, you’ll find many ways to improve your black and white photos. You can try dodging and burning, or adding textures and grain. By trying new things, you’ll find your own style and make images that show your vision.
Preparing Your Workspace for Black and White Conversion
Before starting to convert your images to black and white in Photoshop, it’s key to set up your workspace right. This makes your workflow smooth and lets you focus on the creative part of your monochrome conversion.
Setting Up Your Color Settings
It’s important to set your color settings in Photoshop for consistent and accurate work. Photoshop defaults to RGB color mode, which works well for most digital projects. But, if your images are for print, you might need to switch to CMYK color mode.
To change your color settings, go to Edit > Color Settings. In the Color Settings dialog box, you can pick from preset color spaces or make your own. For black and white work, RGB is best because it has more tonal values and editing options.
Creating a Duplicate Layer
Before starting the black and white conversion, make a duplicate layer of your original image. This non-destructive editing keeps your original safe. It’s a backup in case you need to go back or compare.
To make a duplicate layer, follow these steps:
- In the Layers panel, click on the original layer to select it.
- The layer can be duplicated by using Ctrl+J (Windows) or Cmd+J (Mac).
- Double-click the new layer’s name and rename it to “Black and White” for easy identification.
Working on a duplicate layer lets you try different black and white methods without harming your original image. This approach is key to a professional Photoshop workflow.
Using the Black and White Adjustment Layer
Converting an image to black and white in Photoshop is easy with adjustment layers. The Black and White Adjustment Layer is especially useful. It lets you create stunning monochrome images with ease.
Accessing the Black and White Adjustment Layer
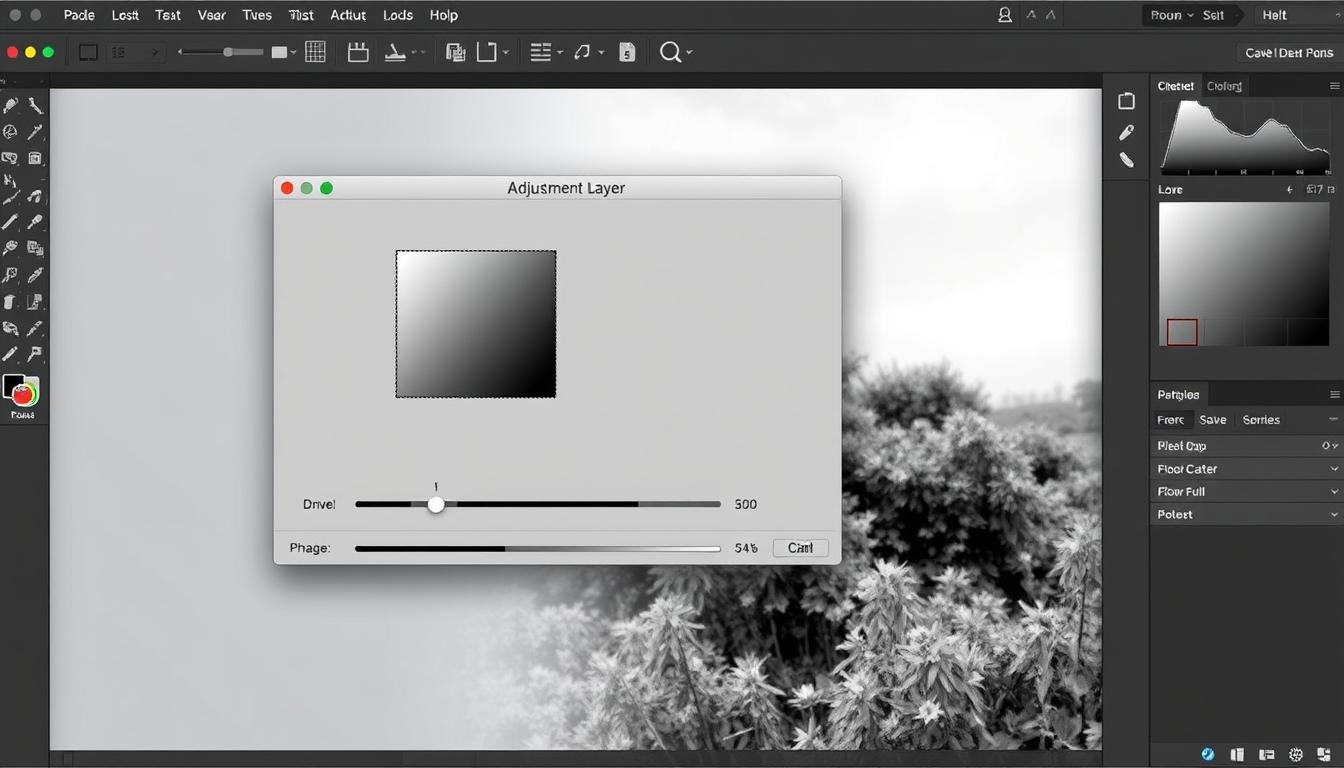
To start, click the adjustment layer icon at the bottom of the Layers panel. Choose “Black & White” from the list. Alternatively, select Black & White under Layer > New Adjustment Layer. This creates a new layer on top of your image. It lets you make changes without harming the original pixels.
Customizing the Black and White Mix
After creating the Black and White Adjustment Layer, a dialog box opens. It has color sliders for different parts of your image. These sliders let you adjust the brightness of colors as they turn to grayscale. By tweaking these sliders, you can highlight or dim parts of your image. This way, you can create a black and white mix that matches your vision.
Preserving and Enhancing Specific Colors
At times, you might want to keep or boost certain colors in your black and white image. The Black and White Adjustment Layer makes this easy. Use the Targeted Adjustment Tool by clicking on it in the dialog box. Then, click and drag on areas of your image to lighten or darken them. This can make key elements stand out or create striking contrasts in your monochrome image.
The Black and White Adjustment Layer is a non-destructive way to experiment with different monochrome mixes until you find the perfect balance for your image.
Learning to use adjustment layers, color filters, and selective adjustments will help you make amazing black and white photos in Photoshop.
Converting to Grayscale Mode
Converting your image to grayscale mode is a simple way to make black and white images in Photoshop. It’s quick and easy, giving your photos a classic look. This method highlights the beauty of black and white photography.
To convert an image to grayscale mode, follow these steps:
- Open your image in Photoshop.
- Go to Image > Mode > Grayscale.
- To remove color information, click “Discard” when requested.
Changing the mode to grayscale removes all color from your image. This leaves you with a black and white version. It’s great for quick conversions without needing to customize a lot.
Remember, once you convert to grayscale, you can’t add color back. If you might need to adjust colors later, use the Black and White Adjustment Layer method. It keeps the original color data.
| Conversion Method | Advantages | Disadvantages |
|---|---|---|
| Grayscale Mode | Quick and simple conversion | No color information retained |
| Black and White Adjustment Layer | Preserves original color data | Requires more customization |
While grayscale mode is not as flexible as other methods, it’s still useful. It’s perfect for those who want a fast and easy way to make striking monochrome images.
Utilizing the Channel Mixer for Black and White Conversion
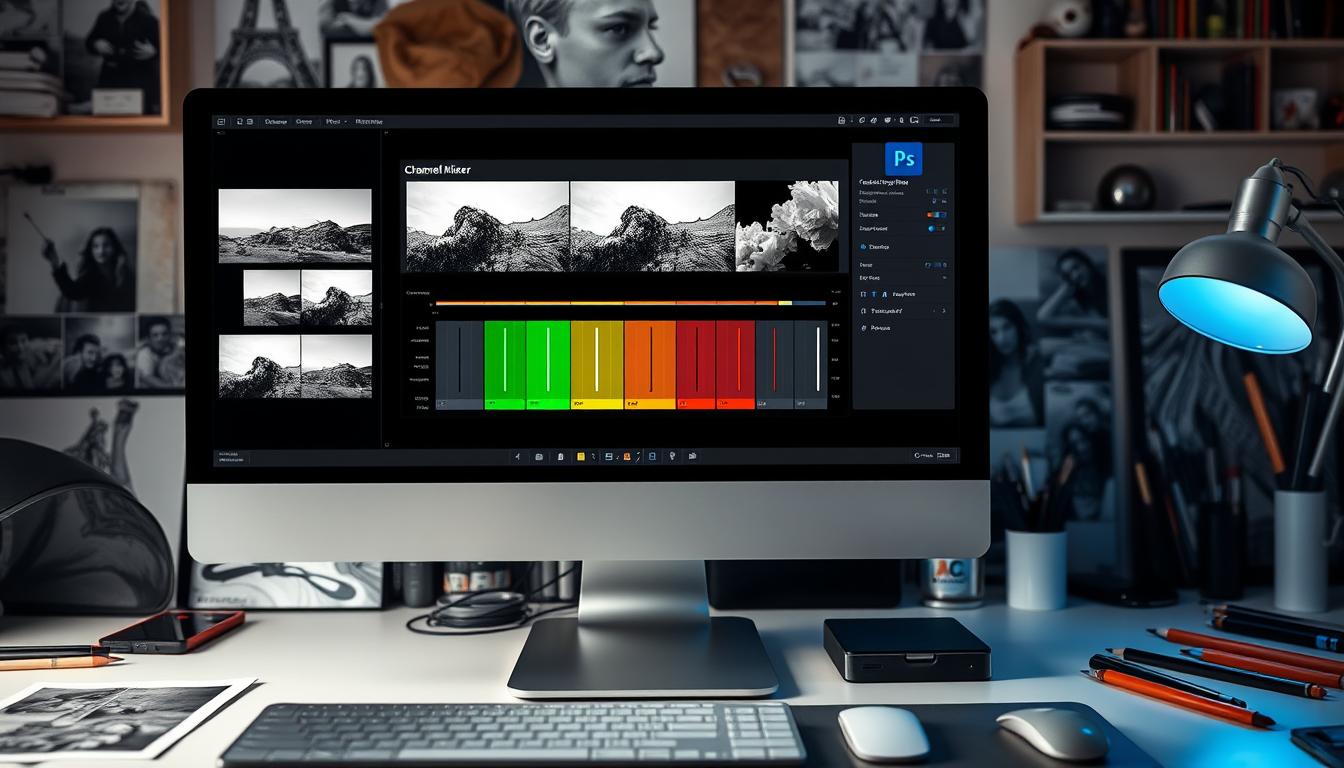
Photoshop has a tool called the Channel Mixer for turning images into black and white. It lets you mix the red channel, green channel, and blue channel to control the tones. This gives you precise tonal control over your black and white images.
Understanding the Channel Mixer
The Channel Mixer blends the color channels of your image to make a new black and white version. You can change the red, green, and blue channel percentages. This lets you highlight or hide certain tones, creating many black and white styles.
Here’s how each color channel affects a black and white image:
- Red Channel: Brightens red, orange, and yellow tones
- Green Channel: Brightens green and yellow tones
- Blue Channel: Brightens blue and cyan tones
Creating a Black and White Mix
To convert to black and white with the Channel Mixer, follow these steps:
- Open your image in Photoshop and add a new Channel Mixer adjustment layer
- In the Channel Mixer settings, check the “Monochrome” box for black and white output
- Adjust the red, green, and blue channel percentages for your monochrome mix
- Use the Constant slider to adjust brightness and contrast
Try different channel ratios to get various black and white styles. You can make high-contrast, low-key, or vintage looks. Below is a table with some starting points for common monochrome mixes:
Mastering the Channel Mixer opens up creative possibilities for your black and white photos in Photoshop. Try different channel ratios and experiment to get striking and original monochrome results.
Enhancing Contrast and Tonal Range
After turning your image black and white, it’s time to boost contrast and tonal range. Photoshop has tools to tweak highlights, shadows, and midtones. This helps create stunning black and white photos.
Using Levels and Curves Adjustments
Levels and Curves in Photoshop are key for tweaking contrast and tonal range. Levels lets you adjust black, white, and midtones with sliders or eyedroppers. This brightens highlights, darkens shadows, and changes contrast.
Curves offer more control over tonal range. By tweaking the curve, you can adjust brightness and contrast in specific image areas. This is great for local adjustments to highlight certain parts of your black and white photo.
Dodging and Burning Techniques
Dodging and burning are classic darkroom techniques now in Photoshop. Dodging lightens areas, while burning darkens them. These methods let you adjust brightness and contrast in your black and white photo.
To dodge and burn in Photoshop, use Dodge and Burn tools or separate layers. Paint with a soft brush on a new layer set to Overlay or Soft Light. This method is perfect for highlighting elements, adding depth, and guiding the viewer’s eye.
Adding Grain and Texture to Black and White Images
Adding film grain, noise, and texture overlays can give your black and white images a vintage look. These techniques mimic traditional film photography. They make your digital images timeless and artistic.
One way to add grain is using Photoshop’s Noise filter. You can adjust the amount and type of noise. This lets you achieve a subtle or strong film grain effect. It adds character to your black and white image.
Texture overlays also enhance black and white images. Adding textures like scratches or dust gives a sense of depth and age. You can blend these textures with your image using layer modes like Multiply or Overlay.
When adding grain and texture, think about your image’s composition and subject. Some photos look better with a little grain, while others need a grittier look. Try different combinations and opacities to match your vision.
It’s important to use film grain, noise, and texture wisely. Too much can take away from your image. By choosing and applying these techniques carefully, you can take your monochrome photos to new heights.
Selective Color Desaturation for Artistic Effect
Black and white photos have a timeless beauty. But, adding color can make them even more striking. Selective color desaturation lets you mix monochrome and color in one photo.
This technique involves choosing which parts of your photo to keep in color. The rest turns black and white. It makes certain parts stand out, adding depth and focus to your image.
Using the Brush Tool with Desaturation
To use the Brush Tool for selective color desaturation, follow these steps:
- Create a new Black & White Adjustment Layer above your image layer.
- Invert the layer mask to make it black, hiding the black and white effect.
- Select the Brush Tool and set your foreground color to white.
- Paint over the areas you want to desaturate, revealing the black and white effect in those regions.
- Adjust the brush size, hardness, and opacity to achieve the desired level of partial desaturation.
Applying Layer Masks for Selective Desaturation
Layer masks are another great way to desaturate selectively. They give you more control:
- Create a new Hue/Saturation Adjustment Layer.
- In the Properties panel, drag the Saturation slider all the way to the left to desaturate the entire image.
- By clicking on its thumbnail, you can select the layer mask.
- Use the Brush Tool with black paint to reveal the original colors in specific areas, creating a selective color effect.
- Experiment with different brush settings and opacities to achieve a natural-looking color pop.
Learning selective color desaturation can transform your black and white photos. It adds a new layer of visual interest and emotional depth.
Step-by-Step Guide for Black and White Conversion
Start by opening your image in Photoshop and duplicating it. Then, add a Black and White Adjustment Layer. Use the sliders to tweak the brightness and contrast of colors. You can also convert it to Grayscale for a quick black and white look.
Another method is using the Channel Mixer. It lets you mix the red, green, and blue channels to create a custom black and white version.
Tips and Tricks for Optimal Results
To improve your black and white images, adjust the contrast and tonal range with Levels and Curves. Use Dodge and Burn tools to lighten or darken specific areas. Adding grain or texture can make your photos look classic.
Try selective color desaturation for unique effects. By masking certain areas, you can add a splash of color to your monochrome image. This creates a striking contrast.
With these techniques, you’re ready to create stunning black and white images. Always remember that having fun and trying new things are the most essential things. By combining these tips with your creativity, you’ll make timeless monochrome masterpieces.
FAQ
How can I convert a color image to black and white in Photoshop?
You can convert a color image to black and white in Photoshop in several ways. You can use the Black and White Adjustment Layer, switch to Grayscale Mode, or use the Channel Mixer. Each method lets you control the final black and white look.
What role does black and white photography play?
Black and white photography has a timeless charm and can stir deep emotions. It removes distractions, letting the viewer see the image’s composition, texture, and story. Famous photographers like Ansel Adams and Henri Cartier-Bresson are known for their stunning black and white work.
What are some essential tools in Photoshop for black and white editing?
Key tools for black and white editing in Photoshop include Adjustment Layers and the Channel Mixer. You also need the Brush Tool for local adjustments and Layer Masks for selective edits. These tools help you adjust the image’s tone, contrast, and overall look.
How do I prepare my Photoshop workspace for black and white conversion?
To get ready for black and white conversion, start by setting your color mode to RGB. Then, create a duplicate layer of your image to keep the original safe.
Can I preserve or enhance specific colors when converting to black and white?
Yes, you can use the Black and White Adjustment Layer to customize the conversion. By adjusting the color sliders, you can keep or highlight specific colors. For example, you can make a blue sky brighter or a red object stand out.
How can I add a classic or vintage look to my black and white images?
To give your black and white images a classic or vintage look, try adding film grain or noise. You can also apply texture overlays or use the Channel Mixer to mimic traditional black and white films. These techniques can make your photos look unique and nostalgic.
What are some tips for creating striking black and white photographs?
To make striking black and white photos, focus on composition, contrast, and texture. Look for strong lines, shapes, and patterns. Use Levels and Curves to adjust the image’s tone and contrast. Try dodging and burning for local touches. Experiment with different methods and effects to find your style.

