High-quality photos are no longer optional in real estate—they’re the first impression buyers get online. A listing with poor photos can sit on the market for weeks, while a well-shot, polished property can attract inquiries almost immediately.
Improving real estate photos isn’t just about having a fancy camera. It’s about preparation, technique, and careful editing. Here’s a practical guide based on real experience in real estate photography and marketing.
Prepare the Property Properly
A great photo begins long before you press the shutter. If the space looks cluttered, lived-in, or poorly arranged, even the best photographer will struggle.
Before shooting, take a walkthrough and ask yourself: Would this attract me if I were buying?
Small steps make a big difference:
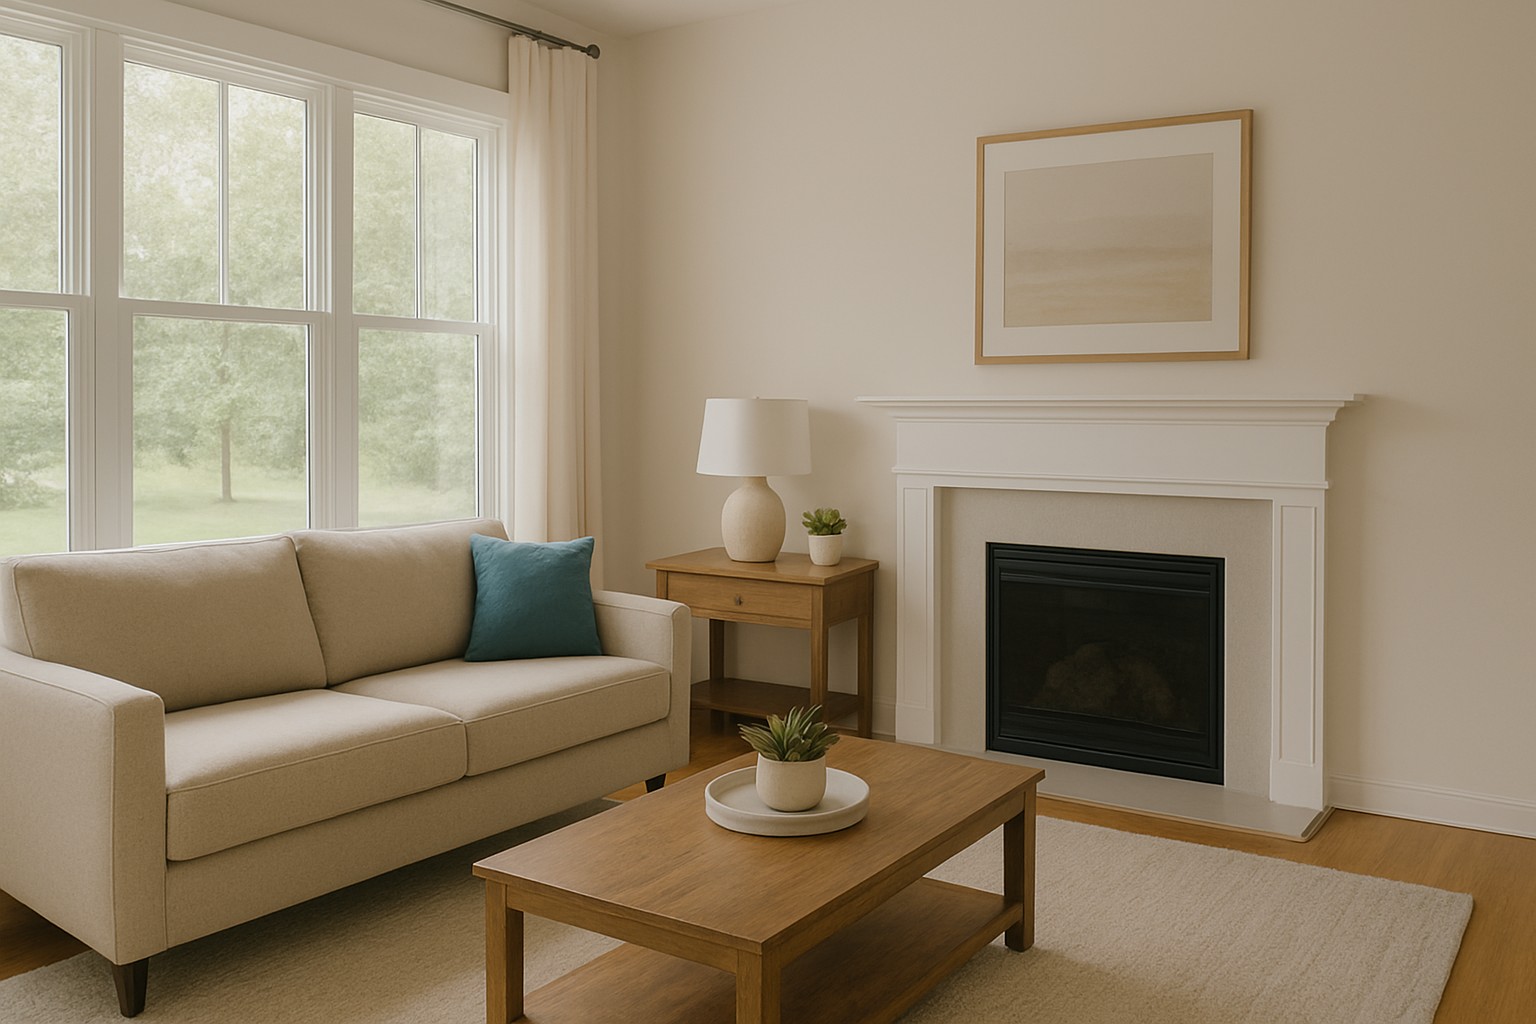
A clean floor, tidy furniture arrangement, smoothed bedding, organized countertops, and a few simple décor pieces can instantly make a room feel more thoughtful and welcoming. For empty homes, staging or virtual staging gives buyers something their imagination can build on.
Use Lighting to Your Advantage
Lighting is the heart of real estate photography. Most buyers don’t think about it, but they instantly feel its impact.
Natural light is the ideal starting point. Open curtains and blinds and let the daylight fill the room. It creates softness, depth, and a sense of openness. Avoid harsh ceiling lights that create uneven shadows or strange tones. If a room is naturally dark, consider using additional soft lighting to maintain balance.
Outdoor shots benefit significantly from the golden hour—those warm, flattering minutes after sunrise or before sunset. It adds warmth and mood without any editing tricks.
Choose the Right Equipment
Your tools can elevate your results, even if your skills are still growing. A professional camera isn’t about showing off; it simply gives you more control over sharpness, depth, and color.
Wide-angle lenses help capture the full feel of the space, while a tripod ensures stability so your lines are clean and your rooms feel straight and structured. If the property has a big yard or unique exterior, drone photography adds perspective buyers often appreciate.
Pay Attention to Angles and Composition
Angles influence how large or small a room feels. Shooting from a corner usually captures more of the space, while keeping the camera at around eye level gives a natural perspective.
Composition matters too. Choose a point of interest—a large window, a fireplace, a clean kitchen island—and let your framing work around it. Straighten vertical and horizontal lines as you shoot, not just in editing. A well-structured photo appears calm, clear, and trustworthy.
Enhance with Professional Editing

Even strong photos need refinement. Editing isn’t about making a property unrealistic; it’s about presenting it accurately and attractively.
Adjusting brightness, exposure, and white balance helps restore what the eye sees naturally. Removing small distractions—a misplaced cord, a wall spot, a window glare—keeps viewers focused on the property’s strengths. HDR blending is especially helpful because it balances indoor details with bright windows, creating a more natural overall look.
For empty rooms, virtual staging adds life and scale, helping buyers understand the potential of the space without misleading them.
Keep Your Images Consistent
A listing feels more professional when all the photos look like they belong together. Similar color tones, brightness levels, and editing styles help buyers trust what they’re seeing. Consistency also makes your brand—whether you’re an agent or photographer—look polished and reliable.
Prioritize High Resolution and Clarity
Buyers zoom in on photos. They want to check details like finishes, flooring, appliances, or textures. High-resolution images ensure everything looks clear across all devices. Shooting in RAW gives you flexibility while editing and preserves the quality you need for both web and high-end displays.
Use Feedback to Improve
Once your listing goes live, the data tells a story. If a property with strong features gets fewer clicks than expected, your photo selection or editing style might need adjustments. If a certain angle consistently performs well across listings, use more of it. Improvement in real estate photography is ongoing, and real-world feedback is one of the best teachers.
Conclusion
Better real estate photos come from thoughtful preparation, smart shooting decisions, and professional editing—not just fancy equipment. When each image is clear, warm, and true to life, buyers feel more connected and confident. Strong visuals increase engagement, build trust, and help properties sell or rent faster.
A polished photo set doesn’t just show a property. It tells a story that encourages the buyer to step inside.
FAQ for Improving Real Estate Photos
How can I make my real estate photos look more professional?
You can make photos look more professional by preparing the property, using natural light, choosing the right angles, shooting with a wide-angle lens, and applying clean, realistic editing. Good preparation and consistent editing make the biggest difference.
What lighting is best for real estate photography?
Natural light is the best choice for interior photography. Open curtains, avoid harsh overhead lights, and shoot during the day for balanced, soft lighting. For exterior shots, the golden hour gives the most flattering results.
Do I need professional equipment to take good real estate photos?
Not always. While a DSLR or mirrorless camera with a wide-angle lens gives the best results, you can still capture strong photos with a modern smartphone if the property is well-lit and properly prepared. Editing plays a major role, too.
What are the most common mistakes in real estate photography?
The biggest mistakes include cluttered rooms, poor lighting, crooked lines, overediting, and shooting from awkward angles. These issues make spaces feel smaller, darker, or distorted.
How important is photo editing in real estate photography?
Editing is essential. It corrects lighting, colors, and perspective, and removes small distractions to ensure the property looks clean and inviting. Professional editing often determines whether buyers engage with a listing.
How do I choose the best angles for real estate photos?
Shoot from corners to capture more of the room, keep the camera level, and highlight the room’s best features—like windows, open layouts, or design elements. Eye-level shots generally give the most natural look.
Should I use HDR for real estate photos?
Yes, HDR helps balance bright windows and darker room interiors, creating a natural and evenly lit image. It’s one of the most effective techniques for professional-looking results.
Is virtual staging better than real staging?
Virtual staging is more affordable, faster, and flexible. Real staging works well for in-person showings. Many sellers now use virtual staging for online listings and real staging for tours.
What resolution should real estate photos be?
Photos should be high-resolution—ideally between 2500 and 3500 pixels on the long edge. This ensures clarity across MLS sites, websites, and mobile devices.
How do edited real estate photos affect buyer interest?
Properties with clean, well-edited photos attract more clicks, get more inquiries, and often sell or rent faster. Buyers trust listings that look consistent and professionally presented.


