Product photography is one of the most powerful tools for selling online. Whether you run an e-commerce store, sell on Amazon, or manage social media campaigns, high-quality product images can be the difference between scrolling past and clicking buy.
While shooting in good lighting and with the right camera is essential, the real magic happens during post-processing — and that’s where Adobe Lightroom shines. Lightroom makes editing product photos faster, more consistent, and more professional-looking, even if you’re not a full-time photographer.
In this guide, we’ll walk you through how to edit product photos in Lightroom step-by-step, covering everything from importing and organizing to color correction, retouching, and exporting for different platforms.
Why Edit Product Photos in Lightroom?
Before we jump into the how-to, let’s look at why Lightroom is such a popular choice for editing product photos:
- Non-destructive editing – You can always go back to the original photo without losing quality.
- Batch editing – Perfect for editing hundreds of product shots consistently.
- Advanced color control – Helps you make colors accurate and appealing.
- Simple background tweaks – Clean up distractions without overcomplication.
- Easy export presets – Export images at the exact size and quality your store needs.
Step 1: Import Your Product Photos into Lightroom
Once you’ve taken your product shots, it’s time to import them into Lightroom.
- Open Lightroom and click Import in the Library module.
- Select the folder containing your product images.
- On the right-hand side, choose your file handling options:
- Build Previews: Standard is usually fine for quick editing.
- File Renaming: Rename files to include product names or SKU numbers.
- Apply During Import: You can apply a basic preset here to speed things up.
💡 Tip: Keep your photos organized by creating folders named after product categories or shooting dates. This will save you time when editing large catalogs.
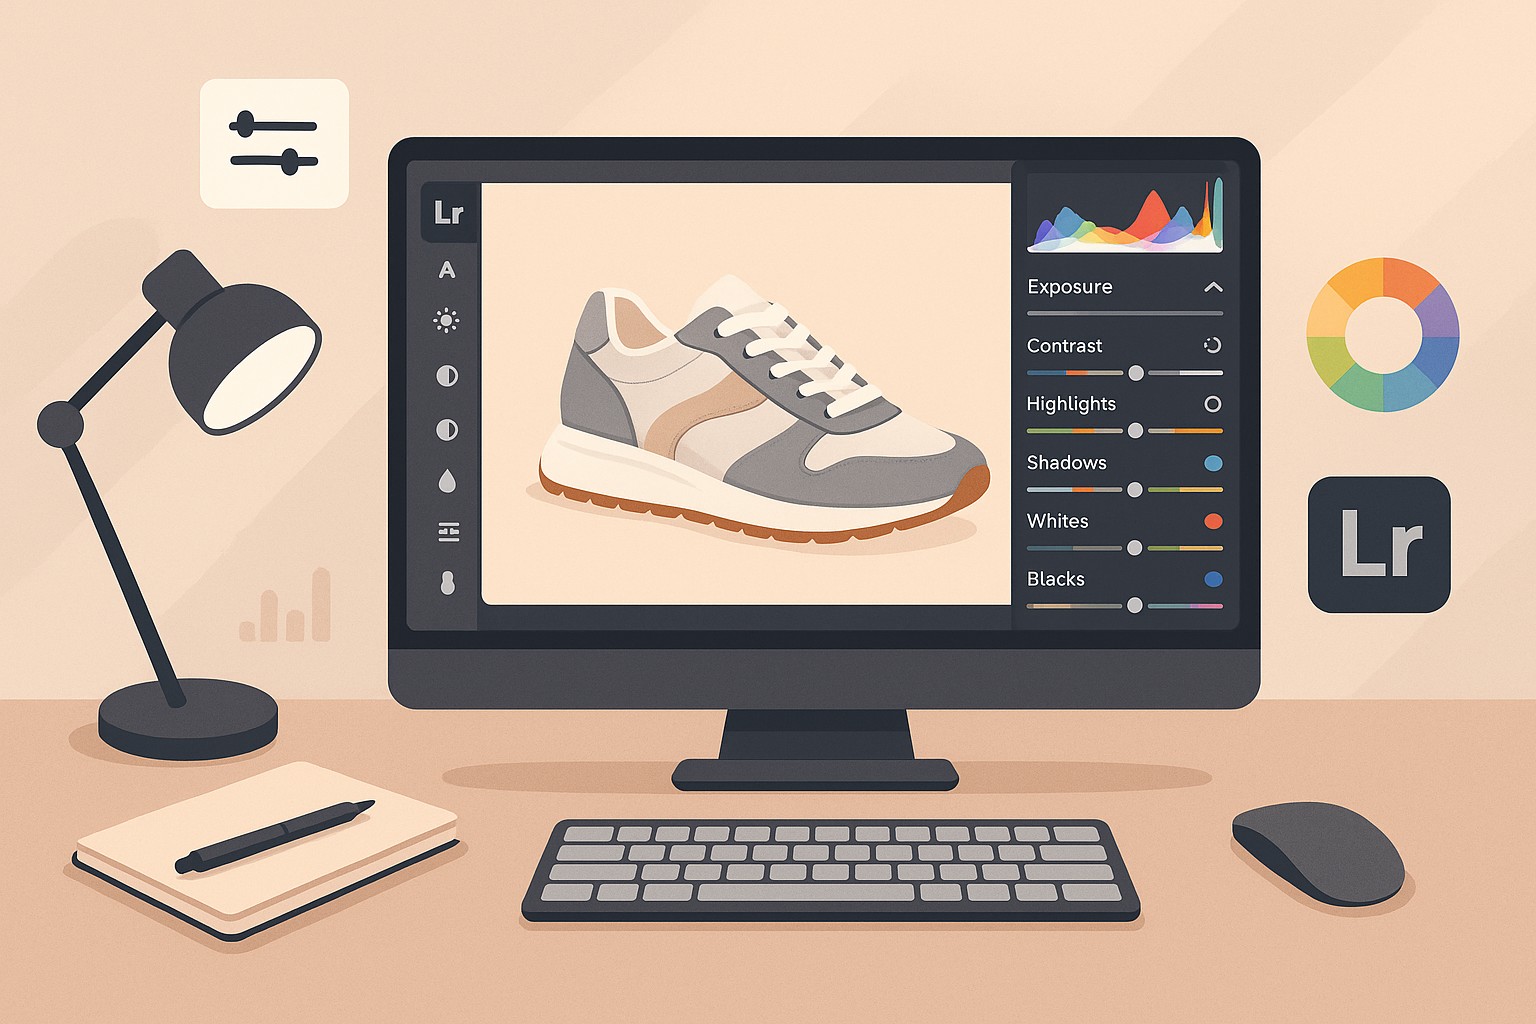
Step 2: Apply Basic Adjustments
After importing, switch to the Develop module. Here’s where the editing begins.
Adjust Exposure and Contrast
Product images should be bright but not overexposed.
- Increase Exposure slightly to make the product pop.
- Adjust Contrast to add depth and separation from the background.
Fine-Tune Highlights and Shadows
- Lower Highlights if the product has shiny or reflective surfaces.
- Lift Shadows to reveal hidden details in darker areas.
Set Whites and Blacks
- Hold Shift and double-click the “Whites” and “Blacks” sliders — Lightroom will auto-balance them.
- This helps create a clean, balanced tone range.
Step 3: Correct White Balance
Color accuracy is critical in product photography. If your product’s color doesn’t match real life, it can lead to returns and unhappy customers.
- Use the White Balance Selector (eyedropper tool) and click on a neutral area (white, grey, or black) in the photo.
- Adjust Temperature to remove warm or cool color casts.
- Tweak Tint to remove any green or magenta hues.
💡 Pro Tip: If you shot in RAW, Lightroom will give you more flexibility in adjusting white balance without degrading quality.
Step 4: Enhance Colors with HSL
The HSL (Hue, Saturation, Luminance) panel is your best friend for refining product colors.
- Hue: Shift colors slightly to match the real-life product.
- Saturation: Boost or reduce intensity without affecting other colors.
- Luminance: Brighten or darken specific colors.
Example: If you’re editing a red handbag and the red looks too orange, adjust the Hue slider toward magenta.
Step 5: Sharpen and Reduce Noise
Product photos need to look crisp and clean.
- Go to the Detail panel.
- Increase Sharpening to around 70–90 for product shots.
- Set Radius to 1.0 and Detail to 25–40.
- Use Noise Reduction only if your photo looks grainy (usually at high ISO).
Step 6: Remove Distractions
Even a small dust particle or scratch can ruin the impression of a product.
- Select the Spot Removal tool (Q).
- Use Heal mode for natural blending.
- Zoom in to check for dust, scratches, or background imperfections.
Step 7: Perfect the Background
Most e-commerce platforms prefer clean, distraction-free backgrounds — often pure white.
Lighten the Background
- Use the Adjustment Brush and increase Exposure and Whites.
- Paint over the background to make it brighter without affecting the product.
Remove Wrinkles or Color Casts
- Use the Radial Filter to isolate the product and adjust the background separately.
- Reduce Saturation for a neutral, professional look.
Step 8: Crop and Straighten
A good crop can completely change the impact of your photo.
- Use the Crop Overlay tool (R).
- Select a ratio that matches your selling platform (e.g., Amazon prefers 1:1 square).
- Align the product so it’s centered and straight.
Step 9: Batch Edit for Consistency
If you have multiple shots of the same product:
- Edit one image until it’s perfect.
- Select all other images from the same set.
- Click Sync in the Develop module and choose the settings you want to apply.
This ensures your store looks consistent — a major factor in perceived professionalism.
Step 10: Export for Web or Print
Finally, export your photos in the right format.
For Web (E-commerce, Social Media)
- Format: JPEG
- Quality: 80–90 (balances quality and file size)
- Color Space: sRGB
- Resolution: 72–150 ppi
For Print
- Format: TIFF or high-quality JPEG
- Color Space: Adobe RGB
- Resolution: 300 ppi
💡 Preset Tip: Save your export settings as a preset in Lightroom so you don’t have to re-enter them every time.
Common Mistakes to Avoid When Editing Product Photos in Lightroom

Even experienced editors can make errors. Watch out for:
- Over-saturation – Colors should be true to life, not neon.
- Over-sharpening – Can create an unnatural, gritty look.
- Inconsistent lighting – Keep brightness levels uniform across all photos.
- Ignoring platform guidelines – Each marketplace (Amazon, Etsy, Shopify) has specific requirements.
Quick Lightroom Shortcuts for Faster Editing
| Task | Shortcut (Mac) | Shortcut (Windows) |
|---|---|---|
| Import Photos | Shift + Command + I | Shift + Ctrl + I |
| Export Photos | Shift + Command + E | Shift + Ctrl + E |
| Crop Tool | R | R |
| Reset Slider | Double-click Slider Name | Double-click Slider Name |
| Copy Settings | Command + Shift + C | Ctrl + Shift + C |
| Paste Settings | Command + Shift + V | Ctrl + Shift + V |
Advanced Tips for Professional-Level Product Edits
- Use Presets for Speed: Create your own Lightroom presets for common products (e.g., jewelry, apparel, electronics).
- Focus on Color Accuracy: Invest in a color calibration tool for your monitor.
- Shoot in RAW: Gives you more flexibility in post-processing.
- Use the Tone Curve: Adds subtle contrast and professional depth.
Final Thoughts
Editing product photos in Lightroom doesn’t have to be complicated. By following a structured workflow — from import to export — you can create images that look polished, consistent, and sales-ready.
The better your product photos, the more trust you build with customers. And trust translates directly into conversions.
FAQ: How to Edit Product Photos in Lightroom
Is Lightroom good for editing product photos?
Yes. Lightroom is one of the best tools for editing product photos because it offers precise color control, batch editing for consistency, and non-destructive adjustments. It’s especially useful for e-commerce sellers who need to edit multiple images quickly.
Should I use Lightroom or Photoshop for product photography?
Lightroom is ideal for basic to intermediate edits, batch processing, and organizing large photo collections. Photoshop is better for detailed retouching, background removal, and complex image manipulation. Many professionals use both — Lightroom for initial edits and Photoshop for fine-tuning.
How do I make product photos look professional in Lightroom?
- Adjust exposure, contrast, and white balance for clarity and accuracy.
- Use the HSL panel to refine colors.
- Remove distractions and clean up backgrounds.
- Apply consistent cropping and framing across all images.
What is the best export setting for product photos in Lightroom?
For web use (e-commerce, social media):
- Format: JPEG
- Color Space: sRGB
- Quality: 80–90
- Resolution: 72–150 ppi
For print:
- Format: TIFF or high-quality JPEG
- Color Space: Adobe RGB
- Resolution: 300 ppi
Can I batch edit product photos in Lightroom?
Yes. Edit one photo, select all similar shots, and click Sync in the Develop module. Choose which settings to apply, and Lightroom will copy them to the rest of the selected images.
How do I get a pure white background in Lightroom?
Use the Adjustment Brush to increase exposure and whites in the background area. You can also lower saturation for a neutral look. For perfect white, combine Lightroom edits with Photoshop background removal.
Do I need to shoot in RAW for editing in Lightroom?
While Lightroom can edit JPEGs, shooting in RAW gives you more flexibility and better results, especially for color correction and exposure adjustments.


