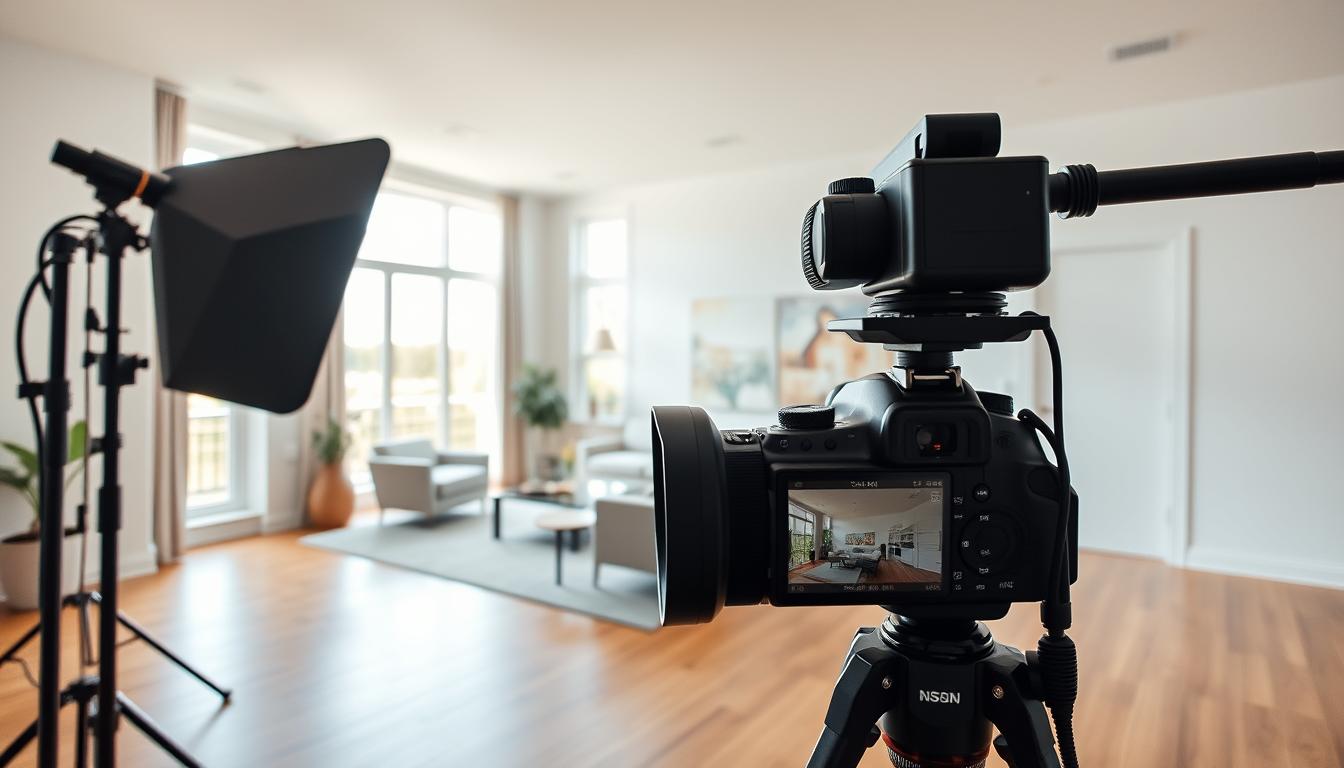
Good interior photography editing makes real estate and design look better. It grabs the attention of people who might be interested.
Using photo editing techniques carefully, we can make spaces look more inviting. This helps show off the best parts of a room.
Image enhancement means making pictures better. This includes changing lights and colors and removing things that distract. It’s all about telling a story with pictures.
Knowing how to do this is key for anyone who wants to show off spaces well. This is true for marketing, design, or architecture.
Understanding the Challenges of Interior Photography
Interior photography is hard because of mixed lighting and dynamic range. Photographers need to know how to fix these problems to get great pictures.
Mixed Lighting Conditions
Dealing with mixed lighting is a big challenge. Natural light from windows meets artificial light from lamps or overhead lights. Mixed lighting makes it hard to get a balanced look. Photographers must tweak their camera or editing to blend these lights.
Dynamic Range Issues
Interior spaces have bright and dark areas. It’s tough to capture all these tones in one photo. Using advanced camera settings or HDR helps keep details in both light and dark spots.
Spatial Representation Challenges
It’s hard to show a room’s depth in a flat photo. Photographers use special techniques to make it look three-dimensional. They focus on composition and perspective to add depth.
Color Cast Problems
Color casts can ruin a photo’s look. Mixed lighting can cause these color problems. Adjusting the white balance in editing can fix this.
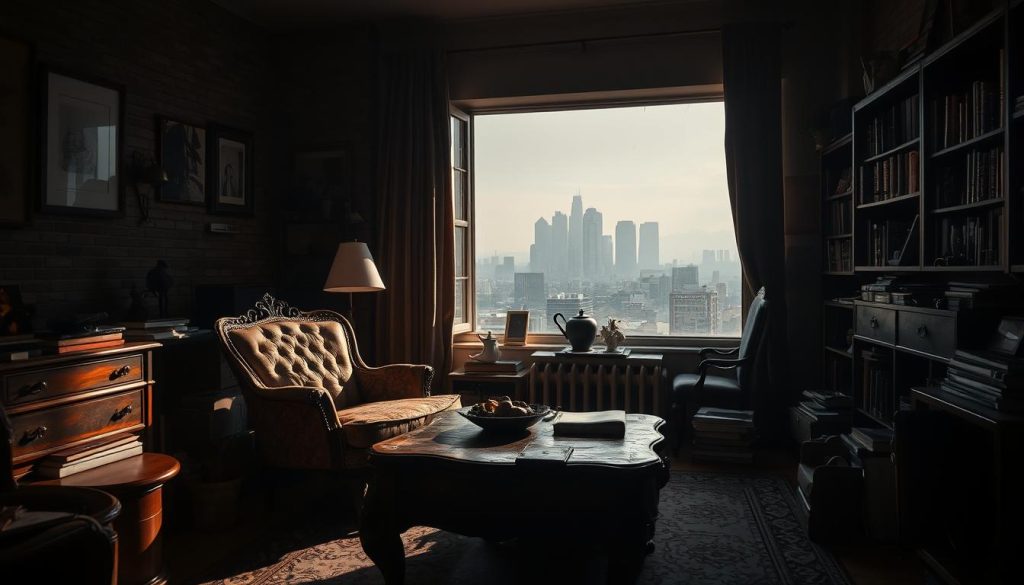
Knowing these challenges helps photographers improve their work. By tackling mixed lighting, dynamic range, spatial issues, and color casts, they can make their photos better.
Essential Preparation Before Editing
Getting your interior shots ready for editing is key. Good prep means better editing results. It’s all about getting it right before you start.
Shooting in RAW Format
RAW format is best for capturing lots of image data. Unlike JPEGs, RAW files keep all camera sensor data. This gives you more editing freedom without losing image quality.
Organizing Your Workflow
Keeping your editing process tidy is important. Use a clear file naming system and folder setup. This makes finding images easy and helps manage projects well. Use metadata and tags for extra photo sorting.
Calibrating Your Monitor
Calibrating your monitor is a must for color and contrast accuracy. Use a calibration tool to set your monitor right. This ensures your edits look good on any screen.
Choosing the Right Software
Picking the right editing software is a big deal. Adobe Lightroom and Photoshop are top choices for pros. They have tools for editing and improving your interior shots.
Adobe Lightroom and Photoshop
Adobe Lightroom is great for basic edits like exposure and color. Photoshop is for deeper edits, like removing objects. It’s all about the right tool for the job.
Alternative Editing Software
Adobe tools are not the only game in town. Skylum Luminar, Capture One, and ON1 Photo RAW also offer great editing features. They might fit your needs better than Adobe.
| Software | Primary Use | Key Features |
|---|---|---|
| Adobe Lightroom | Initial Edits and Management | Exposure adjustments, color grading, noise reduction |
| Adobe Photoshop | Detailed Editing | Layer management, object removal, advanced retouching |
| Skylum Luminar | Creative Edits | AI-powered filters, creative effects, portrait editing |
Basic Editing Techniques for Interior Shots
The secret to amazing interior photos is knowing basic editing techniques. These skills are key to making interior shots look better. They help make photos more interesting for everyone who sees them.
Exposure Adjustments
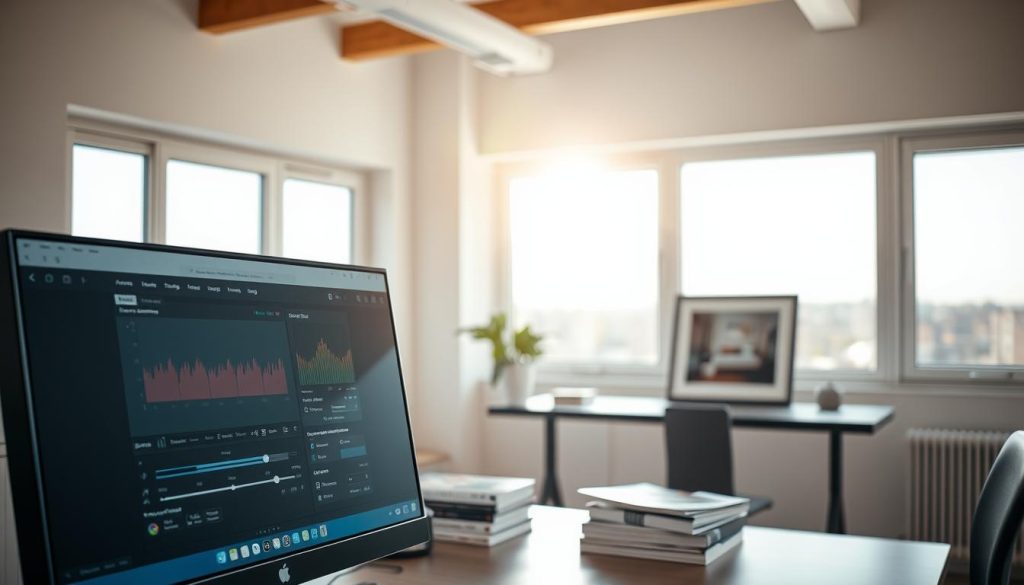
First, you need to adjust the exposure of your photos. Getting the exposure right is important. It makes sure the whole photo looks good, not just parts of it.
Shadow and Highlight Recovery
Next, you should work on shadow and highlight recovery. This means making sure the photo shows details in both bright and dark spots. It makes the photo look more real and balanced.
Noise Reduction Strategies
Noise reduction is very important, too. It helps get rid of grain and digital noise in photos taken in the dark. There are tools that can help reduce noise and make photos look cleaner and more professional.
Basic Contrast Enhancement
Then, you can work on contrast to make your photos pop. Changing the contrast makes different parts of the photo stand out. But, you have to be careful not to make it look fake.
Using these basic editing techniques can really improve your interior photos. Whether it’s fixing the exposure, working on shadows and highlights, reducing noise, or adjusting contrast, each step is important. They all help make your photos look better and more interesting.
How to Edit Interior Shots for Maximum Impact: Color Correction
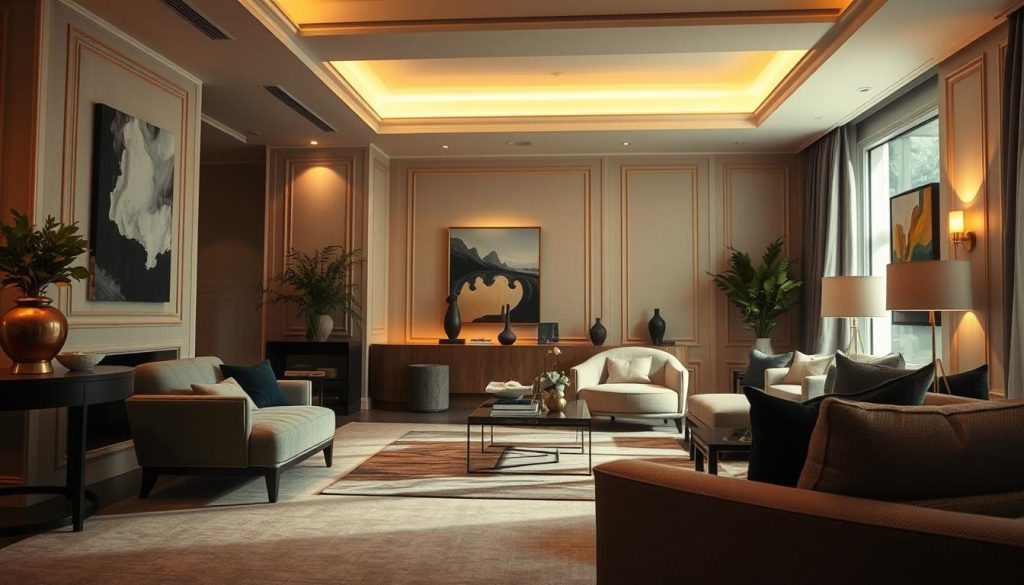
To make interior shots pop, color correction is key. It’s a vital step in editing that can greatly affect how an image looks.
White Balance Adjustment
First, adjust the white balance. This sets the color temperature to match the scene’s lighting. Wrong white balance can ruin the image with color casts.
Color Temperature Harmonization
Next, make sure the color temperature is consistent. This creates a unified look. Warm tones are cozy, while cool tones are modern.
Vibrance vs. Saturation
Knowing vibrance and saturation is important. Vibrance boosts less saturated colors, while saturation changes all colors. Using vibrance keeps colors natural.
Correcting Color Casts
Color casts can mess up interior photos. They come from different light sources, like fluorescent and incandescent.
Dealing with Green Fluorescent Casts
Green casts are tough to fix. Use color grading tools to remove the green. Don’t overdo it to avoid unnatural looks.
Neutralizing Yellow Incandescent Tones
Yellow tones from incandescent lights are also a problem. Adjust the white balance and use color correction tools. Make small changes to avoid overdoing it.
By using these color correction tips, your interior shots will look better. Good color correction makes images more appealing and sets the right mood.
- Adjust white balance to match lighting conditions
- Harmonize color temperature for a consistent look
- Use vibrance to avoid over-saturating colors
- Correct color casts caused by different light sources
Enhancing Interior Lighting
Editing interior lighting needs both tech skills and creativity. It makes photos more inviting and fun to look at.
Window Light Management
Managing window light is key in interior photos. It’s about balancing natural light with the scene’s other lights. Adjusting exposure and using radial filters helps avoid too much light and keeps details sharp.
Artificial Light Balancing
It’s important to mix artificial light with room light for a natural look. Adjusting color temperature of lights makes sure everything looks right together.
Creating Mood with Light
Lighting sets the mood of a photo. By adjusting brightness and contrast, you can make a space feel cozy or modern.
Using Radial and Gradient Filters
Radial and gradient filters are great for lighting. They let you selectively adjust light, color, and contrast. This helps focus on certain parts or balance the light.
Simulating Natural Light
Sometimes, we need to fake natural light, like in dark rooms. Editing can add light with dodging and burning. It makes it look like real light is there.
Learning these tricks makes interior photos look amazing. They become more than just pictures; they’re experiences.
Composition and Perspective Correction
To make interior photos better, knowing how to fix composition and perspective is key. These steps can change how a room looks, making it welcoming.
Straightening Vertical Lines
Fixing vertical lines is very important. Lines that are not straight can make a room look bad. Most photo editing tools can fix these lines to be straight.
Correcting Lens Distortion
Lens distortion can change how a room looks. Fixing this distortion keeps the room’s size right, making it look natural.
| Technique | Description | Impact |
|---|---|---|
| Straightening Vertical Lines | Adjusting lines to be perfectly vertical | Enhances stability and professionalism |
| Correcting Lens Distortion | Adjusting lens curvature | Maintains natural proportions |
| Cropping for Impact | Focusing on key areas | Directs viewer’s attention |
Cropping for Impact
Cropping is a great way to improve photos. By focusing on key parts, you can make the viewer see what’s most important, making the room more appealing.
Fixing Converging Lines
Converging lines can make a room feel off. Changing these lines to be straight can make the room look bigger and more welcoming.
Balancing Room Proportions
It’s also important to balance the room’s look. This means adjusting the view so the room looks right, making it feel cozy and real.
Advanced Editing Techniques
To make your interior photos better, learn advanced editing. These skills can change your photos a lot. They help make your photos look better and more interesting.
There are many tools and methods in advanced editing. One key one is HDR blending. It mixes different exposures to make one photo look natural and bright.
HDR Blending for Natural Results
HDR blending is great for photos with lots of light and dark. It combines exposures to show the whole scene clearly. This makes your photos look better and more balanced.
Focus Stacking for Complete Sharpness
Focus stacking makes everything in your photo sharp. You take many photos at different points and then mix them. This way, your photo is sharp all over.
Luminosity Masking
Luminosity masking lets you adjust parts of your photo based on how bright they are. It helps you control light, contrast, and color very well.
Creating Custom Masks
To use luminosity masking, you need to make custom masks. You use the image’s brightness to make a mask. This mask helps you adjust specific parts of your photo.
Applying Selective Adjustments
After making your masks, you can adjust your photo. You can make dark areas brighter or change contrast in certain spots. This makes your photo look even better.
Frequency Separation for Texture Control
Frequency separation helps control texture in your photos. It breaks your image into layers. This lets you adjust texture and details without changing the whole photo.
Window View Replacement
Window view replacement is a creative trick. It changes what’s outside a window in your photo. This can make your photo look better or fix bad views.
Learning these advanced editing skills can really improve your photos. It takes your photography to a new level.
Common Mistakes to Avoid in Interior Photo Editing
Even pros can make mistakes in interior photo editing. Knowing these common errors can make your work better.
Oversaturated Colors
One big mistake is making colors too bright. This makes the photo look fake. It’s important to keep colors natural.
Unrealistic HDR Effects
High Dynamic Range (HDR) can make images pop. But too much can make them look fake. Use HDR effects gently.
Excessive Sharpening
Too much sharpening adds noise and messes up the photo. Find the right amount to make details clear without harm.
Ignoring Vertical Alignment
Not paying attention to vertical lines can mess up the photo. Straight lines are key for a pro look.
Inconsistent White Balance
Wrong white balance can mess up colors, ruining the feel of the space. Get the white balance right for a cozy vibe.
By avoiding these mistakes, editors can make photos that look great and show the space well.
Conclusion
Good interior photography editing is key to showing a space’s true beauty. By using the tips from this guide, you can make your interior shots look better. This makes them more interesting and powerful.
A photo that’s well-edited can make a room seem welcoming and big. It looks good too. This happens when you get the light right, fix colors, and make the photo pop. It shows the space in a way that grabs people’s attention.
To get great photos, keep practicing and getting better. Try out different ways of editing. With more practice, you’ll get really good at making stunning interior photos.
Knowing how to edit interior photos well is very useful. It helps show off spaces in the best way, for things like selling houses or showing off designs. In today’s world, where pictures are everything, this skill is super important. It helps grab people’s interest and attention.
FAQ
What is the best format for shooting interior photography?
RAW format is best for interior photos. It captures more data. This makes editing easier.
How do I manage mixed lighting conditions in interior shots?
Adjust white balance for different lights. Use color correction tools. Sometimes, mix multiple exposures.
What software is best for editing interior photography?
Adobe Lightroom and Photoshop are top choices. They have tools for adjusting exposure, color, and details.
How can I correct color casts in my interior photos?
Fix color casts by adjusting white balance. Use color grading tools. Apply specific profiles to fix colors.
What are some common mistakes to avoid in interior photo editing?
Avoid oversaturated colors and unrealistic HDR. Don’t over-sharpen. Keep verticals straight. Use consistent white balance.
How do I enhance the lighting in my interior shots?
Manage window light and balance artificial light. Create mood with light. Use filters for better illumination.
Can I replace the view outside a window in my interior photos?
Yes, you can replace outside views. This makes the image better by changing the scene.
How do I ensure my interior photos are sharp and well-focused?
Use focus stacking for sharp photos. It works well with complex scenes or depth.
What is luminosity masking, and how is it used in interior photo editing?
Luminosity masking lets you adjust parts of the image. It’s good for making specific edits without changing the whole photo.
How can I correct converging lines in my interior photos?
Fix converging lines with perspective tools. These tools help make the space look natural and inviting.

