Welcome to our guide on combining two images in Photoshop. This tutorial is for both beginners and experienced users. It shows you how to blend images and create amazing visuals.
With Photoshop, you can explore many creative options. You can mix simple images or create complex ones. We’ll share the key tools and techniques for blending images. This will help you get professional results.
Introduction to Image Combining
This guide covers the basics of combining images in Photoshop. You’ll learn the essential tools and techniques for blending images. Whether you’re new or experienced, this tutorial will teach you to create stunning visuals.
Getting Started with Image Combining in Photoshop
Mastering graphic design and digital art means knowing how to manipulate images. In Photoshop, combining images can lead to amazing visuals. First, you need to learn the basics of the software and the tools you’ll use.
Graphic design is key in digital art for making images look great. Photoshop offers many tools for image manipulation. This is crucial for your work.
To start combining images in Photoshop, you’ll need a few tools. Here’s what you’ll find:
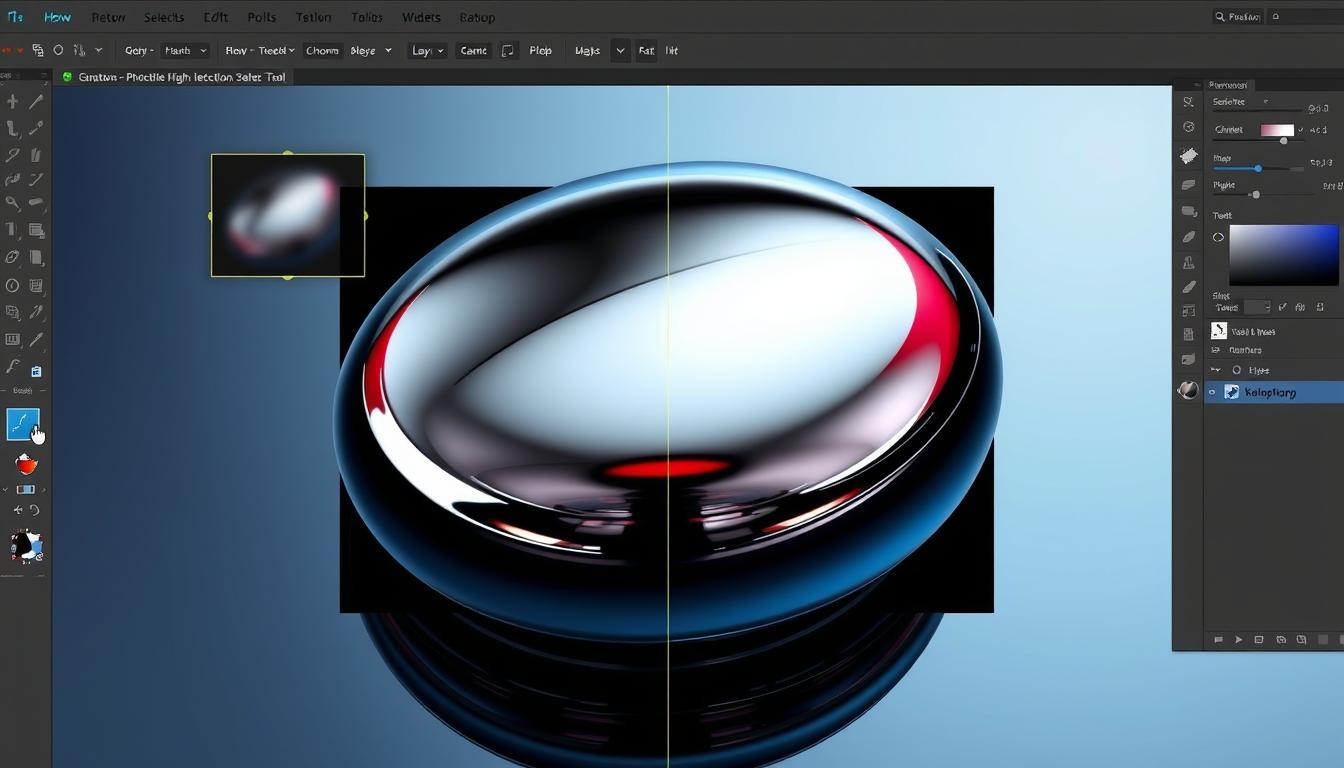
- Toolbar: This is where you’ll find most of Photoshop’s tools. You’ll use them for selecting, cropping, and editing.
- Menus: The menus give you access to lots of functions. You can manage files, edit, and find help here.
- Palettes: These show information about your image. You’ll see layers, channels, and history here.
Learning to use these tools will help you create amazing graphic design and digital art. You’ll master image manipulation in Photoshop.
Preparing Your Images for Combining
To blend two images smoothly, you need to prepare them well. Think about how each image fits together. Also, consider the visual effects you want and how to boost them with creative editing.
Choose images with similar lighting, colors, and textures. This makes combining them easier and keeps the look consistent. Use Photoshop to adjust sizes and resolutions for compatibility.
- Adjust the image size and resolution to match each other
- Use the crop tool to refine the composition of each image
- Apply filters or adjustments to enhance the visual effects
- Save your images in a compatible format, such as PSD or JPEG
By following these steps and using Photoshop’s creative editing tools, you can get your images ready for combining. Don’t be afraid to try different techniques and tools for your project.
Basic Methods to Combine Two Images in Photoshop
Combining two images in Photoshop can make your visuals stunning. It’s key to know about layer masks, blending modes, and opacity settings. These basics help you blend images smoothly, showing off your creativity and skill.
Layer masks are vital when working with layers. They let you control what parts of each layer show. This way, you can mix multiple images into one complex picture. Blending modes let you merge layers in special ways, adding unique textures and effects. And opacity settings help adjust how transparent each layer is, adding depth.
- Create a new layer for each image you want to combine
- Use layer masks to control the visibility of each layer
- Adjust opacity settings to refine the composition
By following these steps and practicing with layer masks, blending modes, and opacity settings, you’ll be well on your way to creating stunning image combinations in Photoshop.
Advanced Techniques for Seamless Image Blending
Learning the basics of combining images is just the start. To improve, you need to learn advanced techniques for seamless blending. This means using tools to smooth out edges, tweak colors, and add texture and depth. These steps help you create images that look professional and show off your creativity.
Some important things to think about in advanced techniques for image editing are:
- Using layer masks to create complex compositions
- Applying seamless blending modes to merge images
- Adjusting opacity settings to control the visibility of each layer
Using these advanced techniques in your work can make your images look amazing. Whether it’s for a personal project or a client, knowing how to blend images smoothly is key to getting great results.
Understanding Layer Masks for Better Results
In Photoshop, layer masks are key for precise image control. They help you blend images smoothly. First, learn the basics of layer masks and how to use them well.
Layer masks let you hide or show parts of an image. This way, you can edit without changing the whole picture. To start, pick the layer you want to edit and click “Add layer mask.” Then, use tools like the brush or gradient to fine-tune the mask.
When using layer masks, remember a few troubleshooting tips. Check the mask edges, make sure it’s on the right layer, and use “Invert” to flip the mask. With these tips and practice, you’ll get better at layer masks.
- Refine mask edges using the brush tool or the gradient tool
- Check for incorrect mask edges and adjust as needed
Using layer masks can elevate your image work. With time and effort, you’ll master layer masks. This will open up new creative paths in Photoshop.
Essential Blending Tools and Features
When you’re mixing images in Photoshop, the right tools are crucial. Photoshop has many options to help you get the look you want. Tools like layer masks and opacity settings let you blend images smoothly.
Photoshop shines with its blend modes for layers. These modes let you mix images in cool ways. For instance, the multiply mode darkens images, while screen mode brightens them.
Some key tools and features in Photoshop include:
- Layer masks: allow you to hide or reveal parts of a layer
- Opacity settings: control the transparency of a layer
- Blend modes: apply different effects to layers
- Layer styles: add textures, patterns, and other effects to layers
Learning these tools can boost your image editing skills. You can create amazing, professional-looking images. Photoshop’s tools are perfect for mixing images or working with layers.
Color Matching and Harmony Between Images
When you mix two images in Photoshop, matching colors is key. This means adjusting each image’s color balance for a smooth blend. Adjustment layers help fine-tune these colors for a perfect match.
Color matching is vital in combining images. Color matching means adjusting two images’ colors for a uniform look. You can use adjustment layers to tweak brightness, contrast, and saturation. This way, you get a blend that looks natural and unified.
Here are some tips for matching colors and achieving harmony:
- Use adjustment layers to tweak each image’s color balance.
- Adjust brightness and contrast for a consistent look.
- Try different blending modes for a seamless blend.
By following these tips and using adjustment layers wisely, you can match colors and achieve harmony. Remember to try different techniques and adjust colors until you get the look you want. This will help you create a professional-looking blend.
Common Mistakes to Avoid When Combining Images
Working with images in Photoshop can lead to mistakes. Common mistakes like wrong layer order, bad masking, and color issues can mess up your project. To avoid these, it’s key to know the basics and plan well.
Staying away from common mistakes means paying close attention and knowing your tools. Some big mistakes include:
- Wrong layer order, causing images to mix up or blend wrong
- Bad masking, leading to rough or uneven edges
- Not matching colors well, making images clash or look unnatural
Knowing these common mistakes and avoiding them can lead to better results. Always check your work and tweak it if needed. This way, you can avoid Photoshop errors and get the best outcome.
With time and effort, you can get good at combining images. By avoiding common mistakes and using the right methods, your work will look professional. This will take your photography and design to the next level.
Tips for Professional-Looking Results
To get professional-looking results, focus on the details in your images. Refine the edges, adjust shadows and highlights, and add final touches. This will help you create stunning images that show off your creativity and skill.
Edge refinement is key for professional-looking results. Make sure the edges of your images are smooth and natural. Use tools like the pen tool or selection brush to refine these edges carefully.
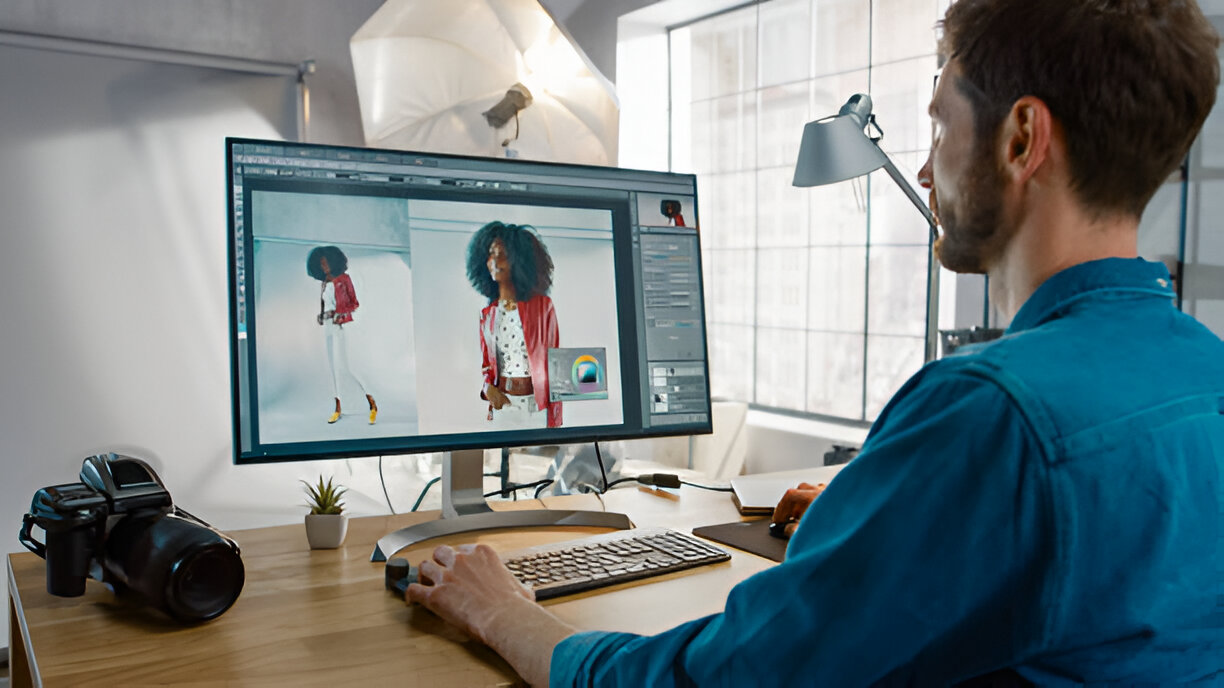
Shadow adjustments are also important. They help create a natural balance of light and dark. Use tools like the curves adjustment or levels adjustment to fine-tune shadows and highlights.
- Use the pen tool to refine the edges of your images
- Adjust the shadows and highlights using the curves adjustment or the levels adjustment
- Add final touch-ups to your image to create a seamless blend
By following these tips, you can create professional-looking image combinations. Always focus on the details and don’t be afraid to try new things. This will help you achieve the best results.
Saving and Exporting Your Combined Images
After combining your images, it’s key to save and export them correctly. Saving your work keeps the quality of your images intact. You can pick from JPEG, PNG, or TIFF formats, based on how you plan to use them.
For websites, JPEG is a top pick because it’s small and still looks good. But if you need to keep things transparent or want a better image, PNG or TIFF might be better. When exporting, think about the resolution and how much compression you use in Photoshop.
Here are some important things to think about when saving and exporting your images:
- Image format: Pick the right one for your needs, like JPEG, PNG, or TIFF.
- Resolution: Choose a resolution that fits your use, like 72 dpi for the web or 300 dpi for prints.
- Compression: Play with the compression to find a balance between file size and image quality.
To make your images web-friendly, save them as JPEGs. For prints, TIFFs are a better choice. By picking the right image formats and settings, your images will look great anywhere.
Creative Project Ideas for Combined Images
Combining images can lead to stunning creative projects that push the boundaries of art and design. By experimenting with different techniques, you can create unique and eye-catching visuals. These visuals capture the viewer’s attention. One exciting aspect is creating surreal compositions that blend reality and fantasy.
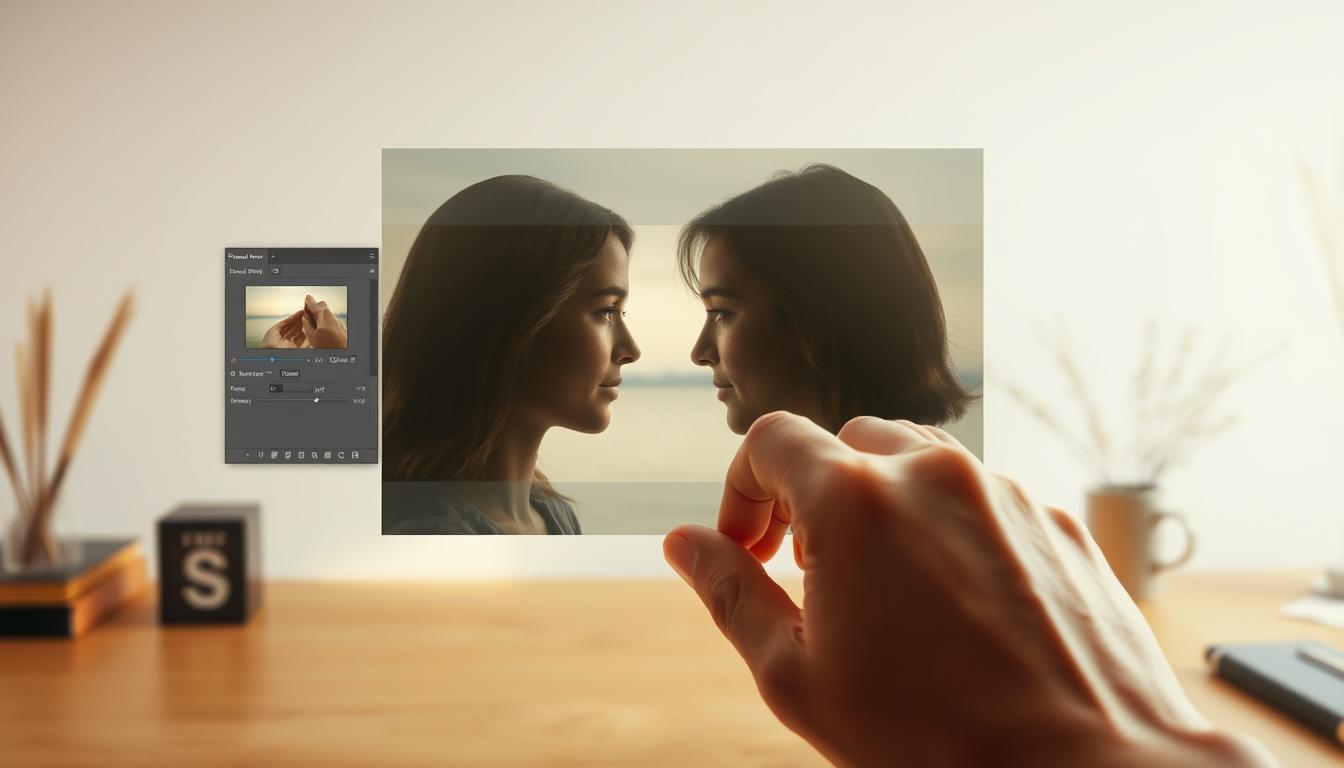
Some ideas for creative projects include creating double exposure effects. This is where two images are layered on top of each other to create a dreamlike atmosphere. You can also experiment with surreal compositions by combining images of different textures, patterns, and colors. This creates a visually striking effect. Plus, you can use image combination to create marketing materials like posters, flyers, and social media graphics. These materials grab the viewer’s attention and convey a message.
- Experiment with different image combination techniques, such as layering and masking, to create unique effects.
- Play with different colors, textures, and patterns to add depth and interest to your compositions.
- Use image combination to tell a story or convey a message, rather than just creating a visually striking effect.
By following these tips and experimenting with different techniques, you can create stunning creative projects. These projects showcase your skills and imagination. Whether you’re creating double exposure effects, surreal compositions, or marketing materials, the possibilities are endless. The results can be truly breathtaking.
Conclusion
As you finish this Photoshop tutorial on combining images, remember it’s just the start. Photoshop is a huge space for creativity, where you can make your visual ideas real. You now have the skills to try double exposures, surreal scenes, and even cool marketing stuff.
Be open-minded and eager to try new things in each project. Use layer masks, blending modes, and color tweaks to mix your images smoothly. Keep practicing and improving, and let your creativity lead the way. With Photoshop and your unique style, anything is possible.
This guide’s end is just the beginning of your creative adventure. Dive in, enjoy, and let your image combination skills grow. Happy editing!
FAQ
What are the essential tools I’ll need to combine two images in Photoshop?
You’ll need the toolbar, menus, and palettes in Photoshop. Use tools like the Move Tool and Layers panel. Blend Modes help adjust your images.
How do I prepare my images for combining in Photoshop?
First, pick the right images. Then, adjust their size and resolution. Make sure they match each other well. Photoshop’s tools can help enhance your images.
What are the basic methods for combining two images in Photoshop?
Basic methods include using layers and layer masks. Understand blending modes and opacity settings. These help blend images seamlessly.
How can I use layer masks to create better results when combining images?
Layer masks are powerful in Photoshop. They help with complex selections and masks. Learn to create and refine masks for precise control.
What are some essential blending tools and features in Photoshop?
Photoshop has many blending tools. These include blend modes, opacity settings, and layer styles. They help blend images smoothly and add depth.
How can I ensure color matching and harmony between the images I’m combining?
Adjust color balance and use adjustment layers. Create consistent lighting. These steps enhance colors in your combined image.
What are some common mistakes to avoid when combining images in Photoshop?
Avoid wrong layer ordering and poor masking. Also, ensure color matching. Knowing these mistakes helps achieve better results.
What tips can I use to achieve professional-looking results when combining images?
Focus on edge refinement and shadow adjustments. Add final touch-ups. These tips lead to stunning image combinations.
What are some creative project ideas for combined images in Photoshop?
Try double exposure effects and surreal compositions. Use combined images for marketing. These ideas unlock creative possibilities.

