DTF printing is a favorite for making custom transfers. Knowing how to fix edges in Photoshop is key for top-notch results. To do this, you need to grasp the basics of DTF printing and edge quality. With the right methods and tools, you can make prints that look like they were done by a pro. This guide will share important DTF printing tips and show you how to fix edges in Photoshop for DTF.
Our guide will teach you how to sharpen edges, handle color bleeding, and solve common issues. Whether you’re new to this or have experience, our advice will boost your DTF printing skills. To start, it’s vital to understand why edge quality matters in DTF printing and how to use Photoshop to fix edges.
Understanding DTF Printing and Edge Quality
DTF printing, short for Direct-to-Film printing, is a technique used to create vibrant, full-color transfers with sharp detail and lasting quality. It prints images on a film, then applies them to fabrics using heat and pressure. This method is popular for its vibrant, detailed images on many materials.
Common issues in transfer quality include blurry or jagged edges and color bleeding. These problems can stem from various factors like fabric type, printer quality, and printing settings. To get the best results, it’s important to know what affects edge quality and how to avoid errors.
Factors Affecting Edge Quality
- Fabric type: Different fabrics can impact the edge quality of the transfer, with some more prone to bleeding or blurring.
- Printer settings: The settings during printing can greatly influence the edge quality, with resolution and ink density being key factors.
- Image quality: The quality of the image being printed also affects the edge quality, with high-resolution images generally having sharper edges.
Understanding what affects edge quality and how to avoid errors can lead to high-quality transfers. This is crucial in DTF printing, where the edge quality significantly impacts the final product’s look.
Essential Photoshop Tools for Edge Correction
For Photoshop edge correction in DTF printing, the right tools are key. You need to refine and enhance image edges for a clean, sharp look. DTF printing software often uses Photoshop for this.
To get high-quality edges, you must know the essential Photoshop tools. These include the Magic Wand, Pen Tool, and various selection and masking techniques. Learning to use these tools well is crucial for professional DTF transfers.
Mastering these tools and techniques will help you achieve clean, sharp edges. Always use the latest DTF printing software and Photoshop edge correction methods for the best results.
Fix Edges in Photoshop for DTF Printing
To get high-quality DTF printing, fixing edges in Photoshop is key. This involves several steps, from setting up your workspace to using advanced edge techniques. By following these steps, your designs will have clean, precise edges that look great on fabrics.
When using DTF printing, edge quality is crucial. Start by preparing your workspace. Access the tools and panels you need in Photoshop. This makes your work more efficient and helps you focus on the design’s edges.
Preparing Your Workspace
- Open your design file in Photoshop and ensure that the necessary layers are accessible.
- Use the right tools for edge correction, like the Magic Wand or Select and Mask, to get clean, precise results.
- Learn to use layer masks and adjustment layers—they’re key for smoothing out edges and making your edits look natural.
By following these steps and mastering DTF printing, you can make stunning designs with precise edges. Remember to fix edges in Photoshop carefully for the best results.
Basic Edge Smoothing Techniques
After setting up your workspace, start using basic edge smoothing techniques. This might include using the Magic Wand tool to select and refine your design’s edges.
Smart Selection Techniques for Clean Edges
Getting clean edges in DTF printing is key. Smart selection techniques are crucial. They help make sure your prints have sharp, clear edges. This boosts the image’s quality.
Understanding clean edges is vital. They stop color bleeding, keep lines sharp, and protect the image’s integrity. Smart selection methods help achieve these clean edges, improving your print quality.
Adding these smart selection techniques to your workflow can greatly enhance edge quality. Whether you’re experienced or new, learning these methods is key for top-notch results.
Edge Refinement Tools and Filters
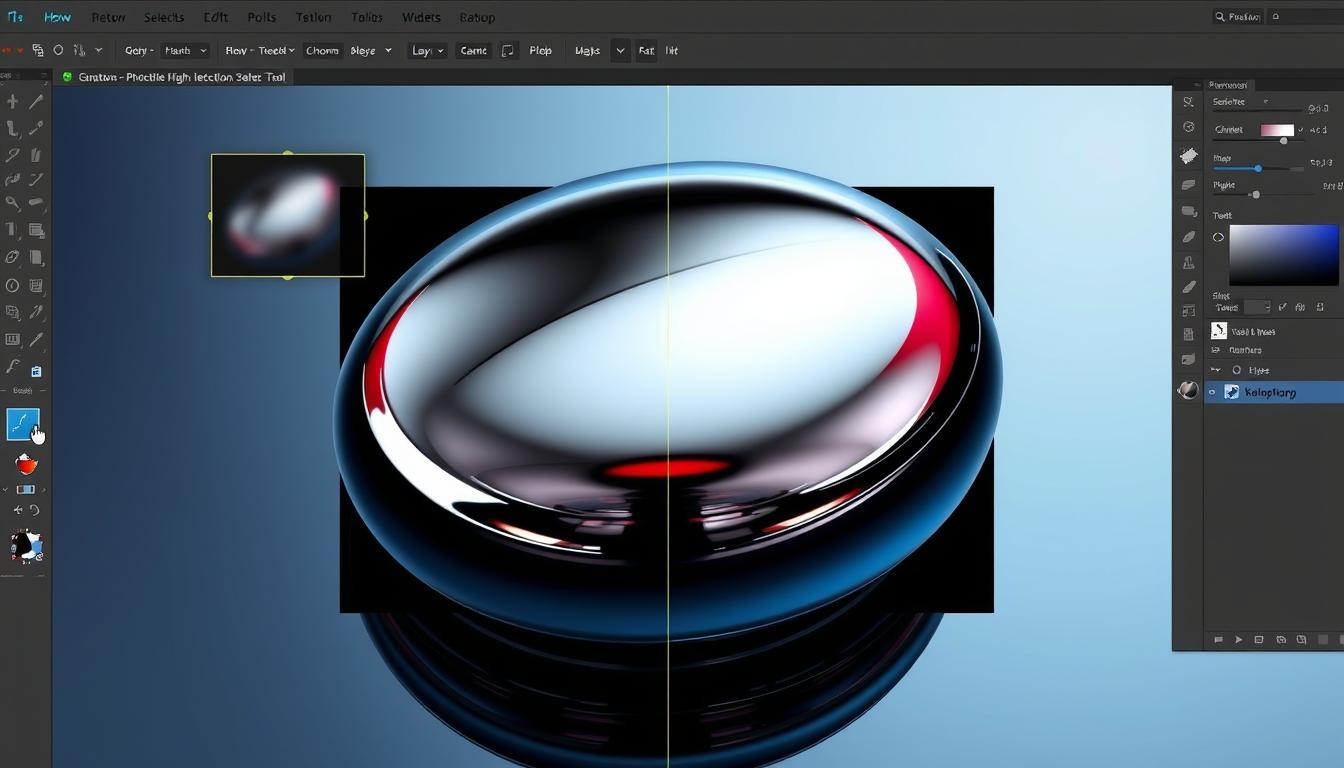
Edge refinement is key for top-notch DTF prints. Photoshop has many tools and filters to help. From simple Gaussian Blur to advanced Surface Blur, these can smooth out edges and enhance your transfers.
Using these Photoshop filters the right way can really make your DTF prints look cleaner and more detailed. Knowing when and how to use these tools is essential for creating polished, professional edits. You will enhance your DTF prints and become more adept at fine-tuning edges with practice.
But edge refinement isn’t just about filters. It’s also about setting up your workspace and choosing the right tools. By following these steps and using the right tools, you can get DTF prints with sharp, clean edges.
Managing Color Bleeding and Edge Artifacts
DTF printing can face two big challenges: color bleeding and edge artifacts. To avoid these, knowing your inks and fabric is key. Also, using the right Photoshop settings is crucial. Color bleeding happens when ink spreads too far, ruining the look. Edge artifacts are rough, uneven edges or distortions that appear around your design.
- Adjust the ink settings to stop color bleeding. Think about the fabric’s absorbency and the ink’s thickness.
- Use anti-aliasing or gentle blurs to smooth out jagged edges and get a better finish.
- Work on the edge contrast to make the image clearer and more appealing.
Follow these tips to make sure your DTF prints turn out looking their best. Always test on different fabrics and tweak your settings for the best look. This way, you’ll avoid common DTF printing issues.
Optimizing Edge Quality for Different Fabric Types
In DTF printing, fabric types greatly affect the edge quality. It’s key to know each fabric’s unique traits and adjust edge correction methods. Softer fabrics like cotton or polyester blends need softer edges to avoid a harsh look.
To improve edge quality optimization for various fabrics, consider these factors:
- Fabric density and weave
- Print resolution and ink type
- Edge smoothing and refinement techniques
Adjusting your edge correction techniques based on fabric types ensures top-notch DTF prints. For denser fabrics, use high print resolution and adjust edge smoothing. Softer fabrics might need lower resolution and gentler edge refinement.
In summary, optimizing edge quality for different fabric types is vital for professional DTF prints. Understanding each fabric’s unique properties and adjusting edge correction techniques accordingly will elevate your DTF printing.
Troubleshooting Common Edge Problems
DTF printing solutions often face edge problems. Troubleshooting is key to fixing these problems and ensuring your prints come out flawless. We’ll look at common edge problems and how to fix them.
Edge problems can stem from wrong settings, bad image prep, or printing issues. The important part is figuring out what’s causing the issue and fixing it right at the source. Issues like pixelated edges, white edges, and transparency problems are common.
Fixing Pixelated Edges
Pixelated edges can be smoothed out by tweaking image resolution or using filters. Photoshop’s Gaussian Blur or Sharpen tool can help. Adjusting the image’s resolution can make edges look smoother.
Dealing with White Edges
White edges can be fixed by tweaking contrast and brightness or using Photoshop tools. The Select and Mask or Refine Edge tool can help. Adjusting these settings can make edges look more natural.
Resolving Transparency Issues
Transparency problems can be solved by preparing images right for printing. Use clipping paths or layer masks. Photoshop’s Pen or Layer Mask tool can help. Getting your image ready the right way helps create smooth edges and avoids any transparency problems.
These pointers can help you deal with edge issues and achieve excellent prints utilizing DTF solutions. Always adjust image preparation and settings for your print project. To determine what works best, don’t be scared to experiment with various tools and techniques.
Conclusion
Fixing edges in Photoshop is crucial for top-notch DTF printing. To get the best results, it’s important to understand DTF technology, know how to use Photoshop tools well, and apply smart selection techniques. These steps help refine edges and solve problems, making your DTF transfers look great.
This guide has shown you how to handle edge issues, like color bleeding and jagged edges. Keep practicing and trying new things. This will help you get better at making amazing DTF prints that impress everyone.
Dive deeper into DTF printing and pick up expert tips to boost the quality of your prints. With Photoshop know-how and careful attention, your DTF transfers will consistently look sharp and professional. Happy printing!
FAQ
What makes DTF printing unique?
DTF printing, which stands for Direct-to-Film printing, is a unique method used for transferring vibrant designs onto various materials. It creates high-quality, full-color transfers for various fabrics. Its unique ability to produce vibrant, detailed images on many materials makes it stand out.
What are the common edge problems in DTF transfers?
Edge quality is a common issue in DTF printing. Edges can be blurry, jagged, or have color bleeding. This greatly affects the transfer’s appearance.
Why does edge quality matter in DTF printing?
Edge quality is key to a professional look in DTF prints. It affects the aesthetic appeal, durability, and longevity of the transfer. Understanding its importance is crucial for improving your final product.
What are the essential Photoshop tools for edge correction?
Tools for edge correction in Photoshop include the Magic Wand, Pen Tool, and a range of selection and masking techniques. Knowing how to use these tools effectively is crucial for achieving clean, sharp edges that enhance the quality of your DTF transfers.
How do you prepare your workspace for fixing edges in Photoshop?
Preparing your workspace efficiently is the first step in fixing edges in Photoshop for DTF printing. This involves ensuring you have the right tools and panels accessible, enabling you to work seamlessly and effectively.
What are the basic edge smoothing techniques in Photoshop?
Basic edge smoothing techniques in Photoshop can be applied using tools like the Magic Wand or the Select and Mask feature. These tools allow you to select specific areas and apply smoothing or refinement to improve the edge quality.
What are the advanced edge refinement methods in Photoshop?
For more complex edges, advanced refinement methods such as using the Pen Tool for precise selections or applying layer masks can be employed. These techniques offer greater control and precision in refining the edges of your DTF prints.
How do you use the Magic Wand Tool for clean edges?
The Magic Wand Tool is excellent for selecting areas of similar color, making it a valuable tool for achieving clean edges in your DTF prints. Mastering the use of this tool, including adjusting its settings and refining selections, is crucial for successful edge correction.
What are the quick selection tips and tricks for clean edges?
In addition to the Magic Wand and Pen Tool, Photoshop offers a range of quick selection techniques that can be used to improve edge quality. Understanding these tips and tricks, such as using the Quick Selection Tool or refining selections, can help you work more efficiently and achieve cleaner edges.
What edge refinement tools and filters are available in Photoshop?
Photoshop offers a variety of tools and filters that can be used to refine edges, including the Gaussian Blur, Median Filter, and Surface Blur. Knowing how and when to apply these tools can help in smoothing out jagged edges, reducing noise, or enhancing the definition of your DTF transfers.
How do you fix jagged edges in DTF printing?
Fixing jagged edges can be achieved through the use of anti-aliasing techniques or applying gentle blurs in Photoshop. By smoothing out the edges and reducing the appearance of pixelation, you can create a more professional-looking DTF transfer.
How do you fine-tune edge contrast for DTF printing?
Fine-tuning edge contrast is crucial for creating visually appealing DTF transfers. This involves adjusting the brightness, sharpness, and overall definition of the edges to enhance the clarity and impact of the image.
How do you fix pixelated edges in DTF printing?
Pixelated edges can be fixed by adjusting the image resolution or applying smoothing filters in Photoshop. This helps to reduce the appearance of individual pixels and create a smoother, more professional-looking edge.
How do you deal with white edges in DTF printing?
White edges, often a result of incorrect settings or poor image preparation, can be addressed by adjusting the image’s contrast and brightness or using specific Photoshop tools to remove them, such as the Background Eraser or the Color Replacement Tool.
How do you resolve transparency issues in DTF printing?
Transparency issues, which can cause edges to appear uneven or blurry, can be resolved by ensuring the image is properly prepared for printing, including the use of clipping paths or layer masks. This helps to maintain a clean, defined edge during the transfer process.

