If you’ve ever photographed a property and felt that the final image didn’t match what you saw in real life, HDR editing is the missing piece. The room felt bright and open when you stood there, but the camera captured dark corners, blown-out windows, and uneven lighting. This happens because cameras can’t handle extreme light differences the way human eyes can.
That’s exactly why HDR editing plays such an important role in real estate photography. When done correctly, it brings back balance, detail, and realism—without making the photo look edited. This tutorial explains real estate HDR editing in a clear, human way, from shooting to final export, so you can understand not just how to do it, but why each step matters.
Understanding HDR Editing in Real Estate Photography
HDR stands for High Dynamic Range. In real estate photography, HDR editing combines multiple images of the same scene taken at different exposure levels. Each exposure captures different information. One image holds shadow detail, another captures mid-tones, and another preserves highlights such as windows and light fixtures.
Instead of choosing one imperfect image, HDR editing blends the best parts of each exposure into a single balanced photo. The result should feel close to what the space actually looked like when you stood there.
Good HDR editing should never scream “HDR.” If a viewer can instantly tell a photo was heavily edited, something went wrong.
Why HDR Editing Is So Important for Real Estate Listings
Real estate photography is not artistic photography. Its purpose is clarity, trust, and presentation. Buyers want to understand the space quickly and comfortably.
HDR editing helps because it:
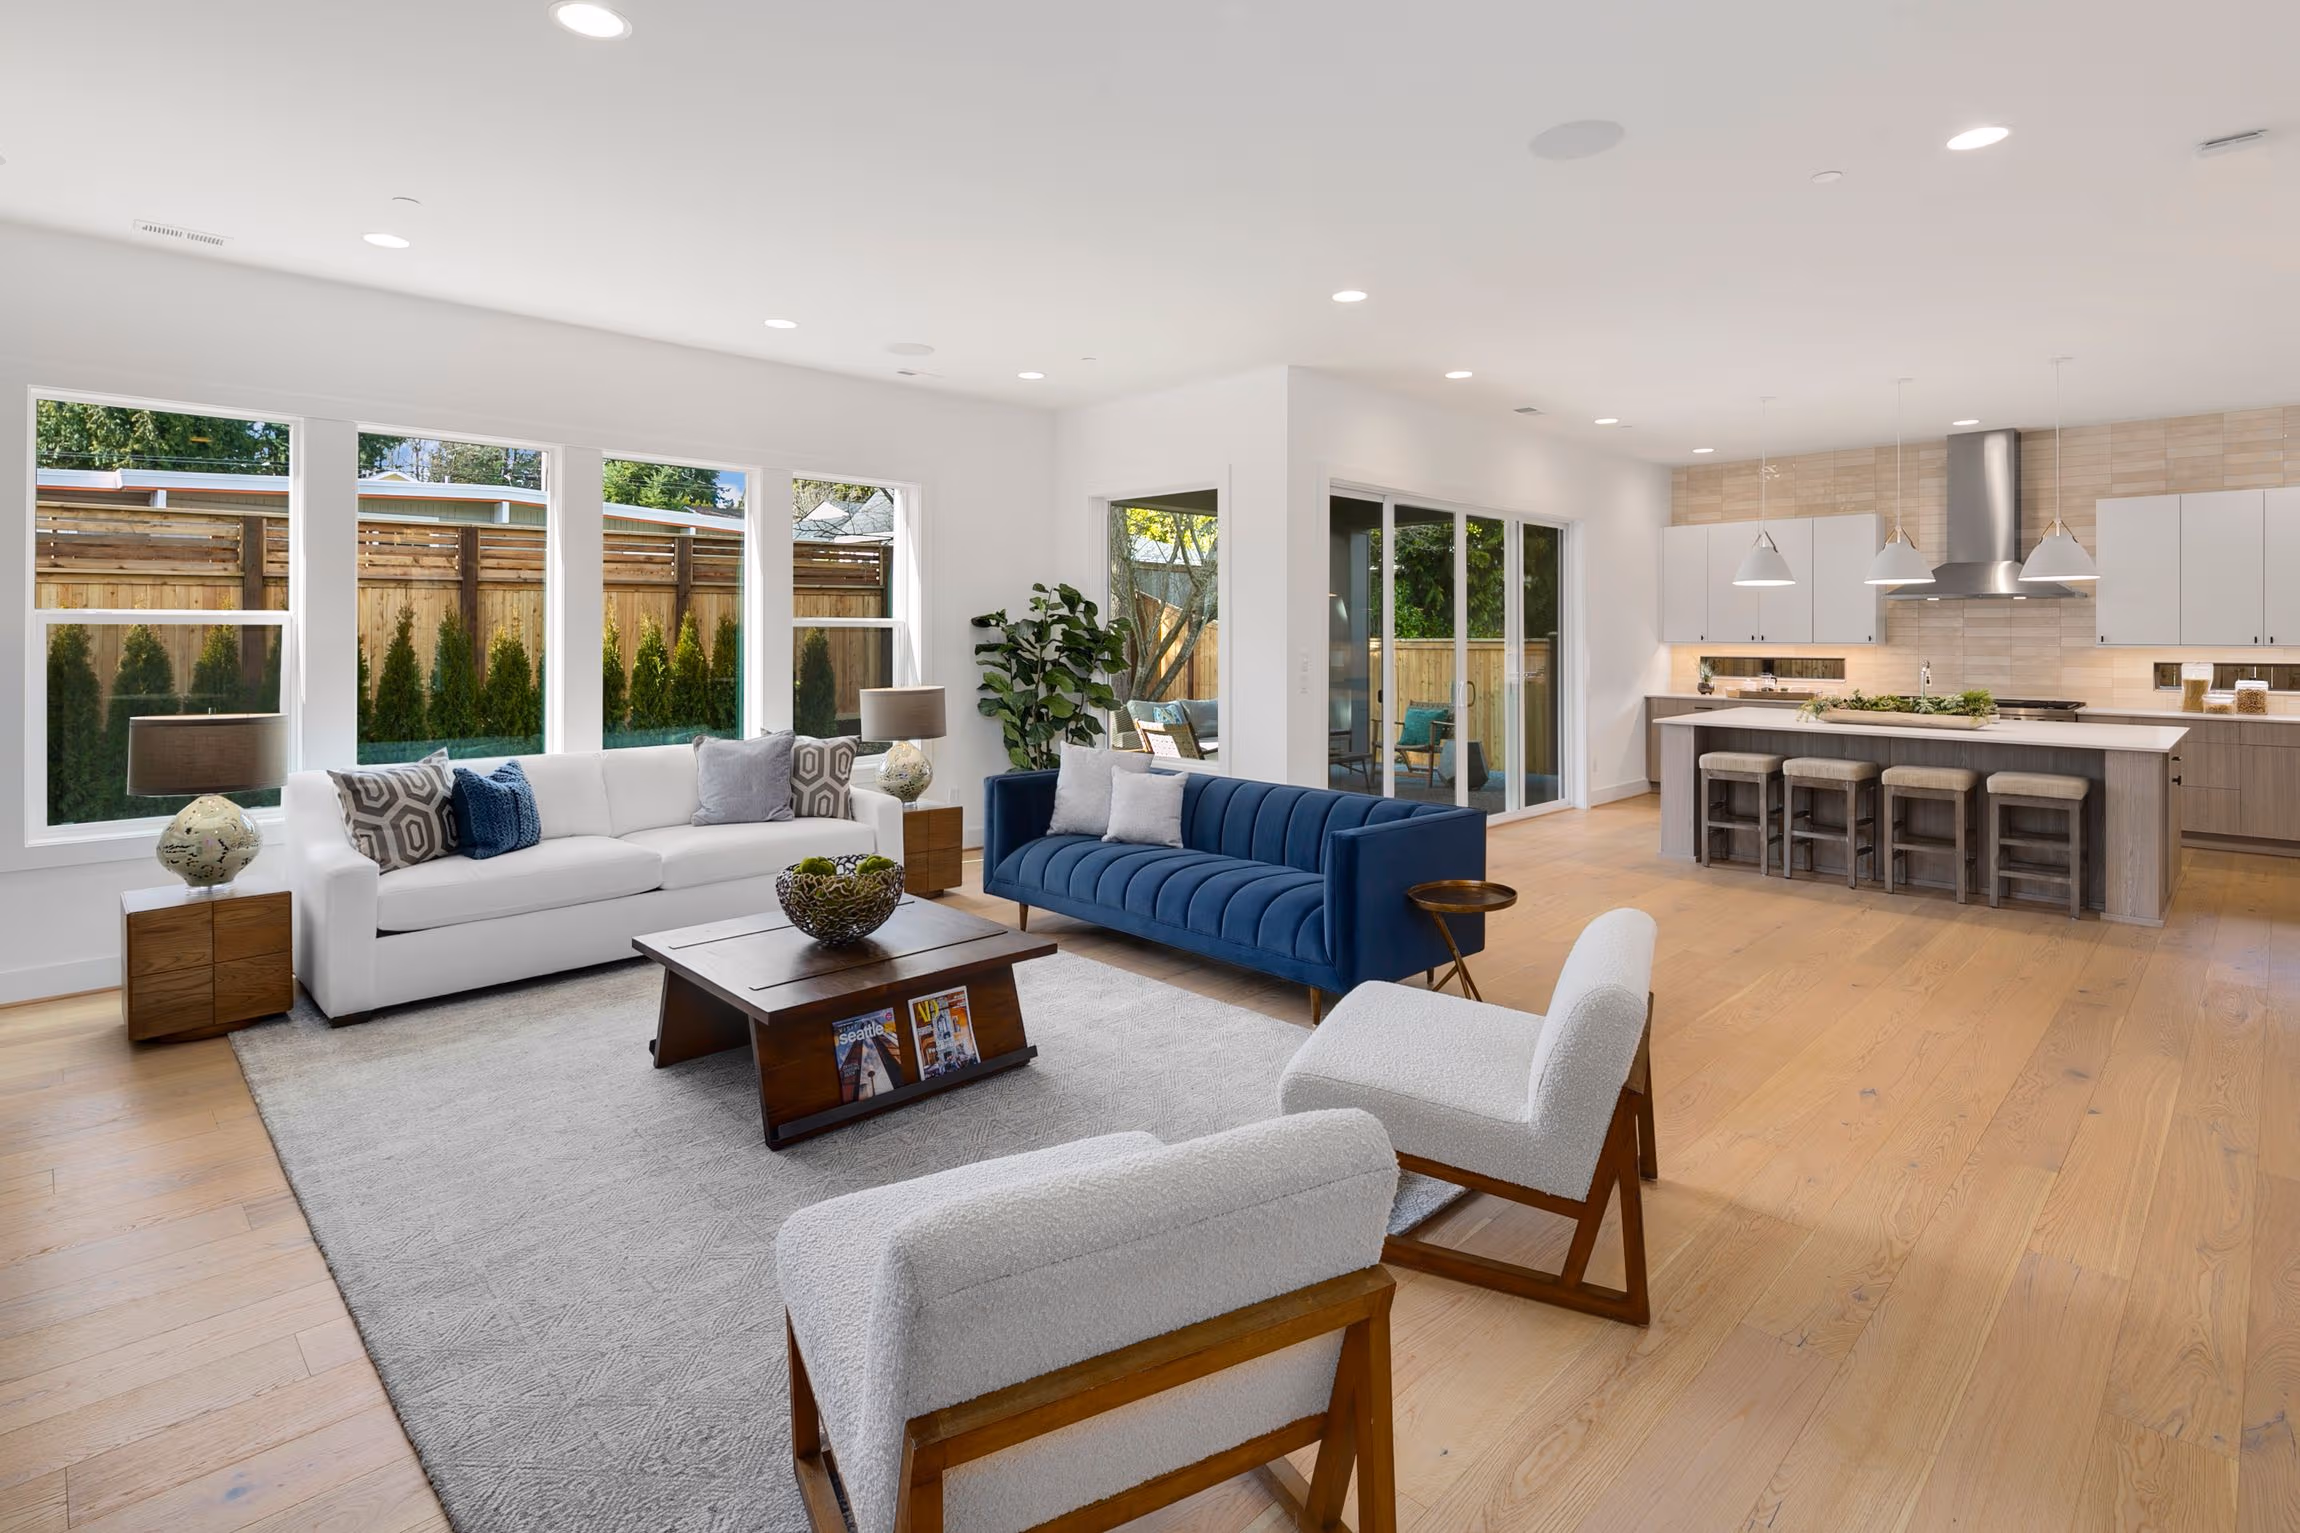
- Shows interior and exterior details at the same time
- Keeps rooms bright without washing out colors
- Preserves window views
- Maintains realistic lighting
- Makes properties look clean and inviting
In online listings where buyers scroll fast, HDR images give them confidence that the property is well presented and worth a closer look.
Shooting for HDR: Getting It Right Before Editing
HDR editing begins before you open any software. Clean source images make editing easier and more natural.
Use a Tripod
A tripod keeps every exposure perfectly aligned. Even slight movement between shots can cause blur or ghosting.
Bracket Your Exposures
Most cameras offer auto exposure bracketing. Capture at least three images:
- One underexposed for highlights
- One properly exposed
- One overexposed for shadows
In rooms with extreme contrast, five exposures can work even better.
Lock Your White Balance
Changing white balance between exposures causes color shifts that are difficult to fix later.
Watch for Movement
Curtains, trees, people, or pets moving between shots can cause artifacts in HDR blends. Try to minimize motion when possible.
Step-by-Step Real Estate HDR Editing Process

Step 1: Import and Organize Your Bracketed Photos
Start by grouping all exposures for each room. Keeping files organized prevents mistakes and saves time.
Step 2: Align the Images
Even with a tripod, tiny movements can happen. Alignment ensures that walls, edges, and details line up perfectly.
Step 3: Merge the HDR Images
Use HDR merge tools to combine exposures. Avoid aggressive presets or “real estate HDR filters.” These often create unnatural results.
At this stage, aim for balance—not style.
Step 4: Balance Highlights and Shadows
This is where HDR editing truly shines.
Reduce highlights to recover window details.
Lift shadows gently to reveal darker areas.
Avoid pushing both too far. Overdoing this creates a flat, gray image that lacks depth.
Step 5: Adjust White Balance and Colors
HDR merging can slightly shift colors.
Correct white balance so walls look neutral and flooring looks natural.
Remove color casts from artificial lighting.
Color accuracy builds trust. Buyers want to see what the space really looks like.
Step 6: Fine-Tune Contrast and Clarity
Add contrast slowly to create separation between surfaces.
Use clarity carefully. Too much clarity makes rooms look harsh and unnatural.
The goal is softness with definition.
Step 7: Correct Perspective and Distortion
HDR does not fix camera distortion.
Straighten vertical lines.
Correct lens distortion.
Level floors and ceilings.
This step alone can make a photo look instantly professional.
Step 8: Clean Minor Distractions
After HDR blending, small issues become more visible.
Remove dust spots, wall marks, light reflections, and small clutter.
Fix uneven brightness near ceilings or corners.
These small details matter more than beginners expect.
Step 9: Final Polish
Apply light sharpening only where needed.
Reduce noise in shadow areas.
Match brightness and color across all photos in the set.
Consistency across the listing creates a polished, high-end feel.
How HDR Editing Should Look When Done Correctly
A properly edited HDR image should:
- Look natural
- Feel bright but soft
- Show window details clearly
- Maintain realistic colors
- Avoid halos or harsh edges
If you start noticing halos around windows or gray shadows everywhere, it’s time to step back.
Common Real Estate HDR Editing Mistakes
Many beginners fall into the same traps:
Over-flattened images with no contrast
Strong halos around windows
Over-saturated colors
Excessive clarity
Over-bright interiors
HDR editing should enhance the photo, not dominate it.
HDR Editing vs Single Exposure Editing
Single exposure editing works in well-lit rooms with minimal contrast. HDR editing is best when:
- Interiors are dark
- Windows are bright
- Light varies across the room
For most real estate interiors, HDR provides better balance and consistency.
How HDR Editing Improves Property Marketing
Listings with clean HDR images often:
- Get more clicks
- Hold buyer attention longer
- Feel more professional
- Build trust quickly
Buyers may not know what HDR is—but they feel the difference.
Conclusion
Real estate HDR editing is about balance, honesty, and clarity. When done properly, it helps photos reflect what buyers would experience in person. It doesn’t exaggerate—it reveals.
By mastering a clean HDR workflow and avoiding common mistakes, you can create real estate photos that feel natural, professional, and market-ready. Over time, HDR editing becomes less about technique and more about understanding light, space, and buyer perception.
FAQ
Is HDR editing required for all real estate photos?
No, but it’s highly recommended for interiors and high-contrast scenes.
Does HDR editing increase file size?
The editing process uses multiple files, but the final export remains manageable.
Can HDR editing be done without advanced skills?
Yes. With practice and a consistent workflow, beginners can achieve professional results.
Why do some HDR photos look fake?
Because of over-processing, poor blending, or aggressive presets.
Is HDR better than flash photography?
HDR is easier and more natural for many listings. Flash offers control but requires more skill.
How many exposures are ideal for HDR?
Three to five exposures work well for most real estate interiors.


