If you’ve ever admired a perfectly retouched portrait, a jaw-dropping landscape photo, or a seamless product image, chances are Adobe Photoshop was behind it. As one of the most powerful photo editing tools in the world, Photoshop offers an unmatched combination of precision, flexibility, and creative potential.
Whether you’re a beginner just starting your editing journey or an aspiring professional looking to polish your skills, learning how to use Photoshop for photo editing can open doors to endless creative possibilities.
In this detailed guide, we’ll walk you through everything from setting up your workspace to mastering essential editing techniques, while ensuring you use Photoshop efficiently and professionally.
Why Use Photoshop for Photo Editing?
Before diving into the “how,” let’s explore the “why.”
Unmatched Precision – Photoshop allows pixel-level control over your edits, perfect for detailed retouching.
Versatility – From basic brightness adjustments to complex compositing, it can handle virtually any editing task.
Professional Standard – Photoshop is the industry standard in photography, design, and advertising.
Creative Freedom – With layers, masks, and filters, you can transform a photo beyond what was captured by the camera.
Getting Started with Photoshop
Install and Launch Photoshop
Purchase or subscribe via the Adobe Creative Cloud and download Photoshop. Once installed, launch the program.
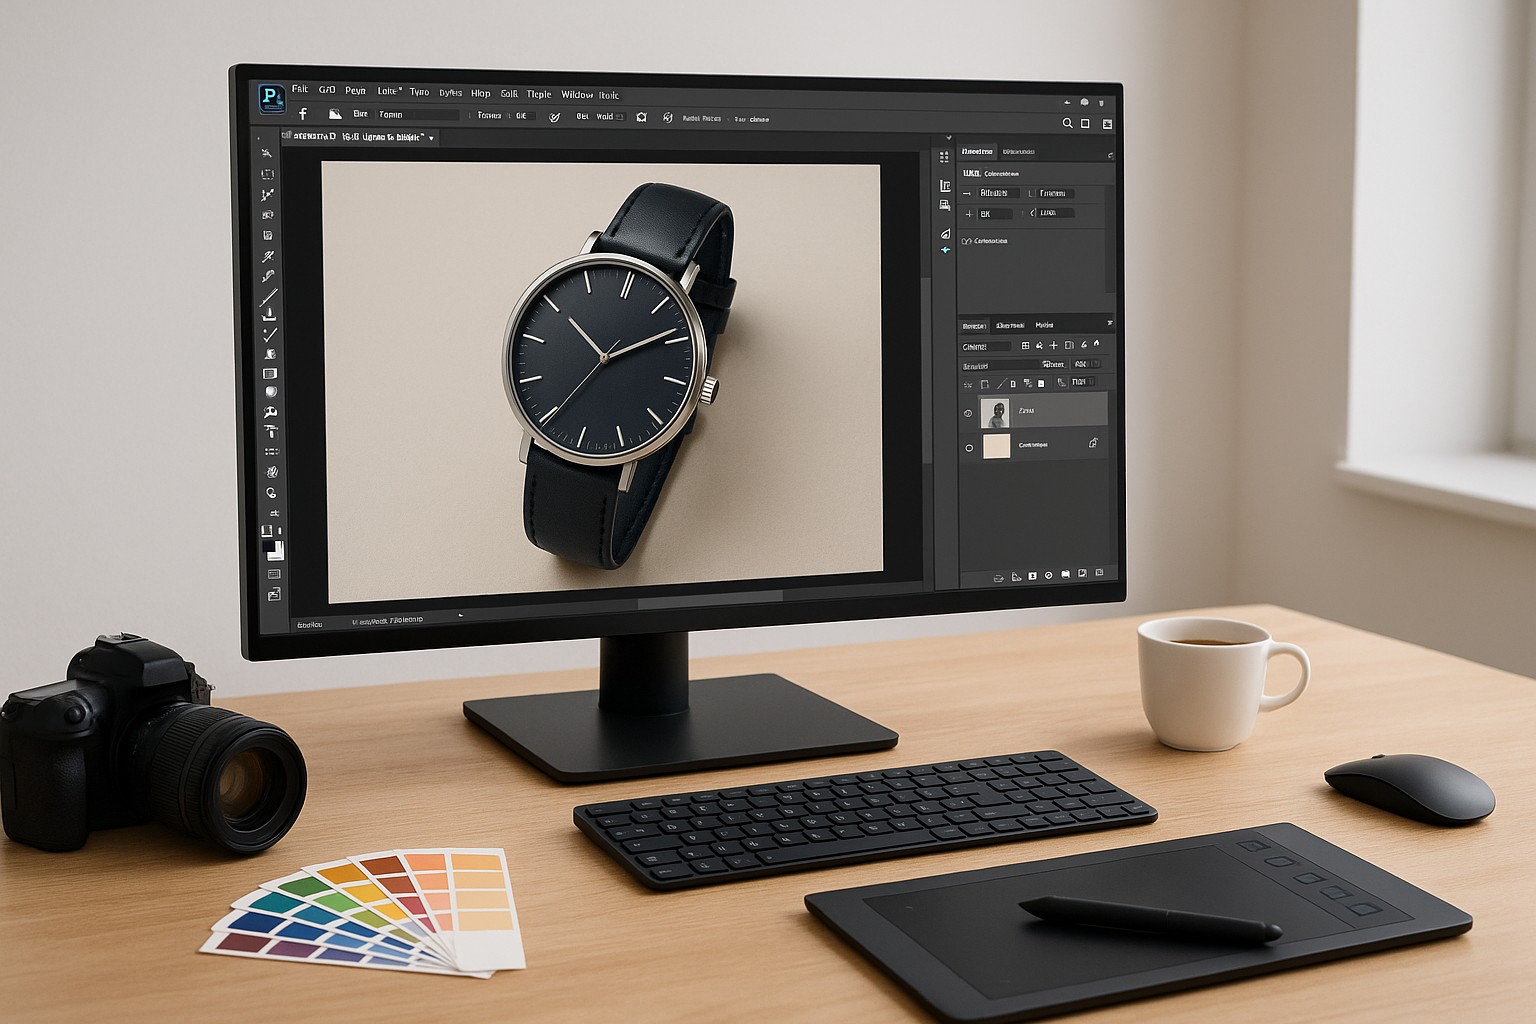
Understand the Interface
The Photoshop workspace consists of:
Menu Bar – Contains options for file, edit, image adjustments, and more.
Tools Panel – Your primary editing tools (crop, brush, selection tools).
Options Bar – Displays settings for the selected tool.
Panels – Such as Layers, Adjustments, and History.
Canvas – Where your photo is displayed.
Pro Tip: You can customize your workspace by going to Window > Workspace and selecting Photography for a photo-editing-focused layout.
Opening and Preparing Your Photo
Import Your Image
Go to File > Open, then select the photo you want to edit. For RAW files, Photoshop will first open the image in Adobe Camera Raw (ACR) for initial adjustments.
Convert to Smart Object
Right-click on the layer in the Layers panel and choose Convert to Smart Object. This allows non-destructive editing, meaning you can make changes without permanently altering the original file.
Duplicate Your Layer
Always work on a copy of your original image. Press Ctrl+J (Windows) or Cmd+J (Mac) to duplicate the layer.
Essential Photo Editing Tools in Photoshop

Crop Tool
- Shortcut: C
- Use it to improve composition, straighten horizons, or change aspect ratios.
- Enable the Rule of Thirds grid to guide your framing.
Spot Healing Brush Tool
- Shortcut: J
- Perfect for removing blemishes, dust, or small distractions.
- Simply click or drag over the imperfection, and Photoshop will blend it with the surrounding pixels.
Clone Stamp Tool
- Shortcut: S
- Lets you copy pixels from one part of the image to another. Great for removing larger unwanted objects.
Selection Tools
Marquee Tool (M) – For rectangular or circular selections.
Lasso Tool (L) – For freehand selections.
Quick Selection Tool (W) – For selecting subjects quickly.
Basic Photo Adjustments
Brightness and Contrast
Go to Image > Adjustments > Brightness/Contrast to improve the overall light balance.
Levels
- Shortcut: Ctrl+L (Windows) / Cmd+L (Mac)
- Adjust shadows, midtones, and highlights for better tonal range.
Curves
- Shortcut: Ctrl+M (Windows) / Cmd+M (Mac)
- Offers fine control over brightness and contrast.
Color Balance
Adjust the shadows, midtones, and highlights to fix unwanted color casts.
Advanced Editing Techniques
Working with Layers
- Each element of your photo can be placed on a separate layer.
- Use Layer Masks to hide or reveal parts of a layer without deleting anything.
Dodge and Burn
- Dodge Tool (O) – Lightens specific areas.
- Burn Tool (O) – Darkens specific areas.
- Useful for adding depth and dimension to portraits.
Sharpening Your Image
Go to Filter > Sharpen > Unsharp Mask or use High Pass Filter for more control.
Frequency Separation (For Skin Retouching)
Separates texture from color to allow for flawless skin editing without losing detail.
Non-Destructive Editing Practices
One of the key advantages of Photoshop is the ability to edit without permanently changing the original image.
- Smart Objects – Apply filters that you can adjust later.
- Adjustment Layers – For brightness, contrast, color, etc., without altering the base image.
- Layer Masks – Hide edits instead of erasing them.
Using Filters for Creative Effects
Blur Filters
- Gaussian Blur – Softens edges and reduces noise.
- Lens Blur – Creates realistic depth-of-field effects.
Camera Raw Filter
Even after opening your image, you can apply Filter > Camera Raw Filter for powerful color and exposure adjustments.
Artistic Filters
Found in Filter Gallery, these add creative styles like watercolor, poster, or sketch effects.
Common Photoshop Shortcuts for Faster Editing
| Action | Windows Shortcut | Mac Shortcut |
|---|---|---|
| Duplicate Layer | Ctrl+J | Cmd+J |
| Zoom In/Out | Ctrl + / Ctrl – | Cmd + / Cmd – |
| Fit to Screen | Ctrl+0 | Cmd+0 |
| Undo | Ctrl+Z | Cmd+Z |
| Save As | Ctrl+Shift+S | Cmd+Shift+S |
Step-by-Step Example: Retouching a Portrait

Open the Photo – Import the image and duplicate the layer.
Remove Blemishes – Use the Spot Healing Brush.
Smooth Skin – Apply frequency separation or subtle Gaussian blur to a duplicate layer.
Enhance Eyes – Brighten the whites and sharpen the iris with Dodge Tool and Sharpen Filter.
Adjust Colors – Use Color Balance or Selective Color for a natural look.
Final Touch – Add a vignette for focus.
Exporting Your Edited Photo
When your edits are complete:
- Save as PSD to preserve layers for future changes.
- Export for Web – Go to File > Export > Save for Web and choose JPEG or PNG for online use.
- Print-Ready Files – Save in TIFF or high-resolution JPEG.
SEO-Friendly Tips for Sharing Your Edited Photos Online
Since this guide focuses on how to use Photoshop for photo editing, remember that sharing your images effectively can boost your online presence:
- Optimize file names (e.g.,
edited-portrait-photoshop.jpg). - Use descriptive alt text for accessibility and SEO.
- Keep file sizes optimized for faster loading.
Common Mistakes to Avoid in Photoshop
Over-editing – Excessive smoothing or sharpening can make photos look unnatural.
Ignoring Layers – Editing directly on the original image can lead to irreversible mistakes.
Forgetting Color Profiles – Use sRGB for web, Adobe RGB for print.
Neglecting Backup Files – Always keep an untouched original.
Final Thoughts
Learning how to use Photoshop for photo editing may seem overwhelming at first, but with practice, you’ll develop speed, confidence, and a signature editing style. The key is to start with the basics—crop, color correction, and retouching—then gradually explore advanced tools like masks, smart objects, and filters.
With consistent effort, you can transform your images into professional, eye-catching visuals that stand out in any portfolio.
FAQ – How to Use Photoshop for Photo Editing
Is Photoshop good for beginners?
Yes. While it has many tools, you can start with basic features like crop, brightness, and spot healing, then progress to advanced techniques.
Can I use Photoshop for free?
Photoshop offers a 7-day free trial. After that, it requires a paid subscription.
What’s the difference between Photoshop and Lightroom?
Lightroom is best for organizing and making quick edits to many photos, while Photoshop is better for detailed, advanced editing.
How long does it take to learn Photoshop?
Basic skills can be learned in a few days, but mastering it takes consistent practice.
Can Photoshop remove backgrounds?
Yes. You can use the Quick Selection Tool, Select Subject, or Remove Background feature to cut out objects or people.
What file type should I save my edited photo in?
For web, use JPEG or PNG. For print, use TIFF or high-resolution JPEG.
Is Photoshop only for photos?
No. You can also use it for graphic design, digital painting, and creating marketing materials.


One Comment
Wow, amazing weblog structure! How lengthy have you
ever been blogging for? you made running a blog glance easy.
The total glance of your site is magnificent, as neatly as the content!
my web blog clipping path service