Let’s be real: jewelry is tough to photograph. It’s tiny, reflective, and full of sparkle — and somehow, the camera never seems to do it justice. That’s where photo editing steps in to save the day.
Whether you’re shooting rings on your dining table or necklaces in a studio, a bit of editing can turn your “meh” pictures into showstoppers. And that means better customer reactions, more clicks, and yep — more sales.
So how do you get your photos from basic to brilliant? Don’t worry, we’ll take it one step at a time — no jargon, just the stuff you actually need.
Why Editing Jewelry Photos Even Matters
Even if you nailed the lighting and used a good camera, jewelry photos rarely look perfect straight out of the camera. The sparkle might be missing. The gold might look too yellow, or the diamonds might just… disappear into the background.
Editing helps you:
- Fix lighting and colors so everything looks true-to-life
- Clean up smudges, dust, or random reflections
- Bring out those fine details that make your jewelry special
- Match your brand’s vibe across all photos
Bottom line: editing helps your jewelry look as stunning in photos as it does in real life.
Step 1: Fix the Light and Color First
Before you do anything fancy, check the basics. Check your exposure — is the image underexposed or blown out? Do the colors look off?
Quick fixes:
- Brighten the image using the Exposure slider (Lightroom, Photoshop, or even your phone app)
- Use White Balance tools to make sure your whites look white — not blue or orange
If your silver ring looks yellow or your gold necklace looks dull, a few small adjustments here can fix it instantly.
👉 Pro Tip: If it looks weird to your eyes, it’ll look weird to your customers too. Aim for natural and balanced.
Step 2: Tweak the Colors (But Don’t Go Wild)
After adjusting the light, your product might still look a bit off. Maybe your rose gold looks too yellow or the gem isn’t popping.
In Photoshop:
- Add a Hue/Saturation adjustment layer
- Use the finger tool to select a specific color (like yellow gold)
- Small color changes can make a big difference — aim to match the actual piece.
It’s possible to transform a yellow gold ring into rose gold — all without affecting the rest of the image.
👉 Keep it realistic. Don’t let your edits trick the customer into expecting something else.
Step 3: Bring Out the Details
Jewelry is all about the little details — the shimmer, the texture, the brilliance that catches the eye. But sometimes, the camera just doesn’t capture that detail.
That’s where sharpening helps.
Use:
- High Pass Filter for clean sharpening
- Or Smart Sharpen if you want quick control
Just remember: only sharpen the jewelry, not the background. You want details, not grainy noise.
Step 4: Add Shadows for Realism
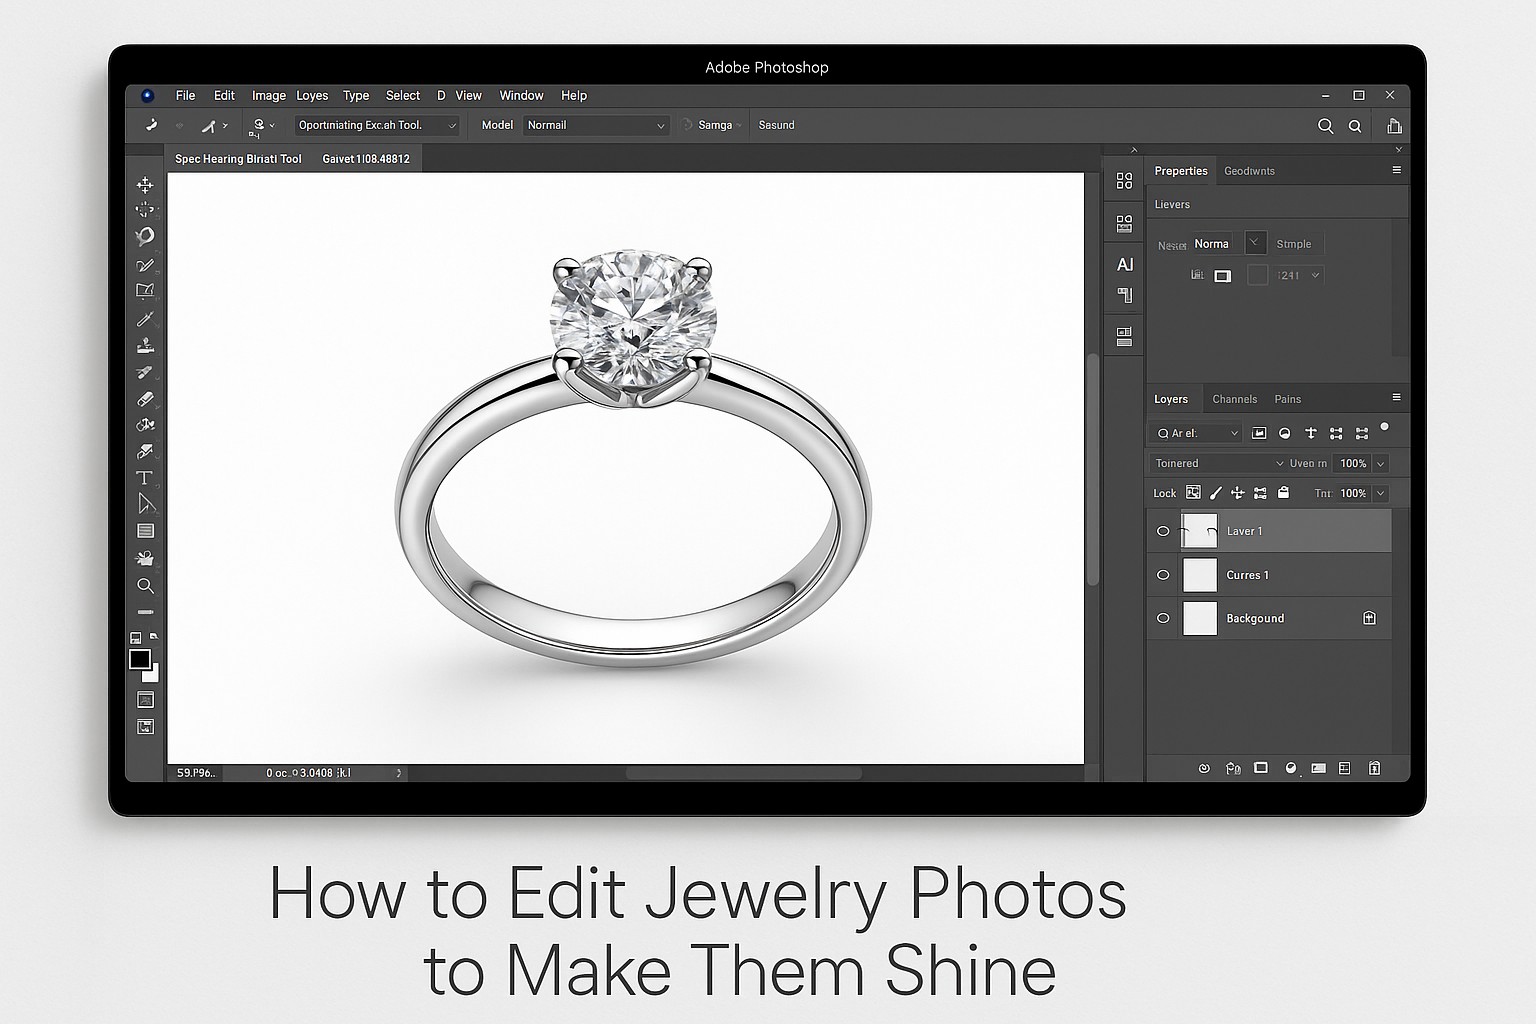
On a plain white background, jewelry without shadows can look like it’s just floating — and that takes away from its natural beauty and realism. Shadows give products a place to stand — and help them look believable.
You can create different shadow styles:
- Drop shadow for a soft, natural base
- Reflection for a glassy, high-end look
- Floating shadow for hanging pieces like earrings
A reflection is super easy:
- Duplicate the jewelry layer
- Flip it vertically
- Lower the opacity
- Add a soft blur
- Fade the edge with feathering
Instant luxury!
Step 5: Clean Up the Mess
Even the cleanest piece of jewelry can have:
- Fingerprints
- Dust specks
- Weird glares
- Reflections of you or your camera
Clean edits start with a closer look — zoom in and use the Spot Healing Brush or Clone Stamp to perfect the image.
It’s the little stuff that takes a photo from “pretty good” to “flawless.”
Step 6: Change the Background (If Needed)
Sometimes, the background just isn’t working.
You might need:
- Even with a white background (like Amazon asks for), jewelry needs a shadow — otherwise, it can look like it’s just floating there.
- A colorful backdrop to match your brand
- A transparent background to use on flyers or your website
To swap the background:
- To remove the background, try the Pen Tool for accuracy or the Object Selection Tool for a quicker cutout.
- Drop it onto a new background
- Adjust shadows and lighting to match
Don’t just plop it on a new color and call it done — make it feel like it belongs there.
Step 7: Crop for Impact
Your product is the hero — make sure it looks the part. Don’t hesitate to crop in close. It draws attention to the intricate textures and brilliance that make your jewelry stand out
Tips:
- Center the jewelry and fill the frame
- Leave space for text if it’s going on a banner or ad
- Keep the spotlight on the product — not the face — when cropping lifestyle shots.
Big brands do this all the time — it keeps things clean and focused.
Step 8: Add Some Light Magic
Want your jewelry to shine a little more? Add subtle effects:
- Spotlight: dims the area around your product so it pops
- Lens Flare: adds a sparkle effect (go light with this — too much looks fake)
This step is optional, but it can give your photos a little extra drama when used right.
Step 9: Use Filters to Match Your Platform’s Style
Filters give your feed a cohesive look — just don’t overdo them for product pages. Social media is where you can experiment more.
Try:
- Warm filters for a cozy, handmade vibe
- Muted tones for elegance
- Grainy textures for an earthy, organic feel
Stick to your brand’s style so everything looks consistent.
Step 10: Change the Color Without a Reshoot
Need to show a ring in red, blue, and green gems? No need to shoot all three.
In Photoshop:
- Add a Hue/Saturation layer
- Select the color you want to change
- Adjust the sliders until you get the new shade
- Use masking to make sure only the gem (or metal) changes color
This saves tons of time — and it’s great for testing different styles too.
Final Thoughts
Editing jewelry photos isn’t about faking how something looks. It’s about helping the photo tell the truth — the shiny, sparkly, eye-catching truth.
By cleaning up your shots, fixing the lighting, and highlighting the right details, you’re giving your customers the best look at what they’re buying.


