Car photography isn’t just about pointing a camera and shooting. Whether you’re capturing vehicles for a dealership, an automotive magazine, or your own car-loving Instagram page — the real magic happens after the shutter clicks.
That’s where Photoshop comes in. It lets you clean up the image, highlight the car’s design, and create that polished, professional look that turns heads.
In this detailed guide, you’ll learn how to edit car photos in Photoshop, even if you’re not a pro. We’ll walk through every major step, explaining the why and how — just like a real person would show you.
Step 1: Open the Photo and Duplicate Your Layer
Why this matters: You never want to mess with your original image. Always work on a copy so you can go back if needed.
- Open your photo in Photoshop
- On the right side (Layers panel), right-click the background layer
- Choose “Duplicate Layer” and name it something like “Car Edit”
Now you’re working safely.
Step 2: Clean Up the Car and Background
Start by cleaning small things you might not notice at first glance — like dust on the hood, smudges on the windshield, or random trash in the background.
Tools you’ll use:
- Spot Healing Brush Tool: Quick fixes for small dirt or marks
- Clone Stamp Tool: Great for getting rid of bigger distractions
- Patch Tool: Useful when you need to match texture or area cleanly
Zoom in and go panel by panel. Fix reflections, clean up logos (if needed), and smooth out uneven spots. Don’t rush — this step makes the car look polished and well-maintained.
Step 3: Straighten and Crop the Photo
Next, check if the photo feels level. If the car looks like it’s sliding off the road, it ruins the vibe.
- Grab the Crop Tool
- Rotate slightly if needed to straighten the photo
- Crop out any extra space that doesn’t help the image
Keep the car centered or follow the rule of thirds to make it visually balanced. A clean crop can completely change the impact of a photo.
Step 4: Fix the Lighting
Lighting makes or breaks a car photo. You want the car to look bright, clear, and natural — not washed out or too dark.
Here’s what you can do:
- Go to Image > Adjustments > Levels or Curves
- Gently move the sliders to balance highlights, shadows, and midtones
- Don’t blow out the details — just bring everything to a nice, even tone
If the sun created strong glare or shadows, you can gently tone those areas down using the Dodge and Burn tools.
- Dodge Tool: Brightens up darker areas
- Burn Tool: Adds depth by darkening bright spots
Use a soft brush and go slow. Subtle changes go a long way.
Step 5: Bring Out the Car’s Color
Now, let’s make that paint pop — without turning it into a cartoon.
- Add a Hue/Saturation Adjustment Layer
- Pick the car’s color range (like reds or blues)
- Gently increase the saturation and lightness
If the car has a metallic or glossy finish, use a soft light layer to brush in some shine. Just create a new layer, set it to Soft Light, and brush gently with white over the curves and highlights.
Keep it realistic. You’re enhancing the real beauty of the car — not making it glow in the dark.
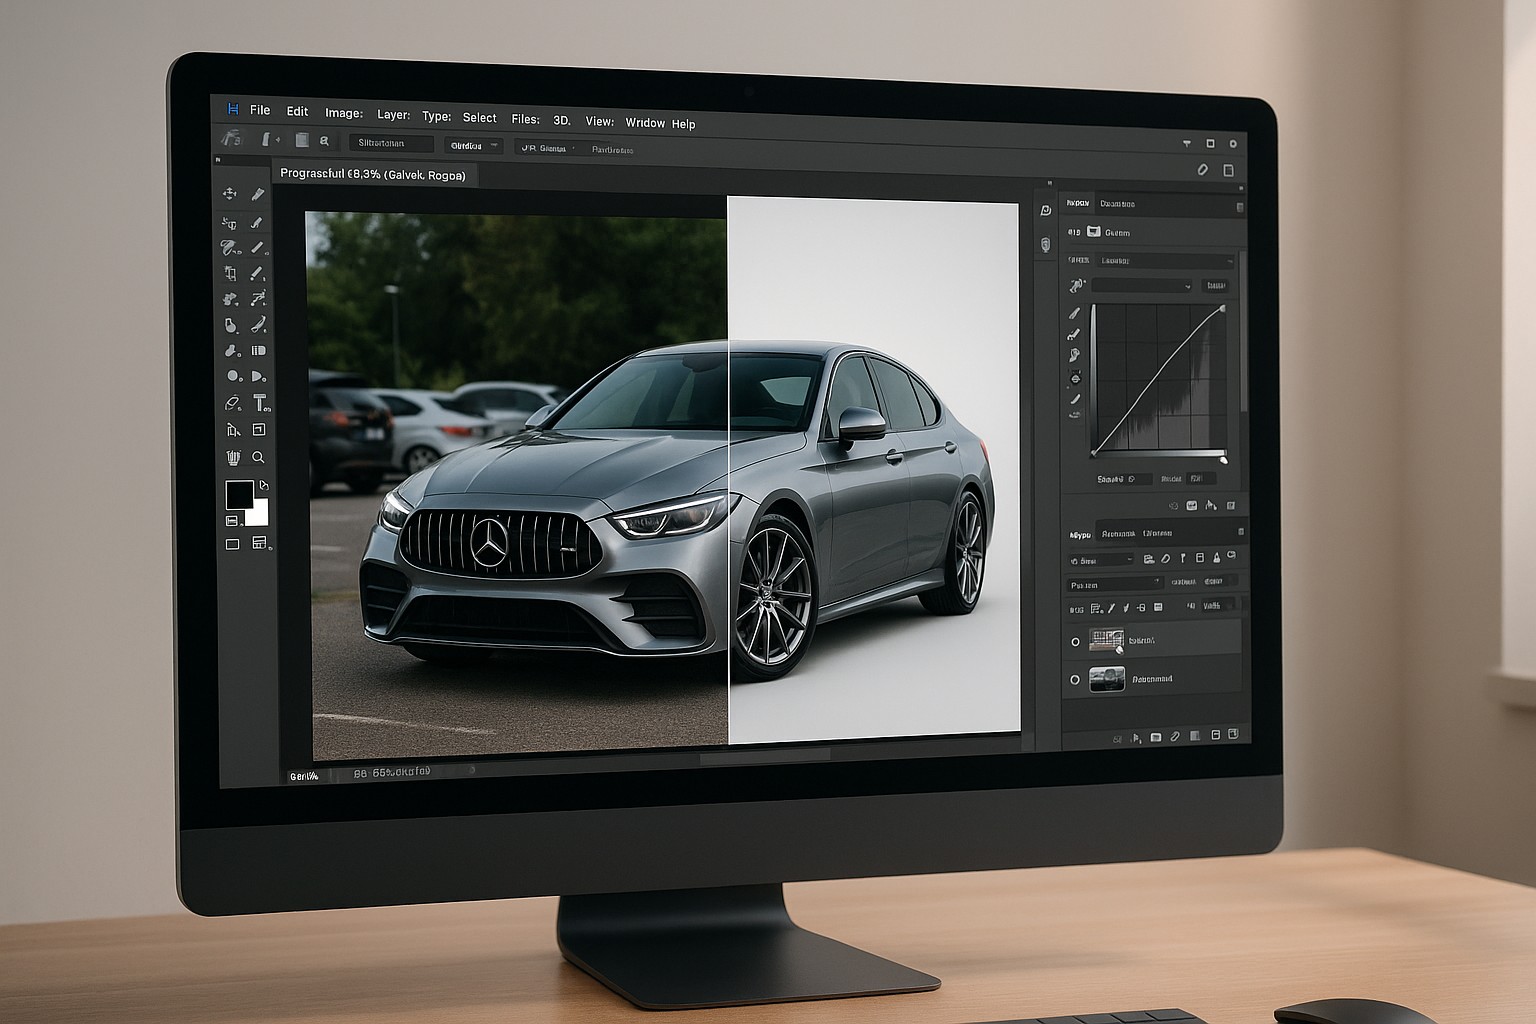
Step 6: Fix the Background (Optional)
If the background is distracting or just plain ugly, you’ve got two options:
Option 1: Blur it
- Use Select Subject (under the Select menu)
- Then go to Select > Inverse, and apply a Gaussian Blur (Filter > Blur > Gaussian Blur)
This gives the image a shallow depth of field look — the car stays sharp, the background softens.
Option 2: Replace it
- Cut out the car using the Pen Tool or Select Subject + Refine Edge
- Drop in a clean background image
- Add shadows under the car for realism
If you’re selling or showcasing the car, a clean or branded background can really boost the photo’s value.
Step 7: Sharpen the Details
Cars are all about details — rims, headlights, grilles, emblems. After color and lighting, sharpening brings them into focus.
Here’s an easy way:
- Duplicate your main edit layer
- Go to Filter > Other > High Pass
- Set radius to around 2 px
- Change the layer blend mode to Overlay
This sharpens edges and textures without ruining the overall softness of the image.
Step 8: Final Touches
Now that the car looks clean and sharp, you can add some polish:
- Add a vignette using a radial gradient to darken the corners — helps pull focus to the car
- Adjust overall color tone with a color lookup or gradient map
- Add a subtle shadow underneath the car if it’s on a plain or swapped background
- For web or social use, add your logo or watermark in the corner
Step 9: Save It Right
Depending on where the photo is going, export it in the right format:
- For web or social media:
File > Export > Save for Web – JPEG, 80% quality, sRGB - For print or portfolio:
Save as TIFF or high-res JPEG at 300 dpi - For future editing:
Save your Photoshop file as a PSD to keep all layers intact
Final Thoughts
Editing car photos in Photoshop isn’t just about filters or fancy effects — it’s about cleaning, correcting, and highlighting the best features of the vehicle.
It doesn’t matter if you’re editing a supercar or a used hatchback. With the right steps — and a little patience — you can make any car photo look professional.
Start simple. Don’t aim for perfection. Learn to see the car for what it is, and let the edits bring it to life.
Frequently Asked Questions
Do I need Photoshop experience to edit car photos?
No. Beginners can start with basic tools like cropping and brightness adjustments. As you learn, you can try advanced edits like background changes.
What’s the best file format to edit?
RAW is ideal. It gives you more control over lighting and color than JPEG.
How do I make the car paint look better?
Use the Dodge tool, adjust highlights, and add a bit of contrast to enhance shine—just don’t overdo it.
Is background replacement always necessary?
Not always. Use it only if the background is distracting or doesn’t fit the photo’s vibe.
What export size is best for web or social media?
For social media, use around 2048px wide. For websites, 1200–1600px is usually enough.


