Learning to apply distress texture in Photoshop is key for graphic designers. It adds a unique touch to designs. This article will cover the basics of distress textures and their role in graphic design.
Distress textures can enhance many designs, from vintage logos to grunge posters. Mastering distress textures in Photoshop can elevate your designs. We’ll show you the tools and resources you need to start.
This guide will dive into various techniques for applying distress textures in Photoshop. You’ll learn about layers, blend modes, and custom brushes. By the end, you’ll know how to add distress texture effects to your designs.
Understanding Distress Textures and Their Impact on Design
Distress textures are key in graphic design and photo editing. They bring realism and character to designs. Designers use them to create worn, vintage, or grungy looks that grab attention.
In graphic design, distress textures make visuals stand out. For example, a logo can get a vintage look. In photo editing, they add grit and realism, making images more engaging.
What Are Distress Textures?
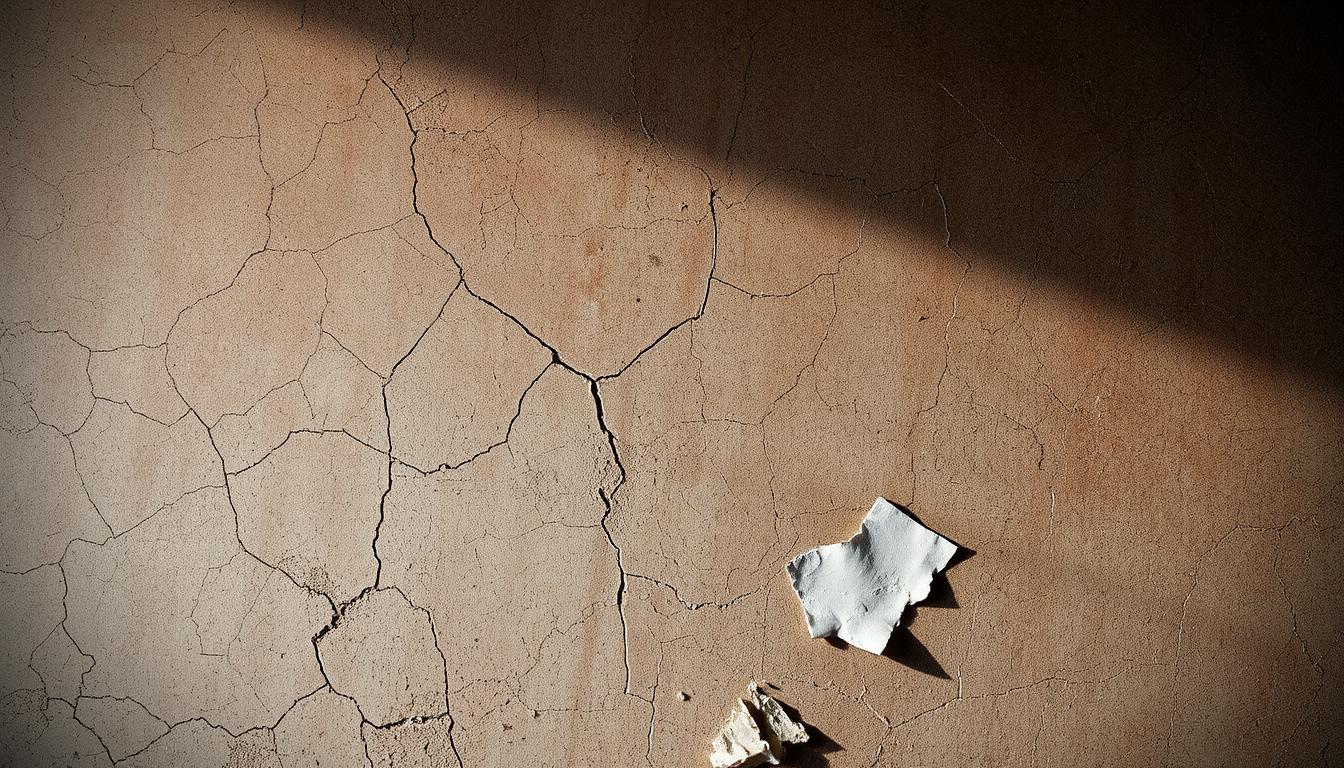
Distress textures add worn, torn, or damaged looks to designs or images. Techniques like layering and blending are used. The aim is to make designs feel real and relatable.
Why Use Distress Textures in Your Designs
Distress textures make designs unique and memorable. They can evoke nostalgia or a retro vibe. They also express emotions or attitudes, making designs more impactful.
Common Applications of Distressed Effects
Distressed effects are used in many ways. They can be applied to logos, images, and text. They’re also used in music, film, and ads. Here are some common uses:
- Creating vintage or retro-style designs
- Adding a sense of grit or realism to an image
- Conveying a sense of emotion or attitude
- Creating unique and eye-catching visual effects
Essential Tools and Resources for Creating Distress Effects
To get the right distress effects in digital art, you need the right tools. This includes brushes, textures, and plugins for unique effects. Texture overlay is key for adding depth and complexity.
Having the right tools is important in digital art. Adobe Photoshop is great for brushes and textures. Plugins like Nik Collection and Topaz Labs also help create various effects.
In digital art, the possibilities are endless. With the right tools, artists can make stunning art that shows their style. Some popular techniques include:
- Layering textures and brushes for depth
- Using texture overlay for interest
- Trying different plugins for unique effects
By using these techniques and tools, artists can create amazing digital art. Whether you’re experienced or new, distress effects offer something for everyone.
| Tool/Resource | Description |
|---|---|
| Adobe Photoshop | A popular software for creating and editing digital art |
| Nik Collection | A plugin that offers a range of filters and effects for distressing |
| Topaz Labs | A plugin that offers advanced tools for texture and detail manipulation |
Preparing Your Workspace in Photoshop
To get the perfect distress effect, setting up your workspace in Photoshop is key. You need to know the best document settings, layer setup, and color and resolution details. This lets you dive into the fun part of image manipulation, like layer blending, to create something special.
When setting up your workspace, keep these important points in mind:
- Optimal document settings: Make sure your document is at the right resolution and color mode. This helps avoid problems later on.
- Required layers setup: Arrange your layers in a way that makes sense. This makes editing and navigating easier.
- Color and resolution considerations: Think about where your design will be used. Whether it’s online or in print, make sure the colors and resolution are right.
By thinking about these things, you’ll lay a strong foundation for your design. This will help you use layer blending and image manipulation to get the look you want.
Now that your workspace is all set, you can start getting creative. Try out different layer blending modes and image manipulation techniques. This will help you create a unique and eye-catching distress effect.
Basic Methods to Apply Distress Texture in Photoshop
To give your designs a unique, worn look, learning to apply distress textures is key. In this tutorial, we’ll cover the basic ways to add these textures to your images. Follow these steps to create amazing visuals with a professional finish.
Using the brush tool is a primary method for adding distress texture in Photoshop. It lets you control the texture in specific areas of your image. You can also use layer styles to give a distressed look to text or shapes.
Here are some important techniques for applying distress texture effects:
- Start with a high-resolution image to ensure the texture looks crisp and clear
- Adjust the layer opacity and blending mode to fine-tune the texture’s appearance
For a deeper dive into applying distress textures, check out online Photoshop tutorials. They offer step-by-step guides and tips from experts. By practicing these techniques, you’ll get better at adding distress texture effects to your designs.
Remember, mastering distress texture effects is all about experimenting and having fun. Don’t hesitate to try new things and explore what’s possible in Photoshop.
| Technique | Description |
|---|---|
| Brush Tool | Manually add texture to specific areas of your image |
| Layer Styles | Add a distressed look to your text or shapes |
Advanced Distressing Techniques and Layer Effects
In graphic design and photo editing, distressing techniques can make your work stand out. To improve, learn advanced techniques and layer effects. This includes blend modes, custom texture brushes, and smart objects for editing.
These skills are key in graphic design. They help designers create complex, layered designs easily. Blend modes let designers mix layers for unique effects. In photo editing, they can give images a vintage or grunge look.
Working with Blend Modes
Blend modes are a powerful tool in graphic design and photo editing. They let designers mix layers for special effects. Common modes include multiply, screen, and overlay.
Creating Custom Texture Brushes
Creating custom texture brushes is an advanced skill. It involves mixing layers and effects for a unique texture. This texture can be applied to images or designs.
Utilizing Smart Objects for Non-Destructive Editing
Smart objects are great for non-destructive editing. They let designers edit images or designs without harming the original file.
Mastering these advanced techniques can elevate your work. You’ll create unique, complex designs that catch the eye in graphic design and photo editing.
| Technique | Description |
|---|---|
| Blend Modes | Combine multiple layers to create unique effects |
| Custom Texture Brushes | Create unique textures using layers and effects |
| Smart Objects | Allow for non-destructive editing of images and designs |
Color Grading and Adjustment Layers for Aged Effects
To get an authentic aged look in digital art, knowing about color grading and adjustment layers is key. Using a texture overlay adds depth and character to your work. This makes it more engaging and realistic. Texture overlay is a strong tool for creating detailed, layered designs in digital art.
When making vintage color palettes, think about how colors make your audience feel. Earthy tones like browns and tans bring a sense of nostalgia and warmth. Start with a base color and try out different shades and hues to get the look you want. Adjustment layers make this easier by allowing you to edit without harming your original work.
Creating Vintage Color Palettes
- Start with a base color and experiment with different shades and hues
- Use earthy tones, such as browns and tans, to evoke a sense of nostalgia and warmth
Applying Color Overlays
Applying a texture overlay and adjusting the color grading can make your digital art stand out. Make sure your design elements are balanced. Use adjustment layers to fine-tune your work. With time and effort, you can get better at color grading and adjustment layers. This will take your digital art to new heights.
Combining Multiple Textures for Complex Effects
To get complex effects in image manipulation, mixing multiple textures is key. This step involves layer blending to combine different textures for a unique look. By trying out various layer blending modes, you can see how each texture works with the others.
When using many textures, the order matters a lot. This is where image manipulation techniques shine. By tweaking the opacity and position of each texture, you add depth and dimension to your design. Also, masking and clipping help make the edges of each texture smooth and seamless.
- Texture resolution and size
- Color palette and contrast
- Layer blending modes and opacity
- Masking and clipping techniques
By balancing these elements, you can make designs that stand out. Whether it’s photos, illustrations, or graphics, knowing how to mix textures is vital. It’s a skill that can take your designs to new heights.
Troubleshooting Common Distressing Problems
Working with distress texture effects in a photoshop tutorial can sometimes lead to issues. It’s important to quickly find and fix these problems. One common issue is fixing overlay problems. You can do this by changing the layer blending modes or adjusting the opacity levels.
Texture intensity adjustment is another critical issue. If you use too much texture, your design may appear cluttered. If you change the texture settings or combine different textures, that should cure it. Also, make sure your files aren’t too big. Files that are too large can impede performance and hog storage space.
- Save and backup your work often to avoid losing data
- Use non-destructive editing to keep your image safe
- Try different texture mixes to get unique looks
By following these tips and being patient, you can tackle distressing problems. This will help you create amazing designs with distress texture effects. Always be open to trying new things and seeking inspiration from others.
| Common Issue | Solution |
|---|---|
| Overlay issues | Adjust layer blending modes or opacity levels |
| Excessive texture | Adjust texture settings or combine textures |
| Large file size | Optimize images and use compression techniques |
Creative Projects Using Distress Textures
Distress textures can make your graphic design and photo editing projects stand out. They add a unique touch that grabs the viewer’s attention. In graphic design, they’re great for vintage logos, weathered photos, and grunge posters.
Here are some creative projects that use distress textures:
- Vintage logo design: using distress textures to create a worn, retro look for logos
- Weathered photo effects: applying distress textures to photos to give them a worn, aged appearance
- Grunge poster creation: using distress textures to create a gritty, urban look for posters
In photo editing, distress textures can add a nostalgic or gritty feel to images. Designers can mix these textures with other elements to create complex visuals. For example, a designer might use a distress texture for a vintage logo look and then add other design elements for a complete brand identity.
Distress textures are a powerful tool in graphic design and photo editing. They let designers add unique and creative elements to their work. By trying out different textures and techniques, designers can achieve a wide range of styles, from vintage to gritty.
| Project Type | Distress Texture Use |
|---|---|
| Vintage Logo Design | Creating a worn, retro look |
| Weathered Photo Effects | Applying distress textures to give photos a worn, aged appearance |
| Grunge Poster Creation | Using distress textures to create a gritty, urban look |
Conclusion: Mastering the Art of Distress Textures
It has become abundantly evident as we near the end of this tutorial that distress textures in Photoshop are a revolutionary tool for digital artists. It unlocks a plethora of imaginative opportunities. Now your designs can have more dimension and personality.
From learning how texture overlay works to mastering advanced techniques, you’re ready to take your projects to the next level. Remember, mastering distress textures is a journey. Keep experimenting, practicing, and improving your skills.
When you start your next digital art project, use what you’ve learned. Create designs that are visually stunning and real-looking. Let your creativity show in every detail.
FAQ
What are the key benefits of using distress textures in graphic design?
Distress textures add depth and character to designs. They give a unique look that makes your work stand out. This can include a vintage or aged style.
What are some common applications of distress textures in design?
Distress textures are used in many areas. This includes logo design, posters, flyers, and packaging. They also add a unique touch to digital art and weathered photo effects.
What are the essential tools and resources needed to create distress effects in Photoshop?
To create distress effects in Photoshop, you need certain tools. These include brushes, texture overlays, and layer styles. Having quality distress texture resources is also key.
How can I properly prepare my Photoshop workspace for applying distress textures?
To get ready for distress textures in Photoshop, set up your workspace well. Choose the right document settings and layers. Also, consider color and resolution to work efficiently.
What are some advanced techniques for creating complex distress effects in Photoshop?
For complex effects, try blend modes and custom brushes. Smart objects are also useful for non-destructive editing. These methods help create detailed, layered distress effects.
How can I use color grading and adjustment layers to enhance the aged look of my distressed designs?
To enhance the aged look, use vintage color palettes and adjustment layers. Try different color grading techniques. This will help achieve the desired distressed look.
What are some common distressing problems I might encounter, and how can I troubleshoot them?
Common problems include blending issues and texture intensity. Troubleshooting involves layer blending and adjusting opacity. Also, managing file size is important.
Can you provide some examples of creative projects that showcase the use of distress textures?
Yes! Distress textures are great for vintage logos, weathered photos, and grunge posters. These projects show how versatile and impactful distress textures can be.

