High-quality product photos are key to standing out on Amazon. Editing your photos for Amazon makes your listings pop. It also meets the platform’s standards.
Clear, well-lit images make buyers feel confident. This guide will show you how to edit your photos. You’ll learn tips for Amazon listings and tools to make your images shine.
Understanding Amazon's Photo Requirements
Before you upload pictures, you must follow Amazon photo requirements. This makes sure your listings look good. If you don’t, your pictures might not show up right away.
Overview of Image Specifications
Amazon wants pictures to look the same everywhere. Here’s what they need:
- Resolution: Pictures must be at least 1,000 x 1,000 pixels for zoom.
- Background: Pictures need a pure white background to show off the product.
- File size: Pictures can’t be bigger than 5MB to load fast.
- Aspect ratio: Main pictures should be 1:1 to fit Amazon’s layout.
Compliance and Quality Guidelines
It’s not just about the size and shape of pictures. You also need to:
- Not have text, logos, or watermarks on main pictures.
- Show products in simple settings without extra stuff.
- Use real colors with good lighting.
Amazon also says no to pictures that trick people or change how a product looks. Always check Amazon’s rules for any new things they ask for.
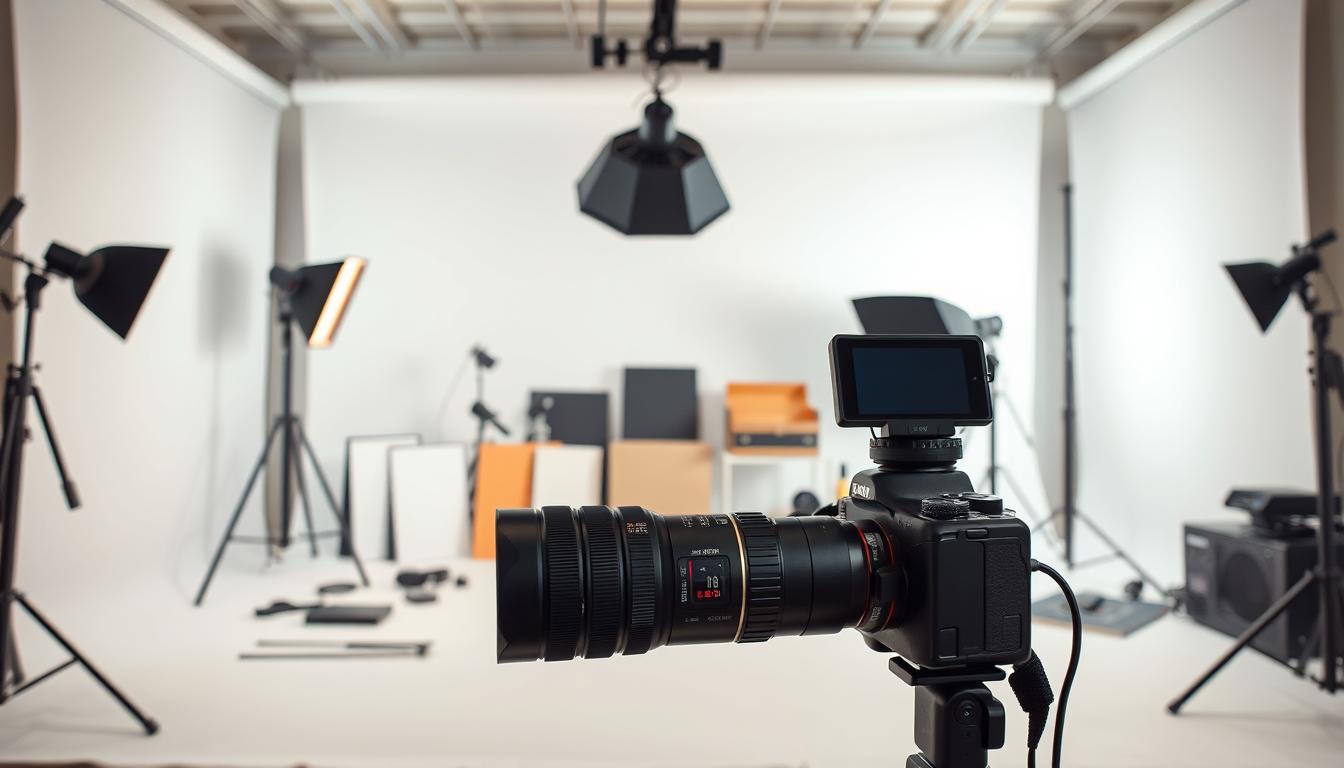
Planning Your Product Photo Shoot
Good product photo shoot planning starts with clear goals. First, list all the angles and details you need for your Amazon listing. A smart photo shoot strategy lets you get it all done in one go. This saves time and money.
Here are some Amazon photography tips for a smooth shoot:
- Use a clean, uncluttered space with a neutral background (white is best).
- Invest in softboxes or natural light to avoid harsh shadows.
- Test angles to show off key features—rotate products 360 degrees if needed.

Pro tip: Use Adobe Lightroom presets during setup to see how images will look after editing. Planning ahead saves you from costly reshoots. Make sure every image looks good with your brand and meets Amazon’s product photo shoot planning rules.
How can I edit product photos for Amazon listings?
Learning to edit for Amazon means following their listing requirements closely. First, check Amazon’s rules for image size, shape, and background. Every change should make the photo clearer and true to life.
Integrating Editing Techniques with Listing Requirements
Use tools like Adobe Photoshop or Canva to improve your images. Adjust the brightness and contrast to show off the product’s features. Keep the background white (RGB: 255,255,255) as Amazon asks.
Crop the image carefully to show the product fully without cutting off any parts. This follows the listing requirements.
Common Pitfalls to Avoid When Editing
- Over-editing: Don’t use too many filters that change the product’s colors or textures.
- File format mistakes: Save your images in JPEG or PNG at 100% quality to avoid blurry pixels.
- Ignoring metadata: Remove EXIF data to meet Amazon’s security rules.
“A pixel-perfect image can boost conversions by 30%.” — Amazon Seller Central Guidelines
Check your edits on different devices to make sure they look the same everywhere. Make sure shadows are soft and don’t hide important details. Mixing creativity with rules can make your photos sell more.
Essential Photo Editing Tools and Software
Choosing the right photo editing software and editing tools makes your Amazon listings pop. This guide helps you find the best tools and cost-effective editing solutions. You don’t have to spend a lot to get great results.
Top Recommended Software
Adobe Photoshop and Lightroom are top choices. They do complex edits like color balancing and background removal well. If you want advanced tools but don’t want to pay Adobe prices, try Affinity Photo.
Cost-Effective Alternatives
There are ways to save money without losing quality. GIMP is free and does a lot of what Photoshop does. Online tools like Pixlr and mobile apps like Snapseed are easy to use for quick fixes. Even Canva has templates for e-commerce, making it a great choice for cost-effective editing solutions.
Step-by-Step Workflow for Editing Photos
Learning to edit photos for Amazon listings is key. Follow this guide to make your images look professional. This way, they will meet Amazon’s standards:
- Open the image in software like Adobe Photoshop or Canva. Start with brightness and contrast adjustments to balance exposure.
- Crop to 1:1 aspect ratio using guidelines. Remove distractions with the clone stamp or spot healing tools.
- Adjust color saturation and white balance. Ensure product colors match real-life hues for accuracy.
- Add drop shadows or pure white backgrounds using layer masks. Save layers for future edits.
- Resize to 1,000-5,000 pixels width. Export as high-quality JPEGs with 80-85% compression.
Each step makes editing easier and clearer. Check how images look on mobile devices. Make sure they are sharp.
Follow this workflow to save time and keep things consistent. Use tools like Skylum Luminar or GIMP to make editing easier. This way, your product images will look great together.
Advanced Techniques to Enhance Image Quality
Getting product images just right takes more than basic edits. Techniques like adjusting lighting and retouching make images pop. Learn these to make your Amazon listings shine.
Adjusting Lighting and Contrast
Changing lighting makes dull images come alive. Follow these steps for big improvements:
- Use curves to balance light and dark without making it too bright.
- Apply gradient filters to make harsh light in the background softer.
- Try split-toning to make colors stand out more.
Retouching for Professional Appeal
Retouching removes flaws while keeping images real. Here’s how different tools stack up:
| Tool | Feature | Best For |
|---|---|---|
| Adobe Photoshop | Layer masking and spot healing brushes | Complex blemish removal |
| Skylum Luminar | AI-powered skin smoothing | Fast portrait retouching |
| GIMP | Free clone stamp tool | Budget-friendly edits |
Always check changes at 100% zoom to avoid overdoing it. Small tweaks can make a big difference, keeping products looking real and appealing.
Optimizing Image Files for Faster Loading
faster loading images keep shoppers happy. Amazon loves fast pages. So, learning image optimization is crucial. Start by making files smaller without losing quality.
Use tools like Squoosh or ShortPixel. They make it simple to compress JPEG or PNG files. Just upload, compress, and save.
- Choose WebP or JPEG formats—they’re Amazon-approved and lightweight.
- Resize images to exact dimensions (1000px max width) before upload.
- Batch process files to save time while maintaining quality.
“A one-second delay can cost 7% of visitors.” —Google, 2023
Test images with Amazon’s T3 guidelines checker. Avoid big formats like BMP. For product shots, compress background layers first.
Use tools like Photoshop’s “Save for Web” feature. It finds the right balance between quality and size. Progressive JPEGs are great too. They load gradually, making pages seem faster.
Pro tip: Use lazy loading for detail galleries. This loads images as users scroll. It makes pages load faster. Every second saved helps more people buy.
Tips for Creating a Consistent Brand Look
Keeping a consistent brand look helps customers know you better. First, choose core colors that show your brand’s personality. Use these colors in all your product images for color scheme consistency.
Tools like Adobe Color or Coolors.co can help pick colors that go well together.
Maintaining Color Schemes
- Pick 2-3 primary colors and use them in backgrounds, text, and accents.
- Test colors across devices to avoid shifts in lighting.
Using Templates for Uniformity
Branding templates make things easier. Sites like Canva have branding templates for product shots. Make sure your logo and text styles are in every template.
- Save templates in Photoshop or Figma for reuse.
- Share templates with designers to maintain alignment.
Conclusion
Learning to edit photos for Amazon listings is key. Start with Amazon’s photo editing guide. Use tools like Adobe Photoshop or Canva.
Follow tips for listing photos, like using the same colors. This makes your photos pop. Amazon wants sharp photos with good lighting and the right file size.
Every little thing matters, from the background to file size. It all helps build trust with customers. This means more people will click on your listings.
By focusing on these details, your listings will do better. Start using these tips now. Good photos can really help your sales.
FAQ
What are Amazon’s photo requirements?
Amazon wants your product photos to have a white background. They should be at least 1000 pixels in height or width. Your images should be in JPEG, TIFF, or PNG format. This makes your photos better for shoppers.
How can I improve the quality of my product photos?
Use natural light and a tripod for stable shots. Editing software can help with color and cropping. These steps make your photos look better.
Are there cost-effective alternatives to Adobe Photoshop for photo editing?
Yes! GIMP, Canva, and Pixlr are cheaper but still powerful. They help both new and experienced users without costing a lot.
What common mistakes should I avoid when editing photos for Amazon?
Don’t ignore Amazon’s image specs or over-edit. Also, keep your brand look the same. A good plan helps you get better results.
How can I ensure my images load quickly on Amazon?
Choose JPEG for product images. Use compression to make files smaller but keep quality. Check your image sizes match Amazon’s for fast loading.
Why is a consistent brand look important for product images?
A consistent look builds trust and recognition. Uniform color and style make shoppers think of your brand. This can increase sales.
What are advanced editing techniques that can enhance image quality?
Improve lighting and contrast for clear images. Remove blemishes and use filters wisely. These steps make your products look great.
Can I take photos of my products using a smartphone?
Yes! Smartphones can take excellent photos. Use natural light, set the right angles, and edit with apps for professional photos.
How can I plan an effective product photo shoot?
Prepare your product and choose the right equipment. Pick a good background and make a checklist. Think about lighting for a smooth shoot.


