Ever tried shrinking an image only to end up with a blurry, pixelated disaster? You’re not alone.
Whether you’re prepping photos for your website, online store, or social media, resizing images properly is super important. Big images slow down your site and mess with SEO. But resize them the wrong way? Suddenly that sharp, professional-looking photo looks like it came out of a 2005 flip phone.
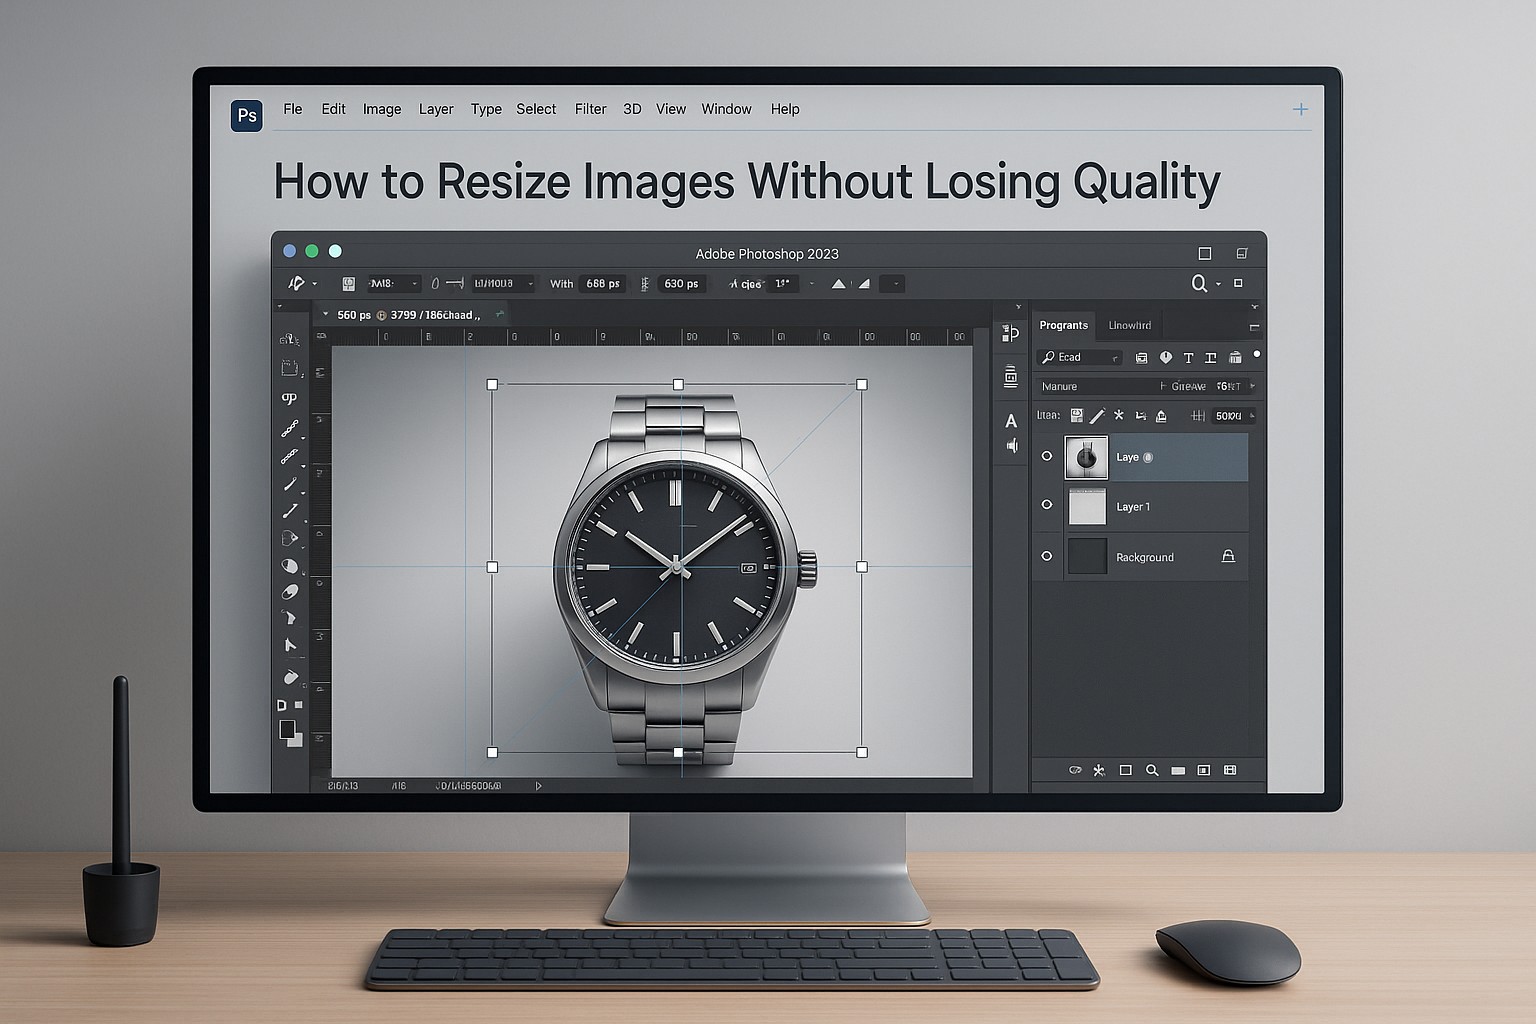
Good news? If you’re using Photoshop, you’ve got everything you need to resize images without losing quality—you just need to know the right steps. That’s what this guide is for.
Before You Start: What to Know Before Resizing
Before jumping into Photoshop and shrinking your images down, keep these things in mind:
Keep the aspect ratio – This just means don’t stretch your image weirdly. A square photo (1:1) should stay square. If it’s wide like a banner (16:9), don’t squish it.
Know the platform – Instagram, your website, a print flyer—everything has its own ideal image size. For example, Instagram Stories need 1080×1920 px. Blog images? Usually around 1200–1600 px wide.
Think about resolution – For web, 72 DPI is enough. For print, go 300 DPI or higher so your image doesn’t look fuzzy.
Start with a good image – You can’t polish a bad photo. Make sure you’re resizing something that already looks sharp and clear.
Quick Way to Resize in Photoshop (Takes Under a Minute)
If you’re just looking to resize an image quickly and keep it looking good, here’s what to do:
Open your image in Photoshop
Go to File > Open or just press Ctrl + O (Mac: Cmd + O).
Open the Image Size window
Head to Image > Image Size, or hit Ctrl + Alt + I ( Cmd + Option + I on Mac ).
Enter new dimensions
Type in the width or height you want. Photoshop will auto-fill the other one if the chain link icon is clicked (this keeps your image from getting stretched weird).
Choose your resample setting
Bicubic Sharper – Best for shrinking images while keeping details.
Bicubic – Smoother edges, great for portraits or soft gradients.
Automatic – Photoshop picks the best one for you (usually fine).
Hit OK and export your image
Go to File > Export > Export As… to save a clean, optimized version. Try to keep file sizes under 200KB for websites.
Want More Control? Use “Export As…” to Resize + Compress
If you’re resizing for something specific—like a product listing or homepage banner—and want more control over file size and quality, the Export As… tool is your best friend.
Here’s how to use it:
Crop first (optional) If you need a specific shape, crop the image first using the Crop Tool.
Open Export As… Go to File > Export > Export As… or press Ctrl + Shift + Alt + W (Mac: Cmd + Shift + Option + W).
Set your export settings
Format: JPEG for web photos, PNG if you need transparency.
Quality: A slider lets you pick how sharp or compressed the image will be. Around 60–70% usually keeps quality without making the file too big.
Resize: Type in the new width/height, or scale by percent.
Resample: Use Bicubic Sharper to keep the details when making it smaller.
Preview: You can see how big the file will be in the lower-left corner. Super helpful.
Export it
Hit “Export” and save. Done!
Free Tools for Quick Image Resizing (No Photoshop Needed)
If you’re not using Photoshop, or just want to batch resize a bunch of images quickly, these tools are worth checking out:
TinyPNG / TinyJPG – Drop in an image, get a smaller version. Super easy.
Squoosh – Google made this one. Lots of fine-tuning options.
Bulk Resize Photos – Resize dozens of images at once.
ImageOptim – Great for Mac users. Compresses images and strips out extra data.
Pixlr – Free online photo editor. Resize and edit all in your browser.
Kraken.io – For bulk resizing and compression with a clean drag-and-drop interface.
Best WordPress & Shopify Plugins for Image Resizing
If you’re running an online store or blog, these plugins will help keep your images fast and clean automatically:
For WordPress
- WP Smush Pro
- EWWW Image Optimizer
- Imagify
- Optimole
- ShortPixel
For Shopify
- Crush.pics
- SpurIT Image Optimizer
- Avada Image & SEO Optimizer
- Tiny SEO Speed Image Optimizer
Quick Tips for Product Photos (Ecommerce)
Product photos need to look amazing and load fast. Here’s how to balance both:
Size: 1000×1000 px is good.
File Type: JPEG is usually fine unless you need a transparent background.
File Size: Try to stay under 200 KB.
Background: Use white or transparent backgrounds—clean and professional.
Resample: Always go with Bicubic Sharper when reducing image size.
Quick Tips for Headshots
Professional headshots need to be clear and load quickly too.
Size: 400×400 px is standard for online use. 1200×1200 px for high-res.
Ratio: 1:1 for profile pics, 4:5 or 2:3 for portraits.
File Type: JPEG for web, PNG if you need transparency.
File Size: Under 100 KB for best results.
Resampling: Use Bicubic Sharper for clean, crisp results.
Don’t Want to Do It Yourself?
Let’s be honest—resizing images one by one gets old fast. If you’ve got a lot of photos to prep, it’s totally worth outsourcing the work.
At Graphics Arts Solution, we help businesses like yours with:
- Bulk image resizing
- Background removal
- Drop shadows
- Image optimization for web and print
Need a batch of product photos or headshots resized the right way? We’ve got a team ready to help—and you can even try us out for free.
Common Questions
Does image size affect SEO?
Yes! Large, slow-loading images can drag down your site’s speed and hurt your Google rankings.
What’s the ideal file size for web images?
Aim for under 100KB whenever you can. For bigger product photos, try to stay under 200KB.
Can I make a small image bigger?
You can, but it might get blurry. If you must enlarge, try Photoshop’s Preserve Details or tools like Upscale.media for better results.
Final Thought
Image resizing doesn’t have to be confusing or time-consuming. With the right approach—and a little help from Photoshop—you can shrink your files without wrecking the quality.
Need help? We’ve got your back.
Want to DIY? Now you know exactly how.


