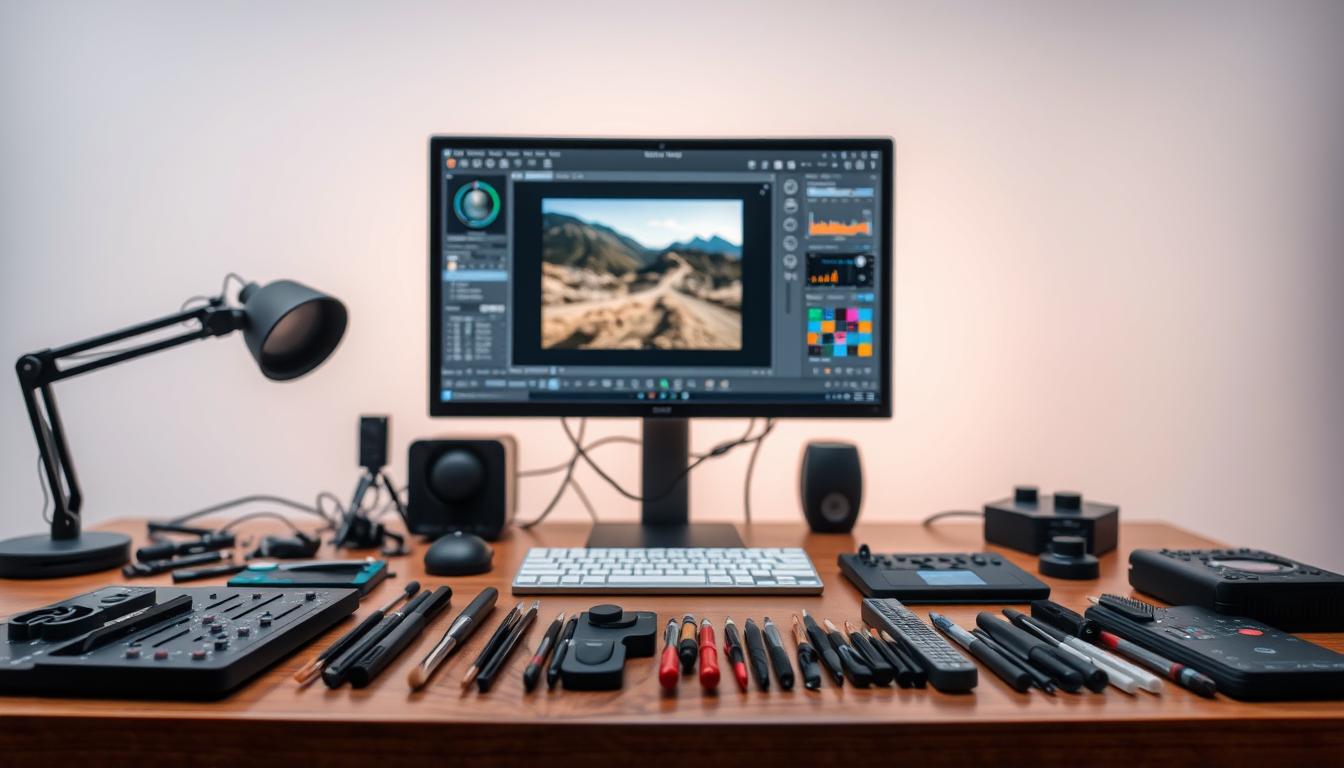
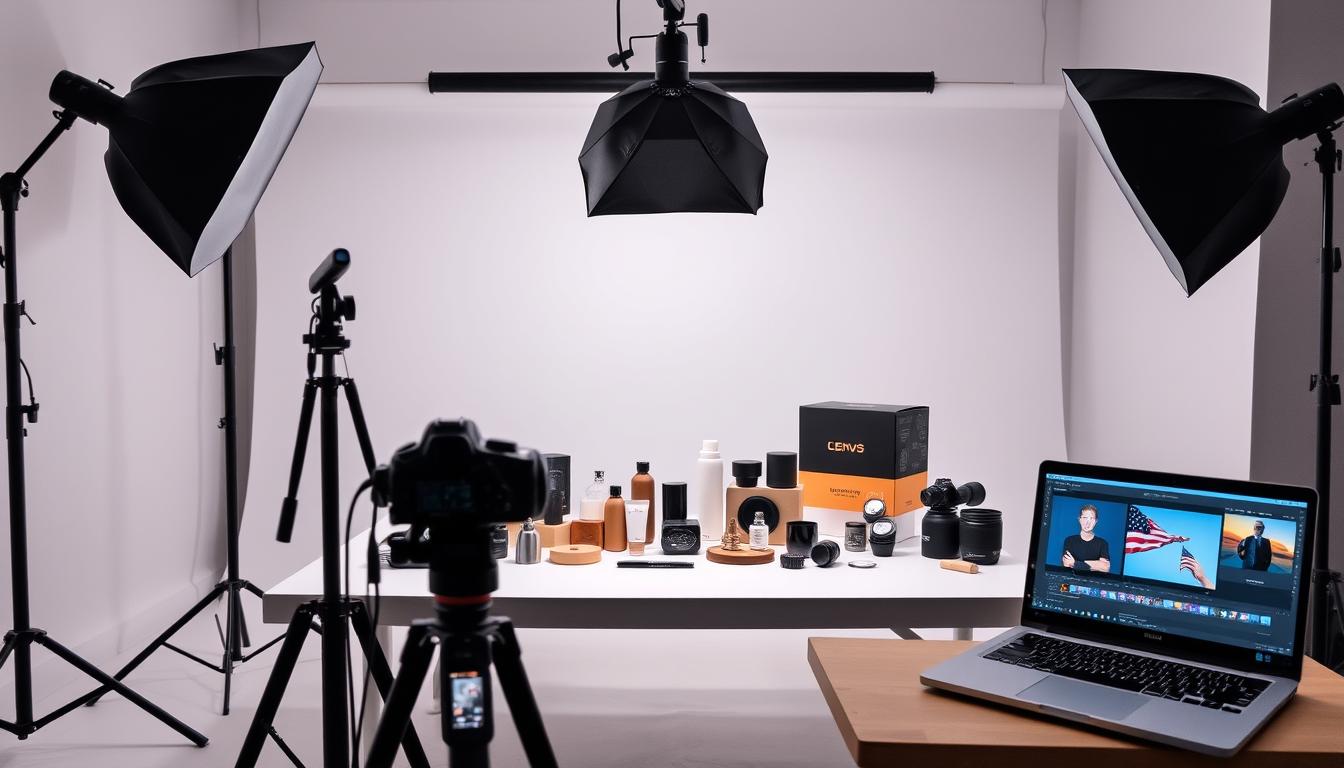
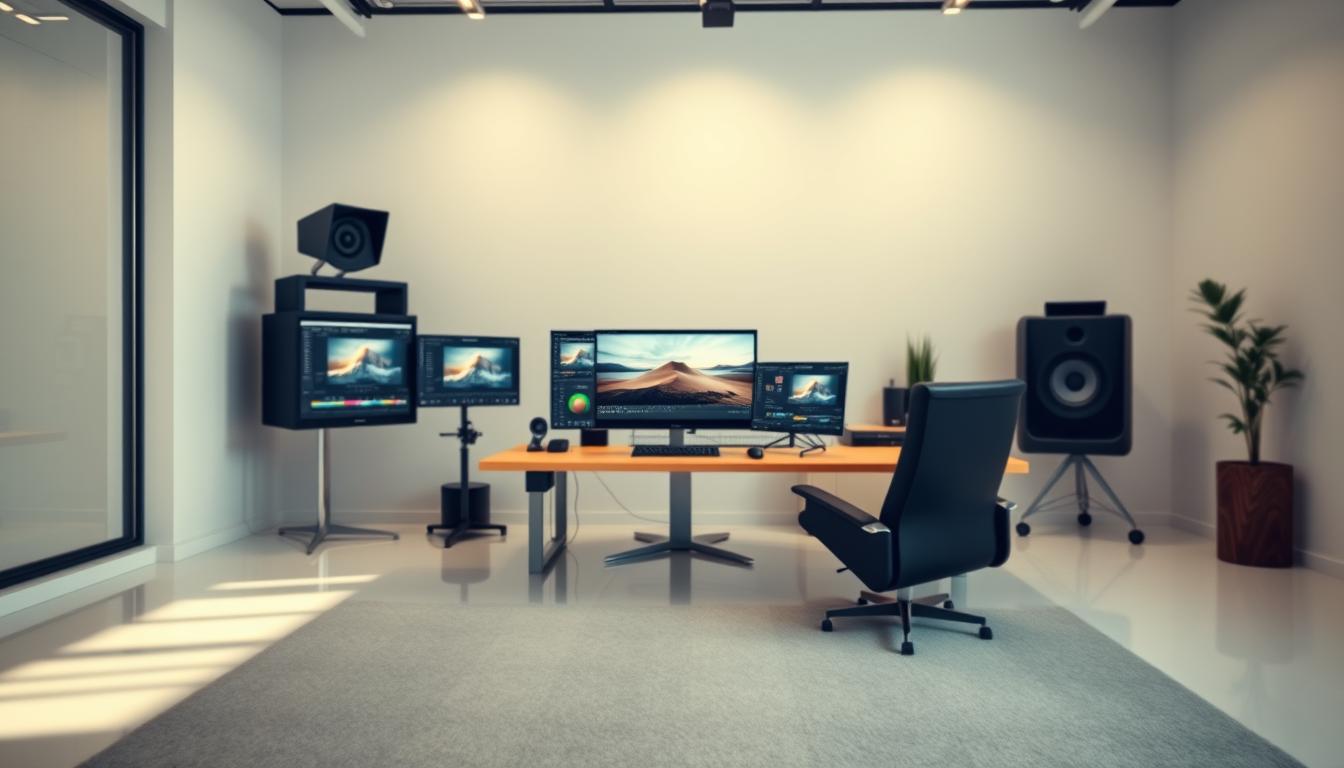
Fixing overexposed or underexposed photos starts with photo editing tools like Adobe Photoshop or Lightroom. Whether your images are too bright or too dark, adjusting exposure can rescue details and balance light. This guide shares simple steps to improve your photos without professional training.
Understanding Exposure: What Makes a Photo Overexposed or Underexposed?
Exposure correction starts with knowing how light affects your photos. Every photo has exposure—the balance of light caught by your camera. When this balance is wrong, photos lose details in bright or dark spots. Let’s look at why this happens.
Light decides if a photo is too bright or too dark. Here’s how to spot the main problems:
Definition of Overexposure
Overexposed photos are too bright. They have highlight clipping that hides details in bright spots. Common reasons include:
- Too much sunlight hitting the sensor
- Long shutter speeds in daylight
- Ignoring camera’s exposure warnings
Definition of Underexposure
Underexposed shots are too dark. Shadows are too dark to fix. This happens when:
- Low light settings aren’t adjusted
- Aperture or ISO settings are too tight
Both problems can be fixed with editing tools. But knowing the cause makes exposure correction quicker. Stay tuned for tools and tips to fix these in post-processing!
The Impact of Lighting on Photo Quality
Lighting is key in digital photography. It affects how photos look, whether outside or inside. Natural light, like the sun, makes shadows soft and colors bright. But, artificial lights like lamps or flashes need careful use to avoid harsh shadows.
Too much sun can make photos too bright. Not enough light can make them too dark. Knowing how to use light is important. For example, shooting during the “golden hour” (dawn/dusk) gives soft light. In studios, diffusers or reflectors help spread light.
- Use windows for natural soft light during cloudy days
- Experiment with flash power to match ambient light
- Study shadows—long, sharp ones can add drama but risk underexposing backgrounds
Knowing how light works in digital photography helps you take better photos. Bad lighting can lead to more editing later. By understanding light, you can take photos that need less editing. This makes your photos better from the start.
Essential Tools for Correcting Exposure in Editing Software
Choosing the right editing software is key to fixing exposure. Programs like Adobe Photoshop and Lightroom Classic make it easy. They help bright or dark photos look just right.
Software Recommendations
| Software | Key Features | Best For |
|---|---|---|
| Adobe Photoshop | Curves, Levels, and Gradient Filter tools | Advanced users needing detailed control |
| Lightroom Classic | Highlight Recovery and Shadow Recovery sliders | Batch editing and presets |
| Skylum Luminar | A.I. powered Light Shark and Exposure Mask | Quick fixes with smart tools |
Tool Overviews
- Exposure Slider: Adjusts overall brightness in one click.
- Shadow/Highlight Recovery: Pull details back into dark or blown-out areas.
- Curves Tool: Fine-tune tones with a graph-based interface.
Many editing software come with presets for easy fixes. For example, Lightroom’s “Auto Tone” balances brightness fast. Start with basic sliders before using advanced tools.
Mastering Manual Adjustments for Better Exposure
Manual adjustments let you control light and dark in your photos. Start by changing the brightness slider in tools like Adobe Lightroom or Photoshop. Lowering it makes dark areas darker. Raising it makes light areas brighter.
Then, adjust contrast to make midtones even. This balances light and dark areas.
Use the Levels tool for specific tones. Drag the highlight slider left to darken blown-out areas. Or move the shadow slider right to bring out dark details.
The Curves tool gives you even more control. Click on the line to make points. Then, drag them up/down to change tones.
- Target overexposed highlights first to prevent losing detail.
- Work in small increments; drastic changes can cause unnatural results.
- Preview changes in the histogram to track adjustments.
Practice mixing these steps. Start by lowering brightness a bit, then use curves to fine-tune. Aim for balance between light and shadow without overdoing it. Remember, manual controls let you shape your image’s tones exactly.
Techniques for Balancing Light and Shadow in Your Photos
Getting the right light is key. These tips help fix harsh contrasts and save details. They make your photos look balanced.
| Technique | Goal | Tools |
|---|---|---|
| Histogram Adjustment | Check exposure accuracy | Lightroom, Photoshop |
| Exposure Blending | Combine exposures for detail | Adobe Photoshop |
| Highlight/Shadow Recovery | Restore lost details | All editing software |
Histogram Adjustment
Look at the histogram to find over/underexposed areas. Peaks on the right mean blown highlights. Left peaks show blocked shadows. Move sliders to keep data in the graph’s edges.
Exposure Blending
Take pictures at different exposures. In Photoshop, layer them and mask areas. Exposure blending is great for backlit scenes or high-contrast landscapes.
Highlight and Shadow Recovery
In Lightroom, move the Highlights and Shadows sliders left or right. This saves details. But be careful not to add too much noise.
Try these steps to make tricky lighting work for you. Your photos will have balanced tones and natural contrast.
Step-By-Step Guide to Editing Exposure Settings
First, open your photo in editing software like Adobe Lightroom or Photoshop. Then, import the image and make a duplicate layer to keep the original safe. Use the brightness and contrast sliders to adjust the light balance.
Lowering brightness can fix overexposure. Raising it helps with underexposed areas.
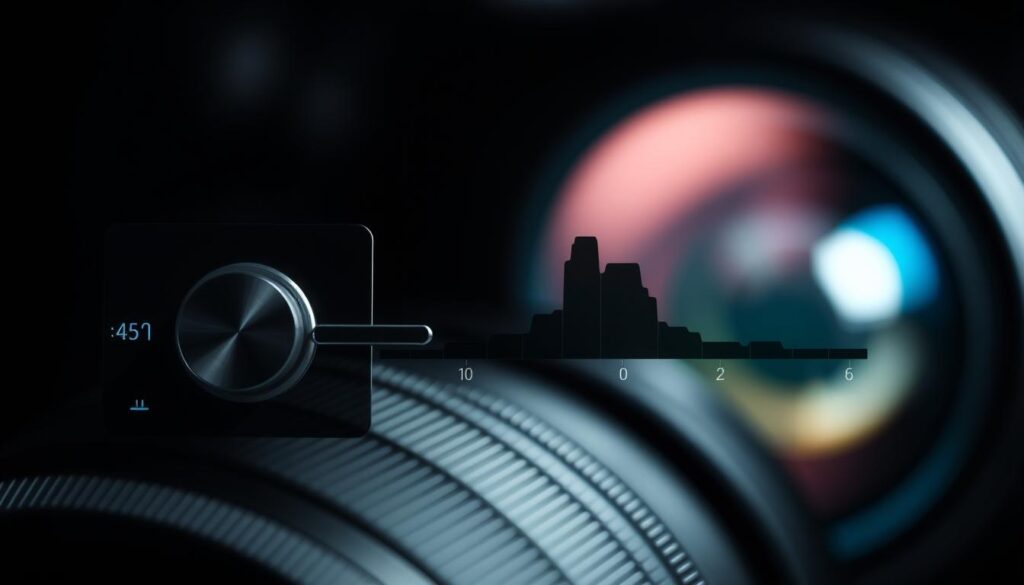
- Adjust the exposure slider to brighten or darken the image. Move it right for underexposed shots, left for overexposed ones.
- Target specific areas with the shadows and highlights sliders. Boost shadows to recover details in dark zones, and reduce highlights to protect blown-out areas.
- Use the curves tool for precise control. Click on the line and drag to lighten or darken tones. A gentle S-curve adds contrast without extreme shifts.
- Zoom in to check edges and faces. Ensure skin tones and key details retain natural tones. Overcorrecting can create unnatural color casts.
- Save changes as a preset for future use. Name it clearly, like “Exposure Fix – Low Light” or “Brighten Skies.”
Preview changes with the before/after toggle to compare adjustments. Small tweaks often work better than drastic moves. Practice on tricky shots like backlit portraits or sunset scenes to master these steps.
Tips for Preventing Exposure Issues During Shooting
Start by making smart choices when you take photos. Use RAW shooting to capture more data. Also, adjust your camera settings to match the lighting.
Shooting in RAW
RAW format lets you edit your photos more. It keeps more detail than JPEG. This means your shadows will be brighter and your highlights saved.
Use software like Adobe Lightroom to adjust your photos. Professional cameras from Canon or Nikon support RAW. Always turn this option on in your camera menu.
Optimal Camera Settings
Adjust these settings for the best shots:
- Use matrix metering for balanced lighting
- Check histograms to preview exposure
- Enable exposure compensation for tricky scenes
- Bracket shots in tough lighting conditions
Try different settings to see what works best for your camera. Small changes can make a big difference.
Integrating Filters and Presets for Exposure Correction
Filters and presets are great for fixing exposure fast. Adobe Lightroom and Photoshop have presets that change brightness and contrast with one click. Apps like VSCO and Snapseed have filters that fix overexposed or underexposed photos.
- Adobe Lightroom: Pre-made profiles adjust exposure for portraits, landscapes, and low-light shots.
- VSCO: Filters like A1 and A2 are popular for softening harsh highlights in bright outdoor photos.
- Snapseed: The “Structure” and “Temperature” tools in presets let you fine-tune exposure for natural results.
Customizing presets makes them fit your style. If a filter darkens too much, make it less intense. For backlit shots, boost shadow details. Many apps let you save your own presets for quicker edits later.
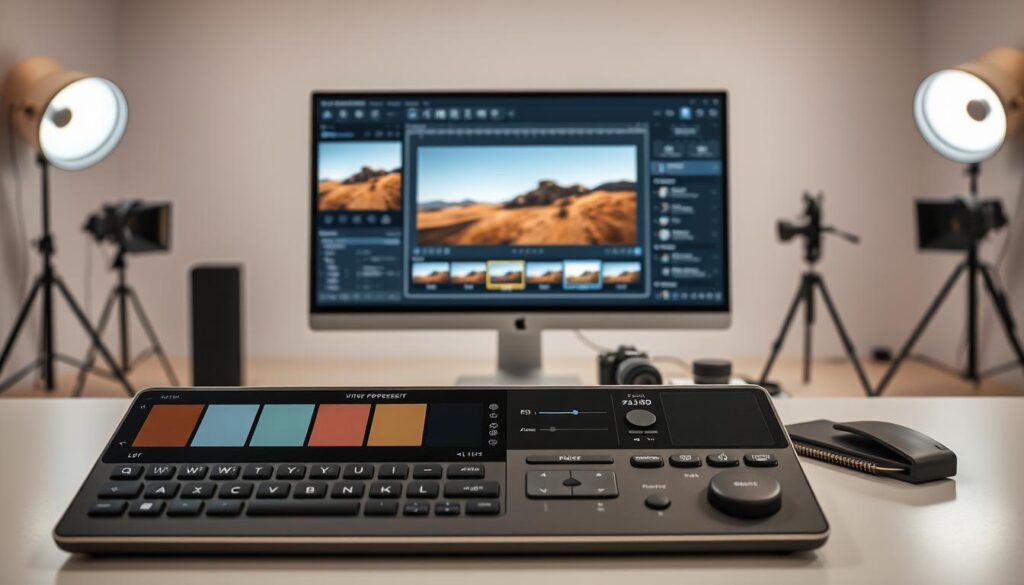
Using presets and manual tweaks together works best. Apply a preset to fix exposure fast, then adjust specific areas with sliders. For example, brighten an indoor photo with a preset, then adjust highlights to avoid overdoing it.
Try free presets from Creative Cloud or online from photographers. Always check changes in the software’s preview pane before you’re done.
How do I fix overexposed or underexposed photos in editing?
Need a quick fix for blown-out highlights or dark shadows? Quick adjustments can save photos without deep edits. Start with highlight recovery tools in software like Adobe Lightroom or Skylum Luminar. These tools fix overexposed areas fast.
- Open your image in editing software and zoom in to check bright areas.
- Use the Recovery slider in Lightroom’s Basic panel to pull back highlights.
- For underexposed shots, boost shadows with the Shadows slider—avoid overdoing it to prevent noise.
- Apply a radial filter to darken specific overexposed spots, masking adjustments as needed.
“Quick fixes are like first aid for photos—simple steps that save the shot without overcomplicating.”
Try presets for exposure correction. Many apps have one-click fixes like “Highlight Fix” or “Shadow Lift” to balance tones quickly. Always check changes to make sure details come back right. These steps are best for small issues—big problems might need more work.
Conclusion
Fixing overexposed or underexposed photos is easier with the right tools. Adobe Lightroom and Photoshop have precise controls. Start by looking at your histogram to find problem areas.
Then, use exposure blending or RAW adjustments to fix the tones. Practice these methods to get better at editing. Shooting in RAW gives you more options.
Presets and filters can make corrections easier. Try adjusting highlights and shadows to see changes right away. Need help? Go back to the sections on histogram analysis or exposure blending for more tips.
Every edit is a chance to get better at photography. Whether you’re adjusting exposure in Lightroom or fine-tuning in Photoshop, you can make any photo look great. Keep trying new editing tools and techniques. Your next amazing photo is just a few clicks away.
FAQ
How can I tell if my photo is overexposed or underexposed?
Look for bright spots in your photo. These are overexposed and lose details. Dark spots are underexposed and hide shadow details. Use the histogram tool to check exposure levels.
What editing software is best for correcting exposure?
Adobe Lightroom and Photoshop are top choices. They have tools like sliders for brightness and contrast. GIMP and Canva are free and also adjust exposure.
What are some quick fixes for exposure issues?
Use the auto-adjust feature in editing software. Adjust brightness and contrast sliders manually. Fine-tune highlights and shadows for balance.
How does lighting affect exposure in photography?
Lighting quality and direction matter a lot. Natural light can be too bright. Artificial light helps with shadows but can cause issues if not managed.
How can I prevent exposure issues from occurring while shooting?
Shoot in RAW format for more editing flexibility. Use the right camera settings, like ISO and aperture, for the lighting. These steps help avoid bad exposure.
What are some advanced techniques for balancing light and shadow?
Use histogram adjustment and exposure blending. These methods recover lost details. They add depth and richness to your photos.
Can I use presets for exposure correction effectively?
Yes! Presets fix common exposure problems. You can customize them for different lighting. They make editing easier and consistent.

